Please select the HoloModels app you want to learn how to play
Easy and simple shooting!
[New] HoloModels
Traditional AR pose creation, event features, and more
HoloModels Location
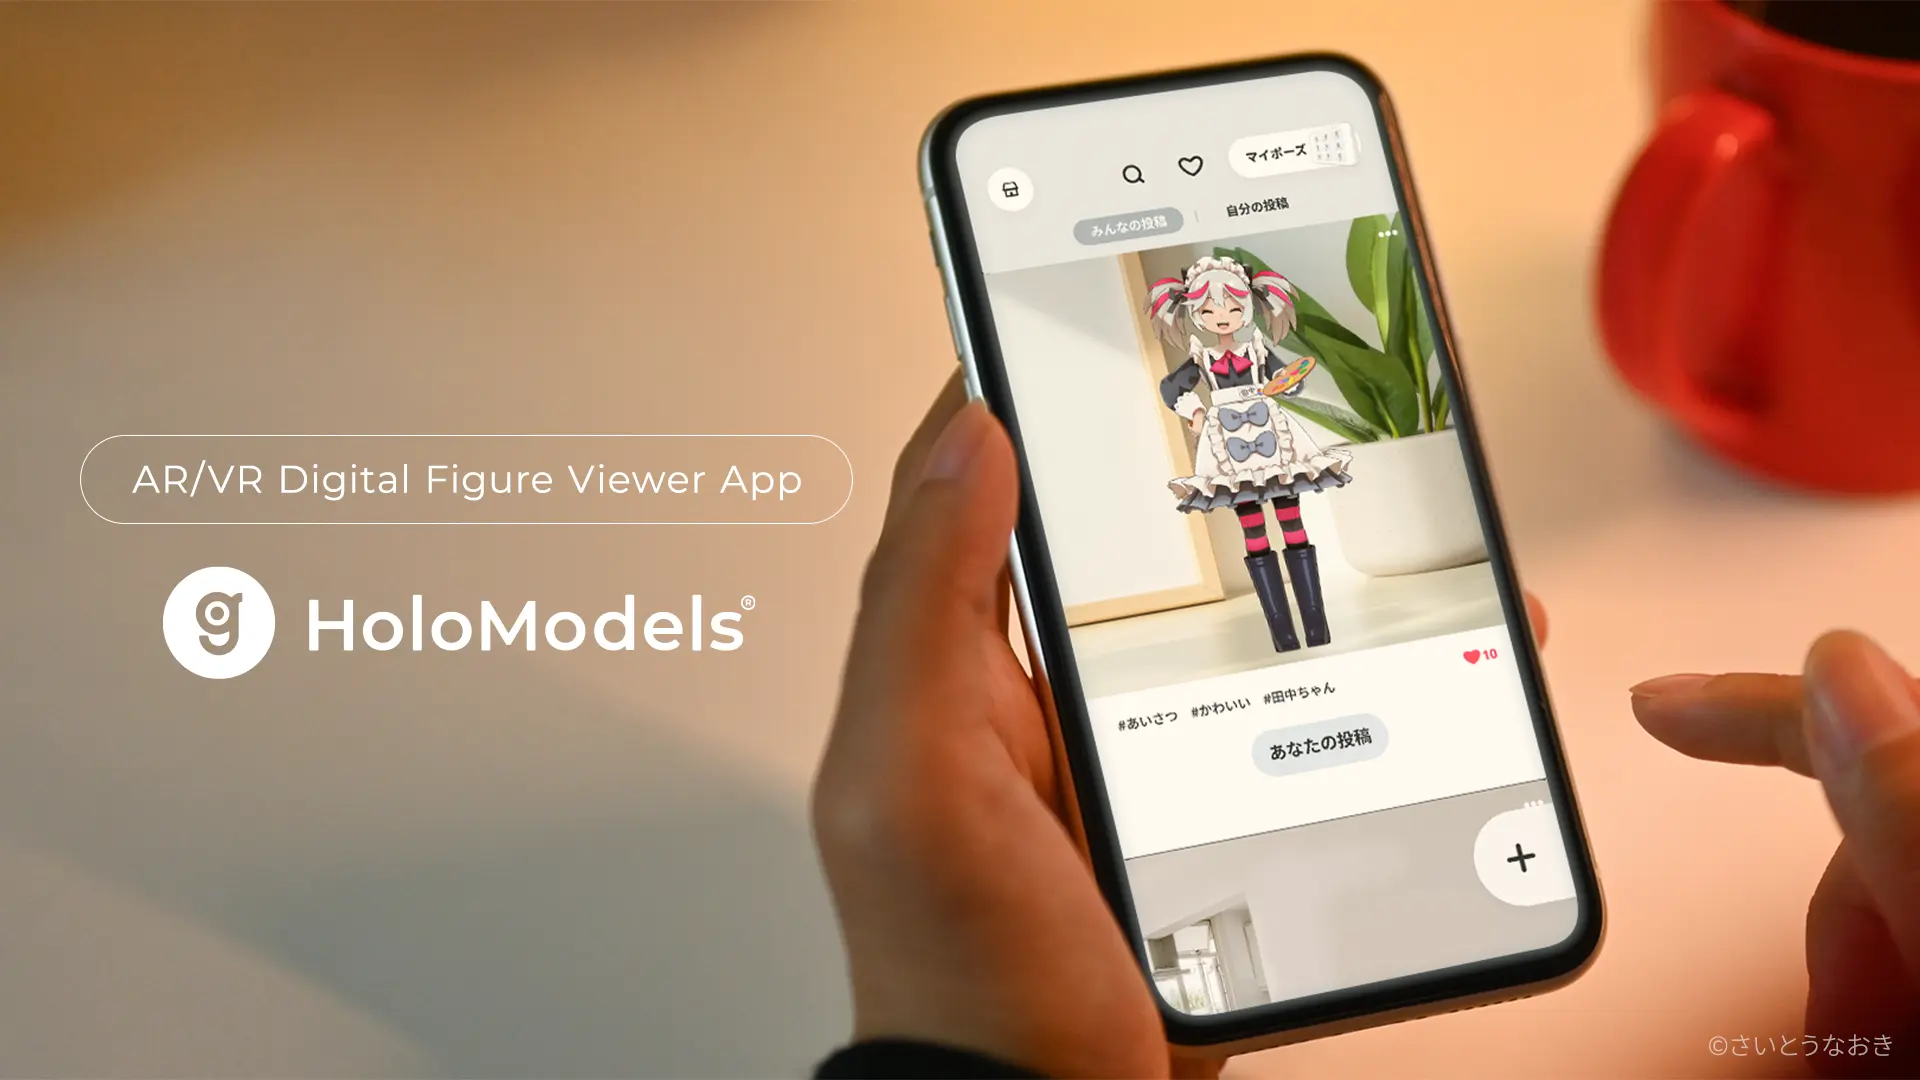
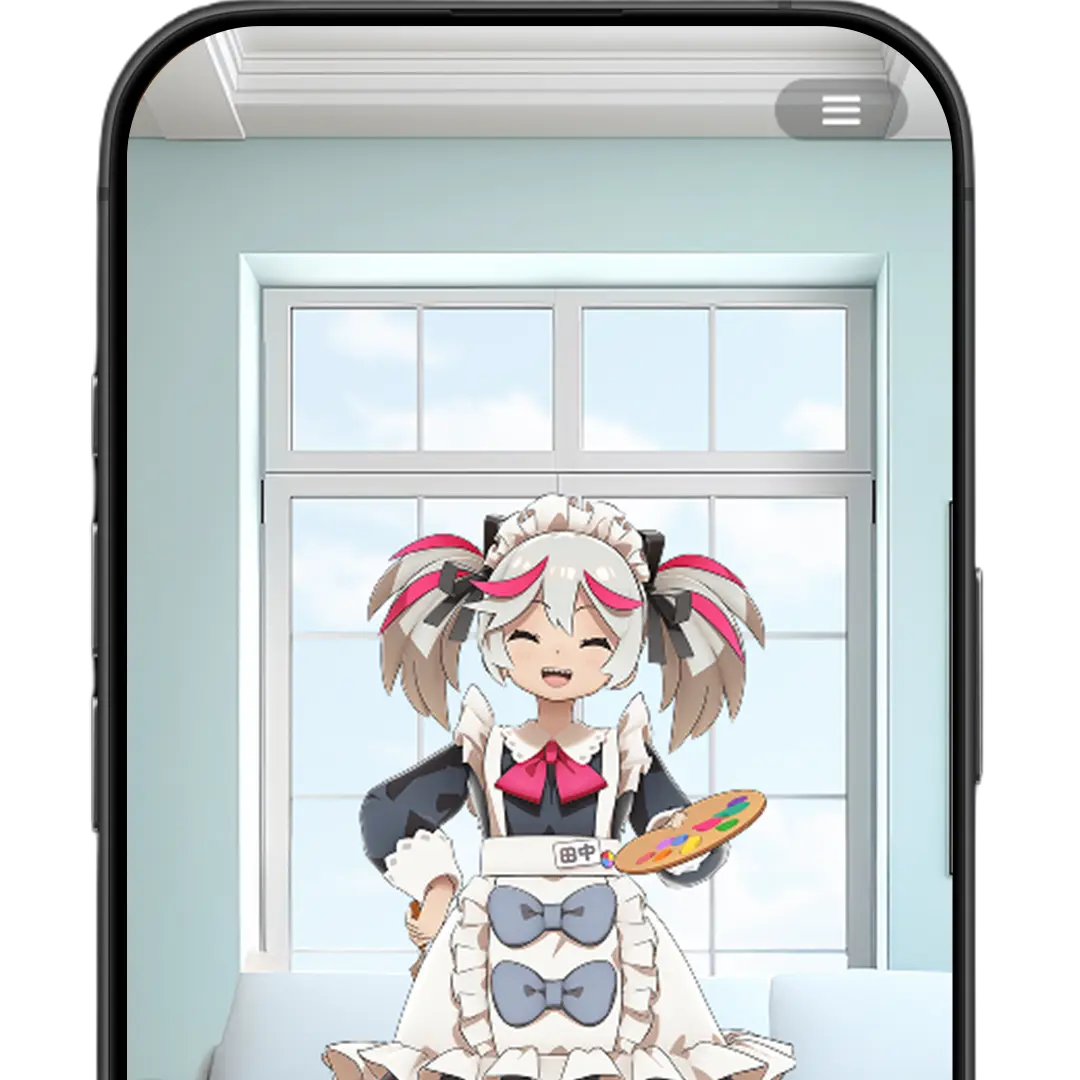
This is a digital figure viewer app that allows you to freely customize your character's poses, expressions, and size using your smartphone.
You can display characters anywhere you like using AR, showcase them at life-size, and play their voices. The SNS feature also allows you to use poses created by other users.
1 From launch to the figure control screen

Launch the HoloModels app and log in. On the title screen, select the "Log In" button and sign in with the U Account that owns your figures. *U Account: An account for XMarket
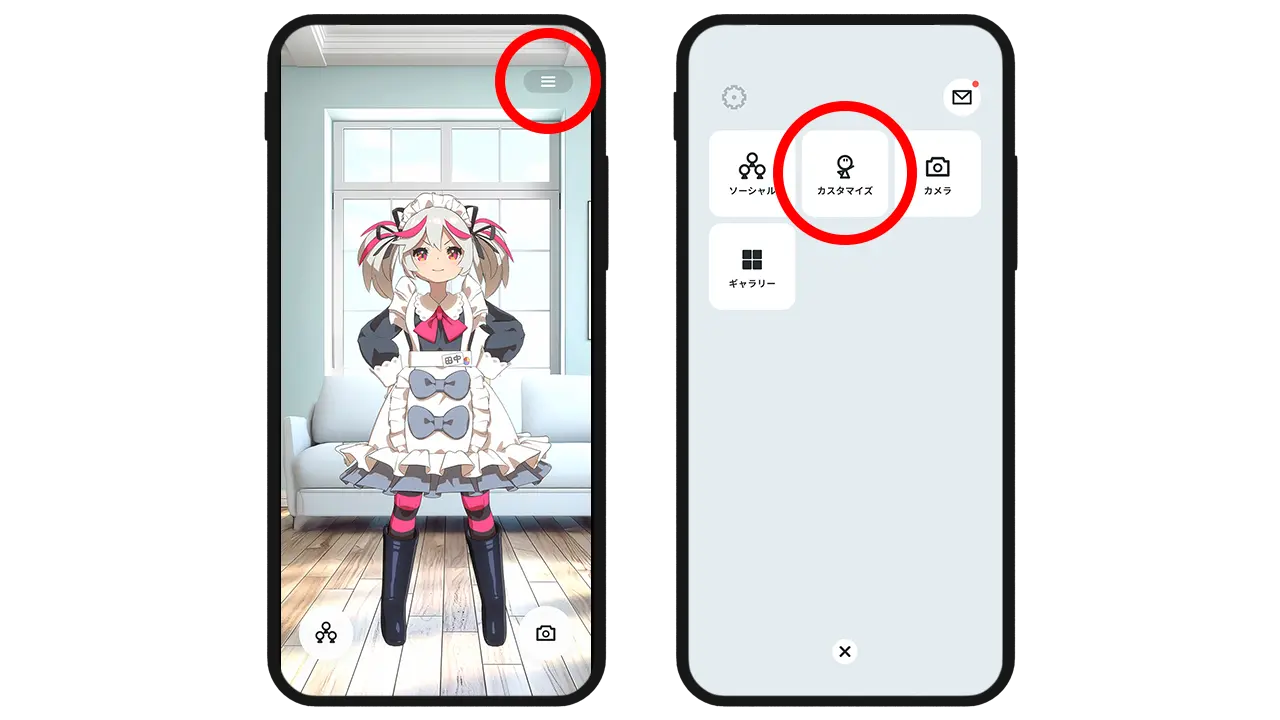
Select the menu button at the top right of the screen. When the menu panel appears, choose the "Customize" button.
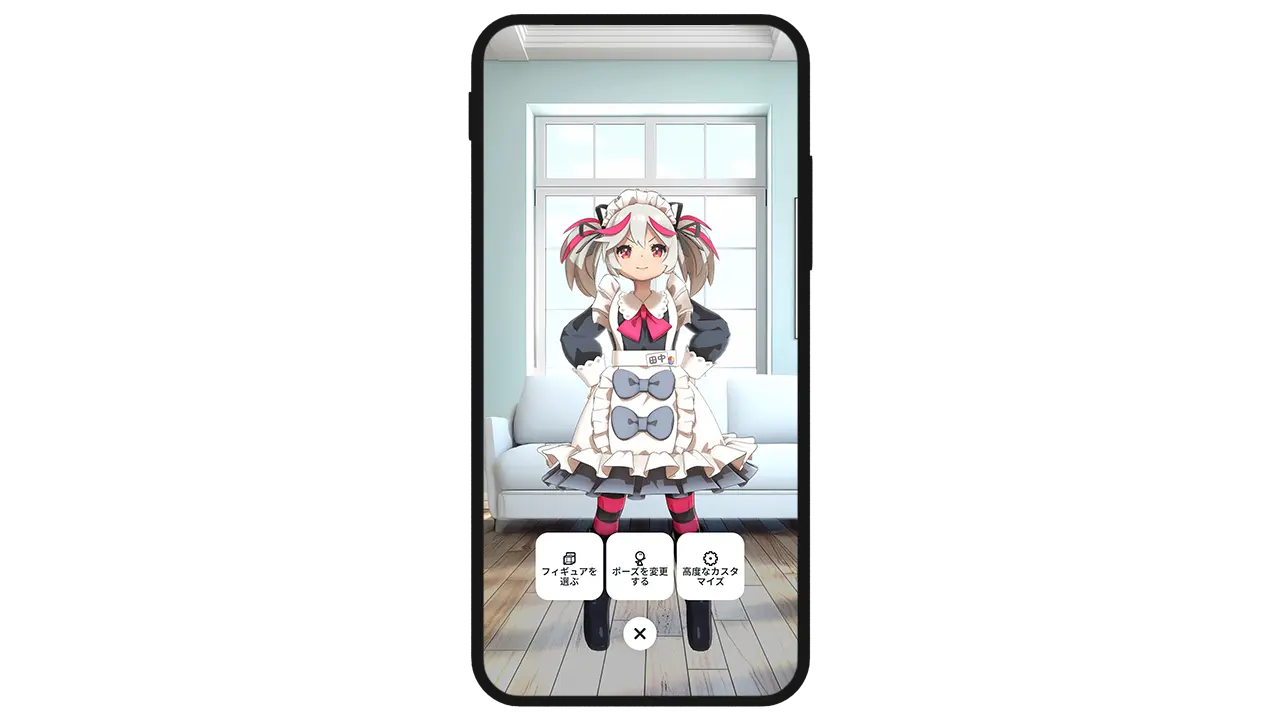
From "Customize" in the menu panel, select the item you want to control. From here, 2 Select a Figure (choose the figure you want to play with) 3 Change Pose (adjust the figure’s pose, facial expressions, etc.) Select the option you want to operate.
2 Select a Figure
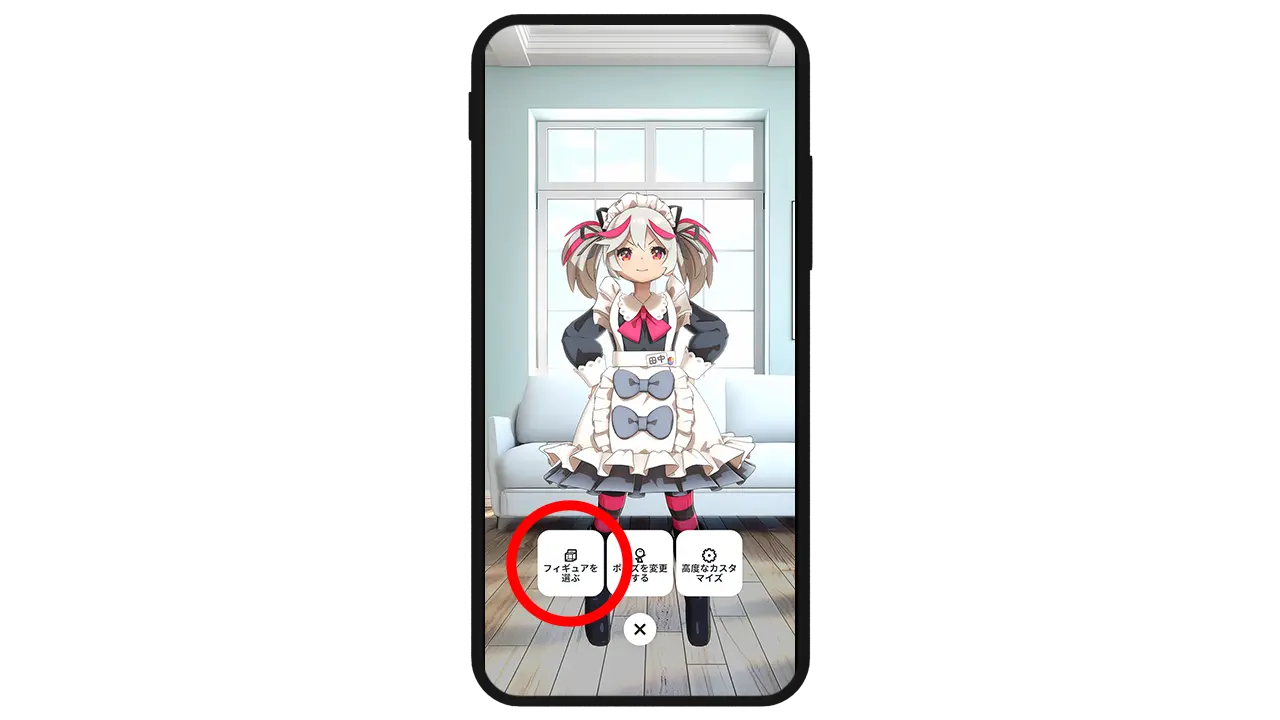
Select the "Select a Figure" button.
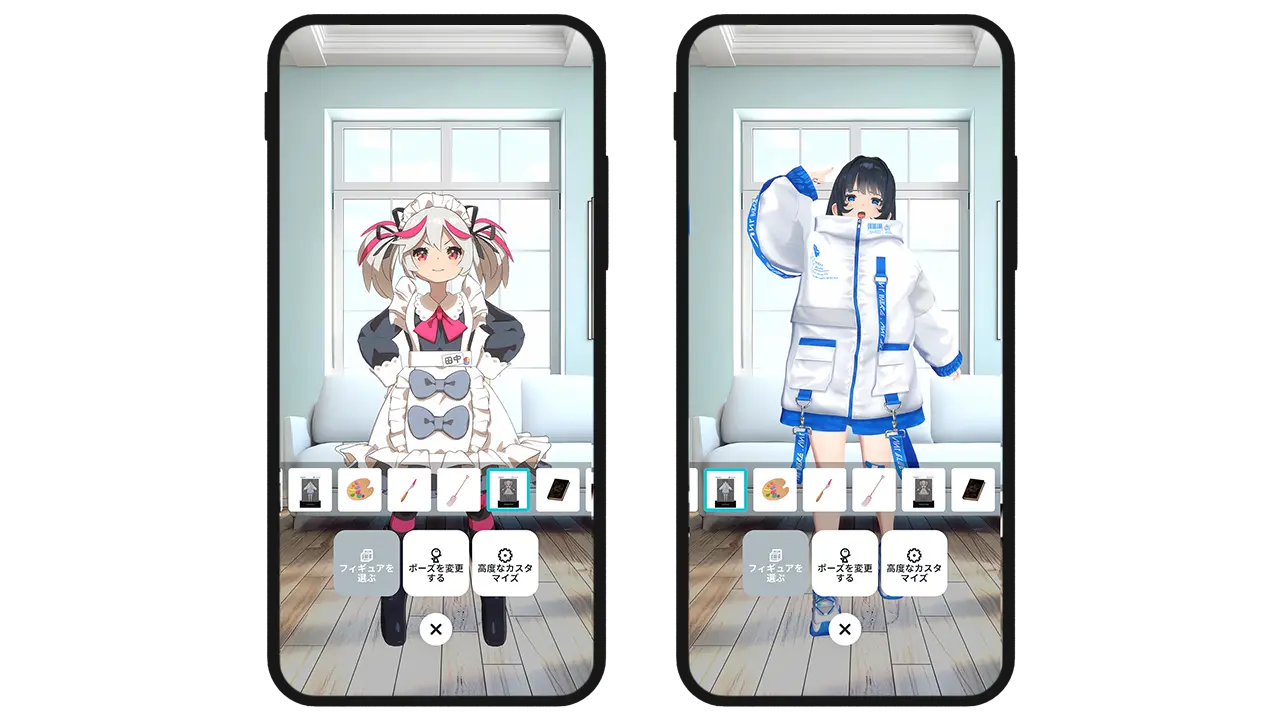
A list of figures you own will be displayed. You can select and switch to the figure you want to play with.
3 Change Pose
Select the "Change Pose" button.
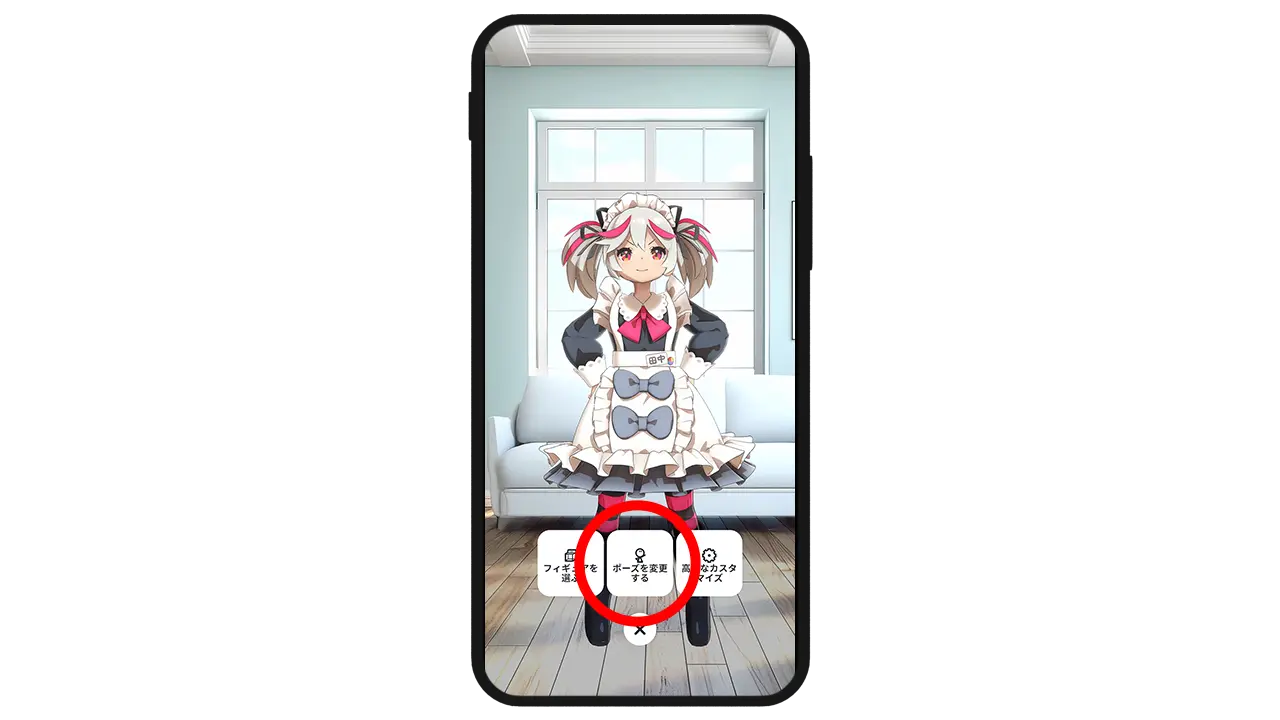
There are two ways to set poses: a. 🔰Easy pose setup with preset poses b. Create detailed poses with manual controls Enjoy each mode depending on your location and situation. *Editable parts vary depending on the figure used.
a. 🔰Easy pose setup with preset poses
*Preset poses are poses that are preconfigured in advance.
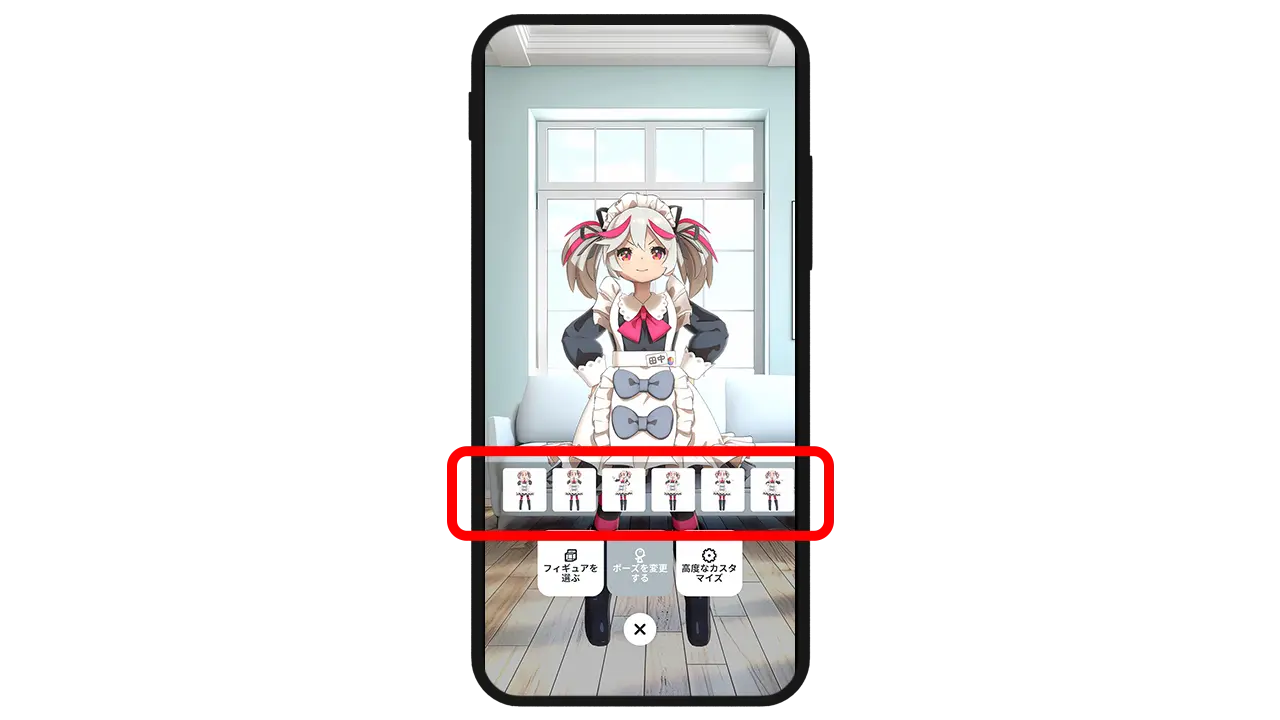
Select your favorite pose from the pose list.
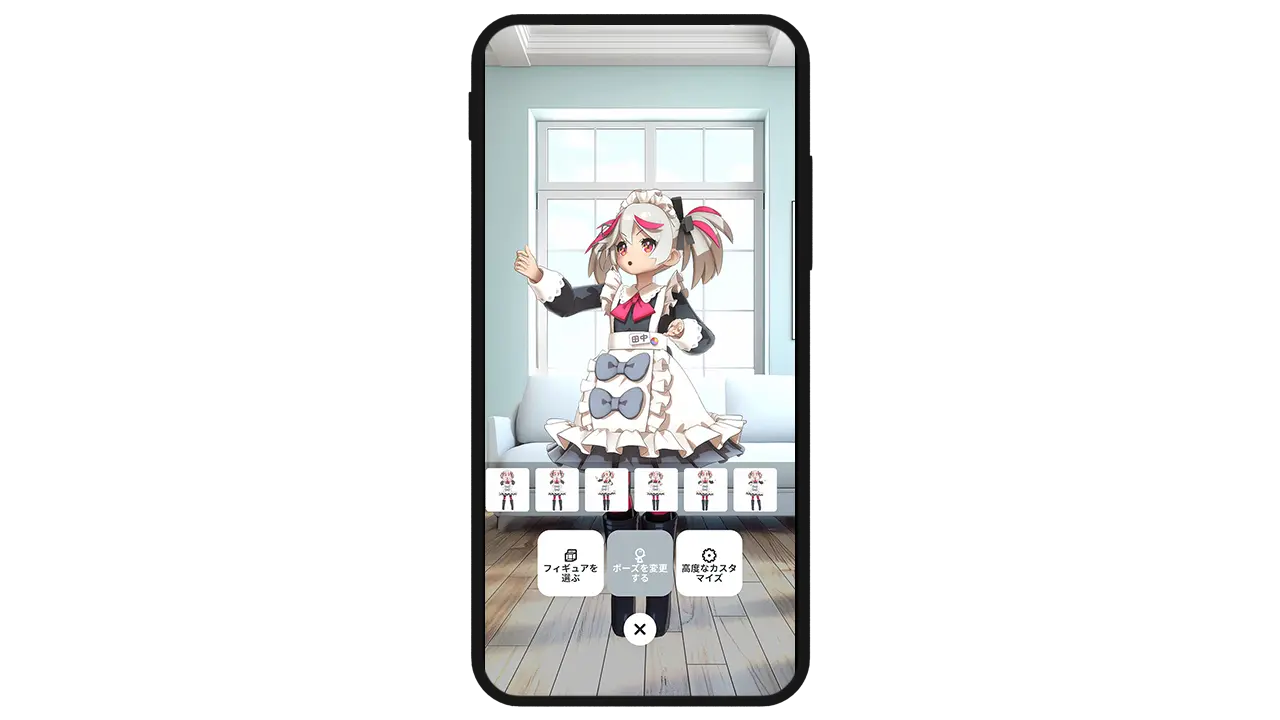
The selected pose has been applied! If you do not wish to create a detailed pose, please proceed to 4) Take Photos or 5) SNS Features.
b. Create detailed poses with manual controls
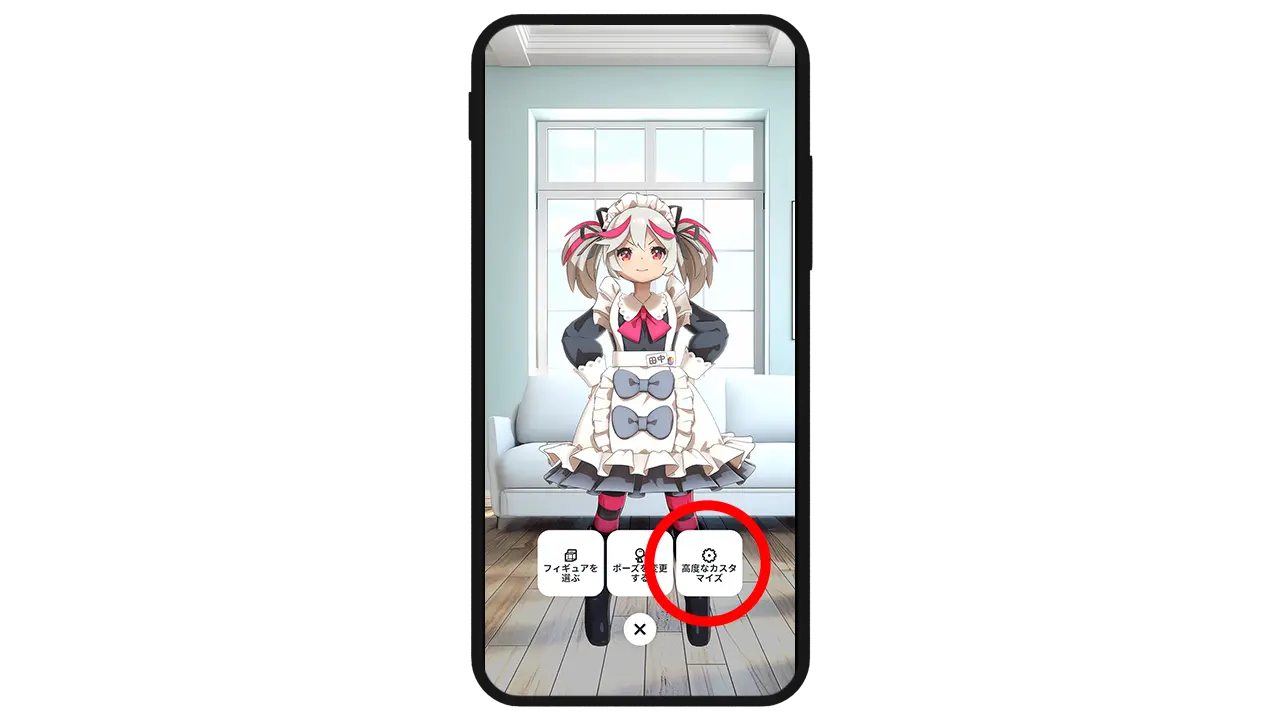
Select "Advanced Customization".
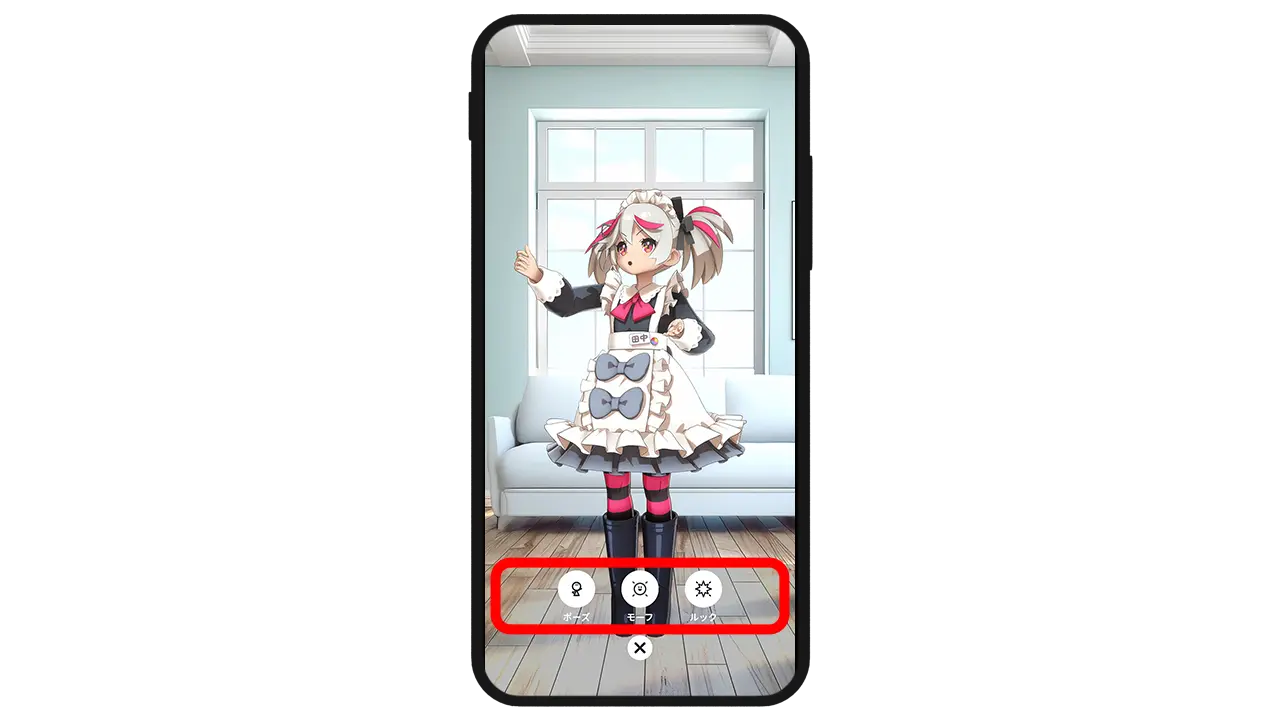
The customization menu will appear. Select the items you want to adjust.
① Change Pose
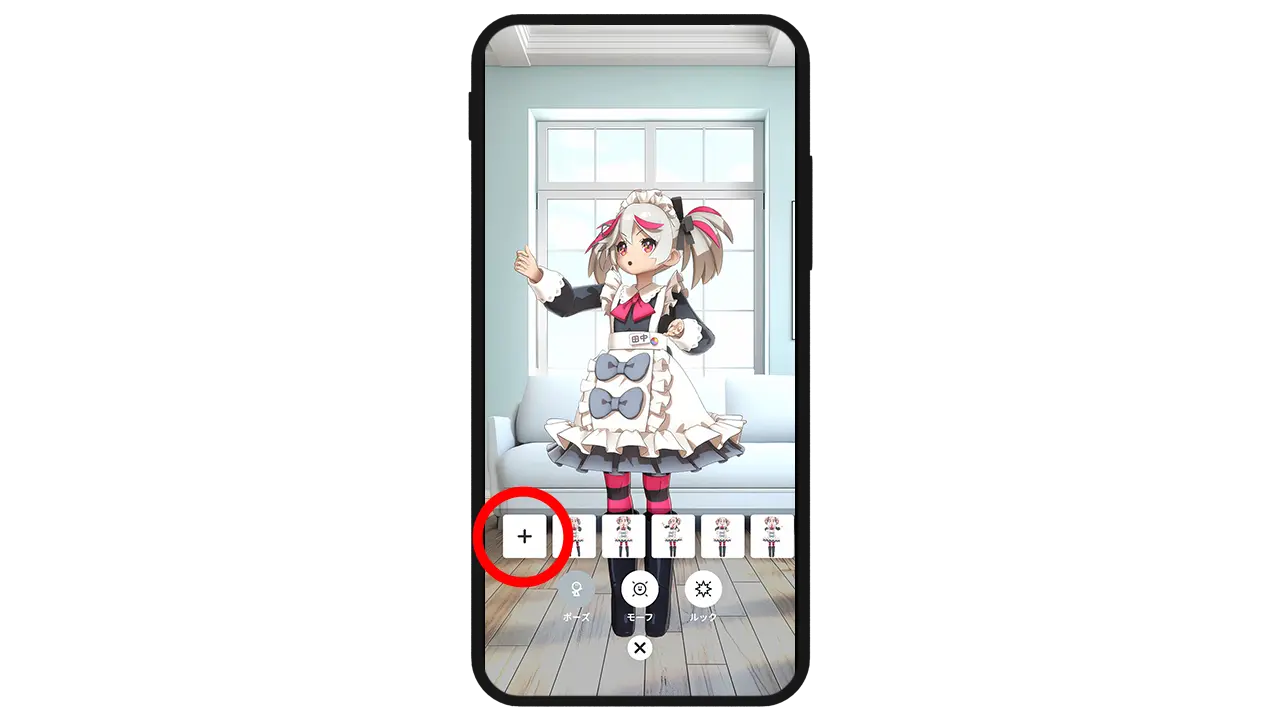
You can change poses. You can also select poses that are already configured from the list.
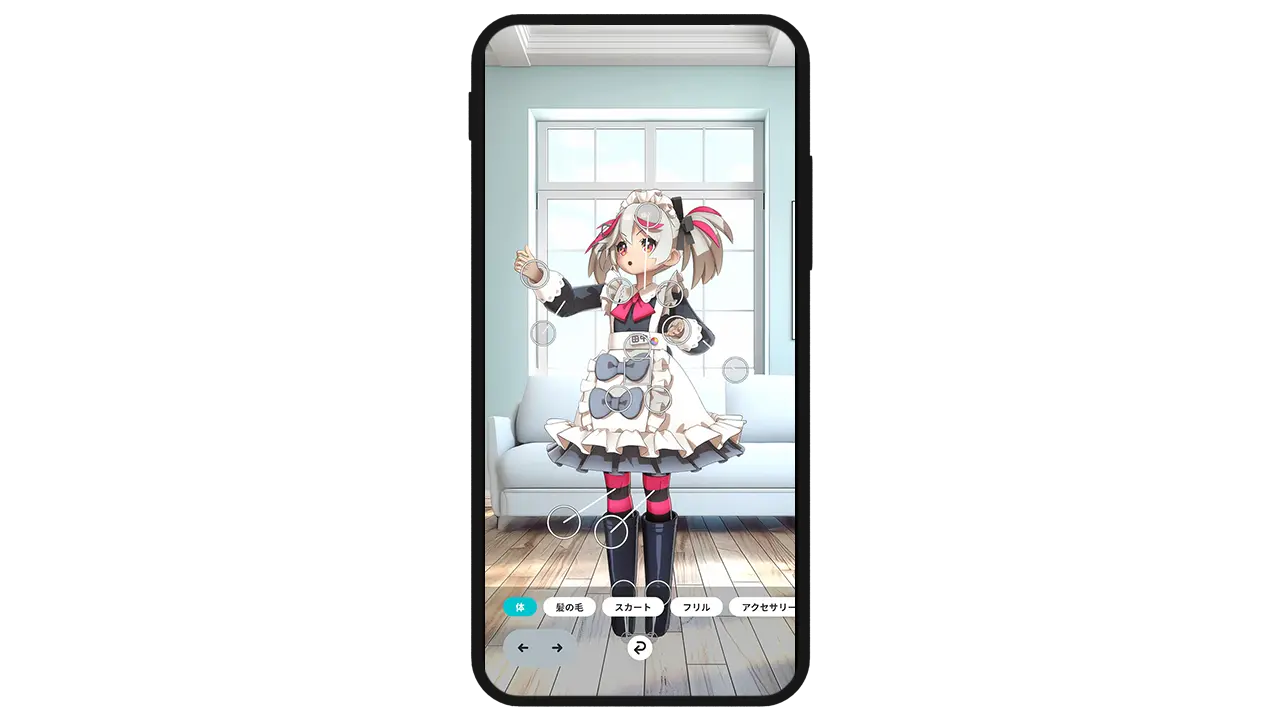
Select "+" in the list to adjust individual parts. Tap the ◯ markers on the figure and move them to the desired position.
Rotating the figure once before moving it allows you to change the movement direction.
For rotatable parts, press the rotation button at the bottom left to change their orientation.
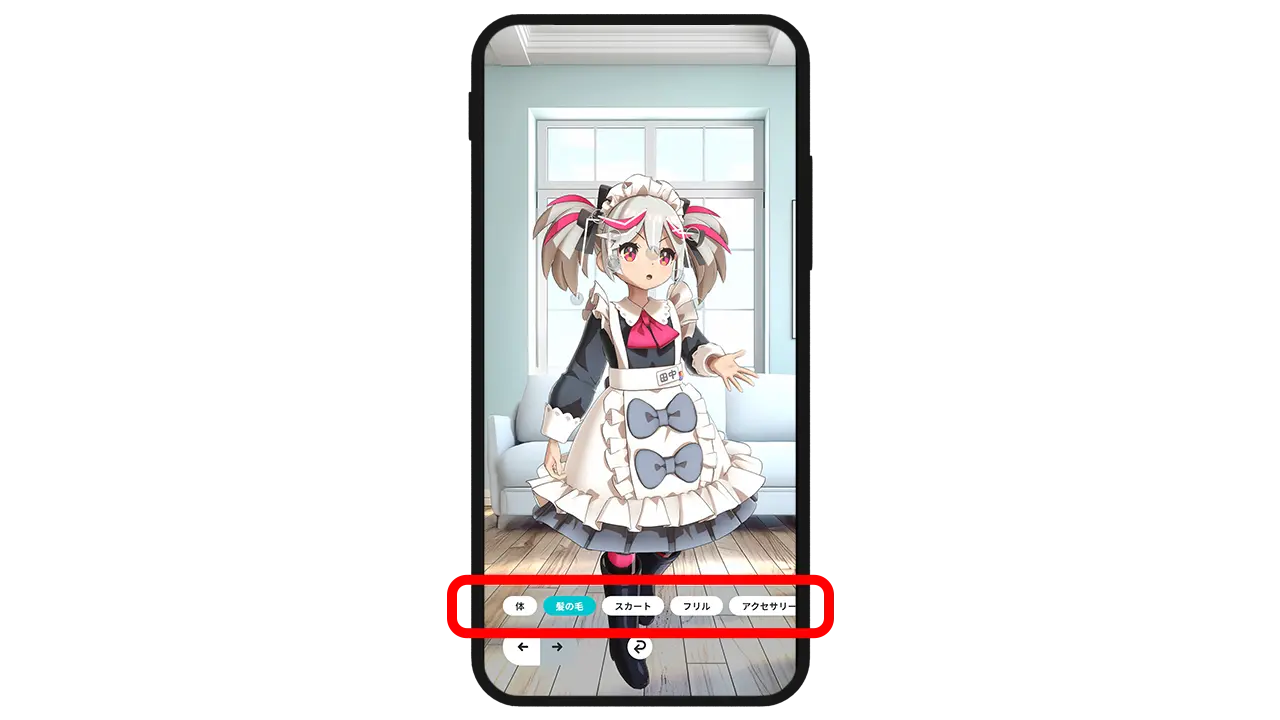
From the menu at the bottom of the screen, you can change which parts are movable. You can finely adjust areas such as the body, hair, skirt, frills, and accessories.
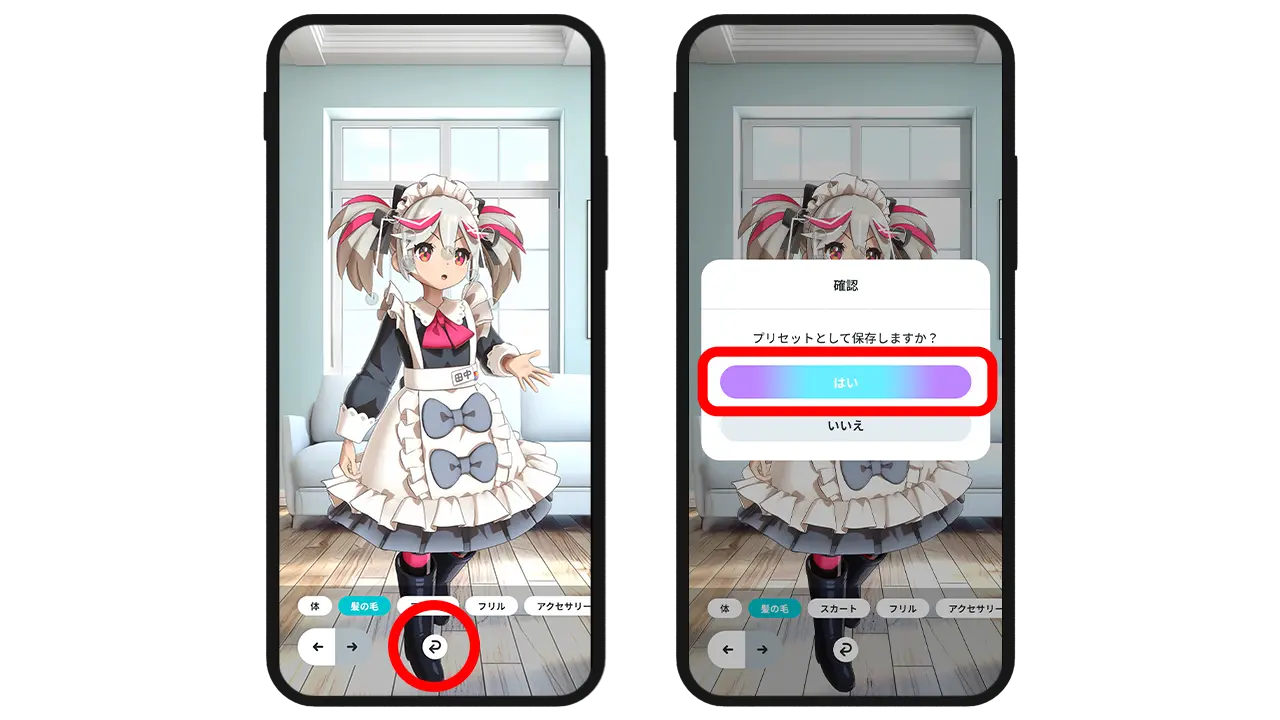
When finished, select the "Done" button at the bottom of the screen to save it as a preset pose. If you do not want to save the changes, select the back button.
② Morph
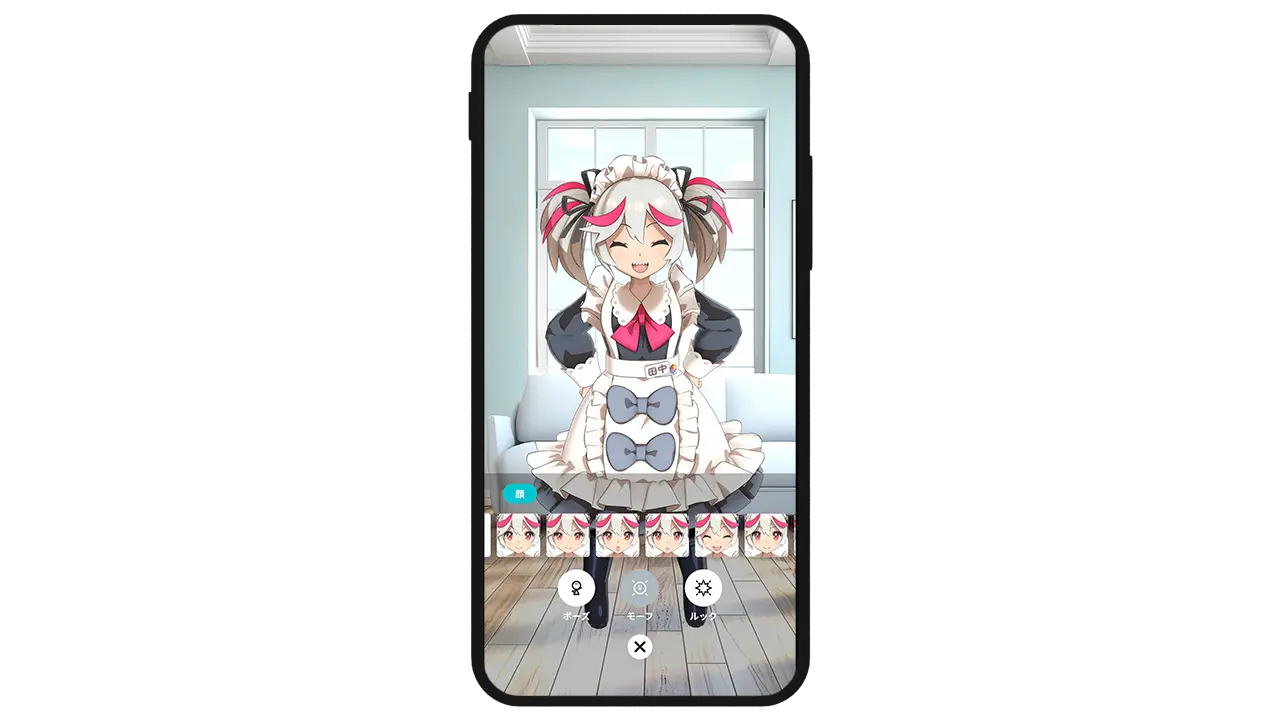
You can change facial expressions. You can also select expressions that are already configured from the list.
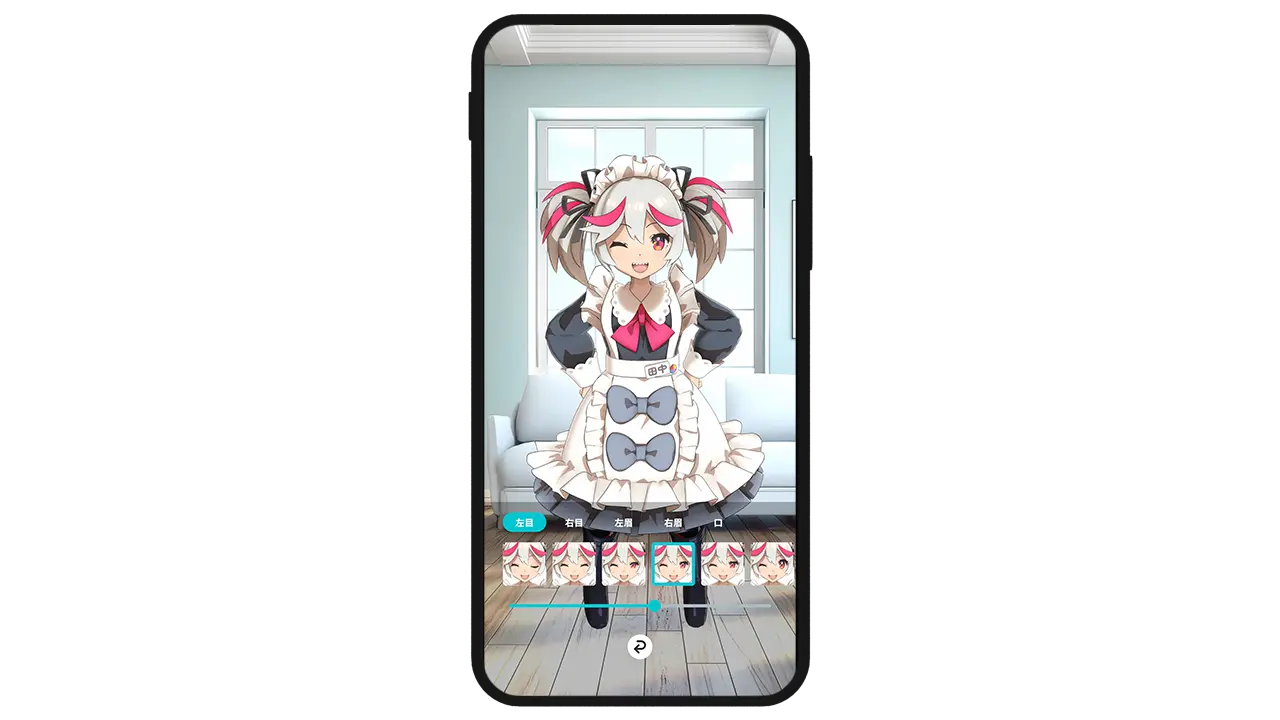
Select "+" in the list to adjust individual parts. By using the bar at the bottom, you can make fine adjustments such as how wide parts open.
③ Look
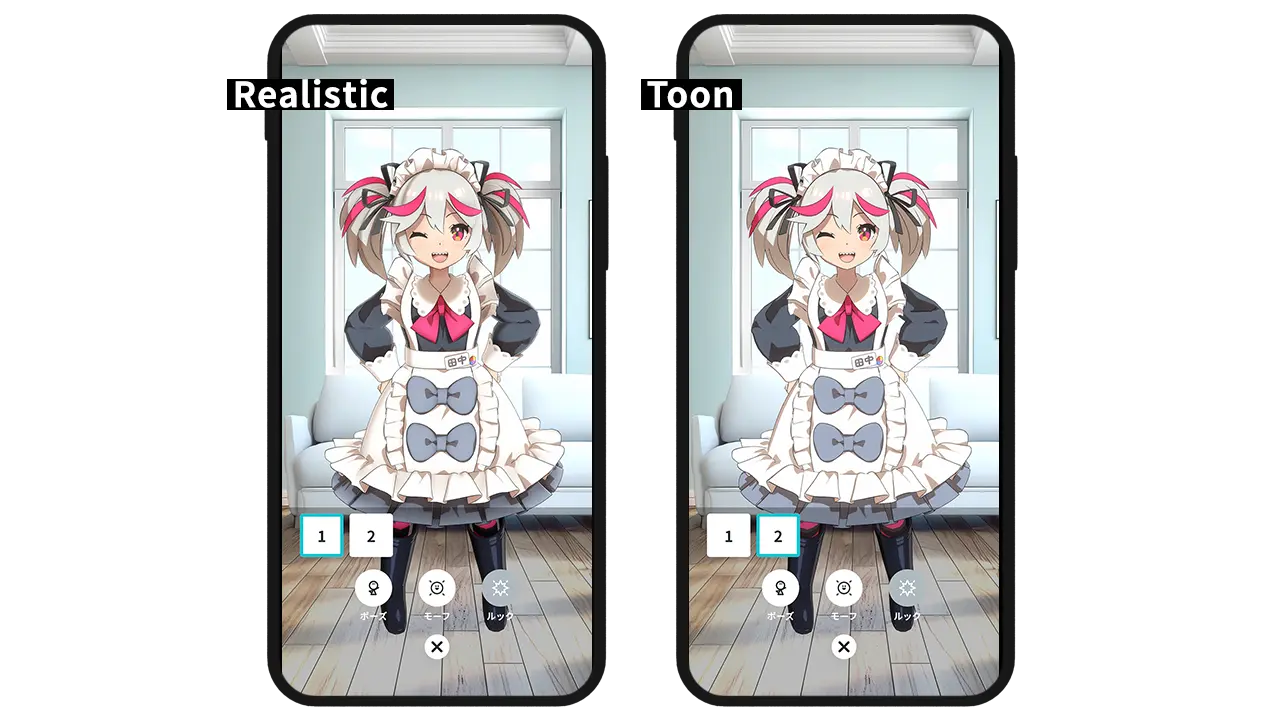
You can select the shadow texture. You can choose an anime-style look or more realistic shadows.
4 Take Photos
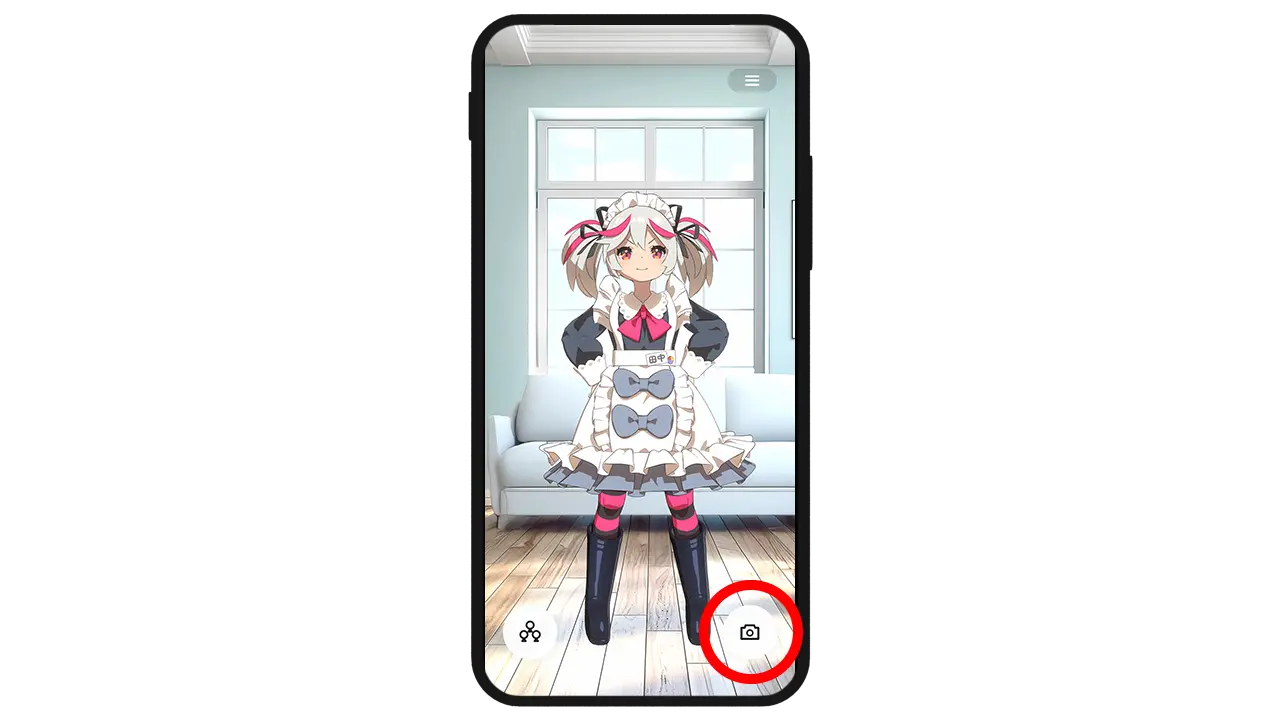
From the home screen, select the camera icon at the bottom right to launch the camera. There are two camera modes: a. 🔰Standard mode b. AR mode Enjoy each mode depending on your location and situation.
a. 🔰Standard mode
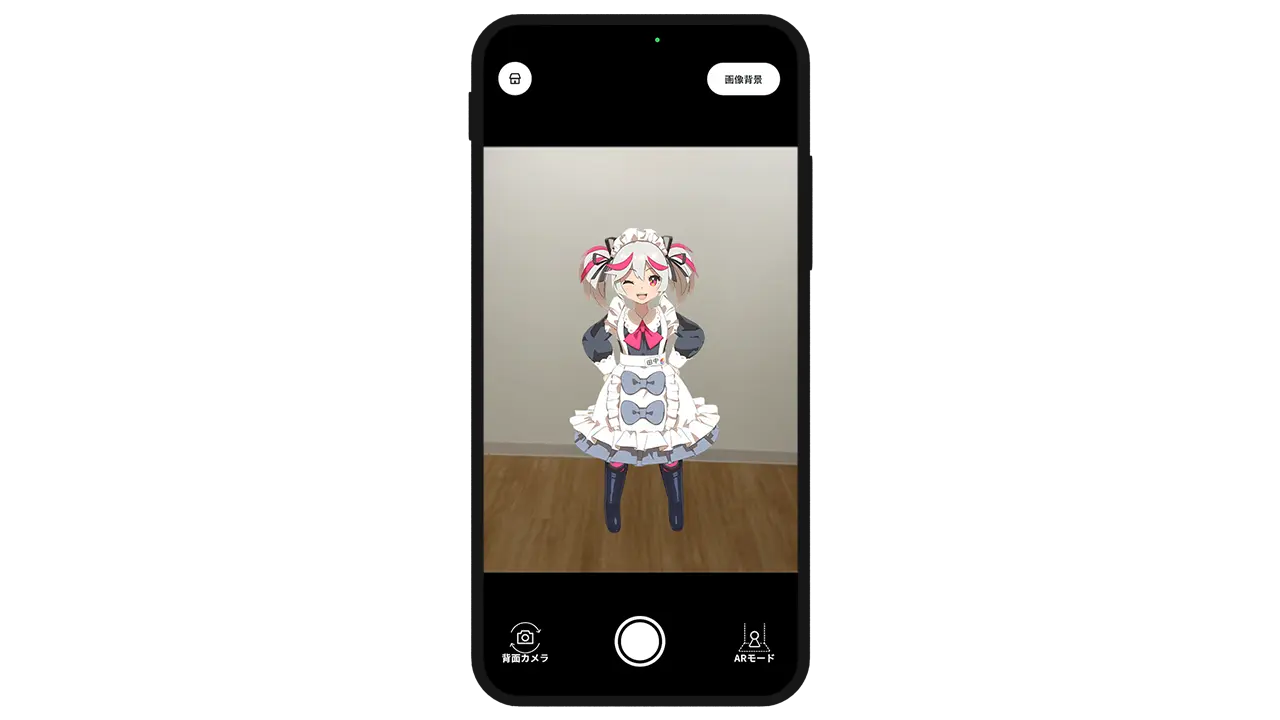
When the camera is launched, the model with the selected pose will be displayed.
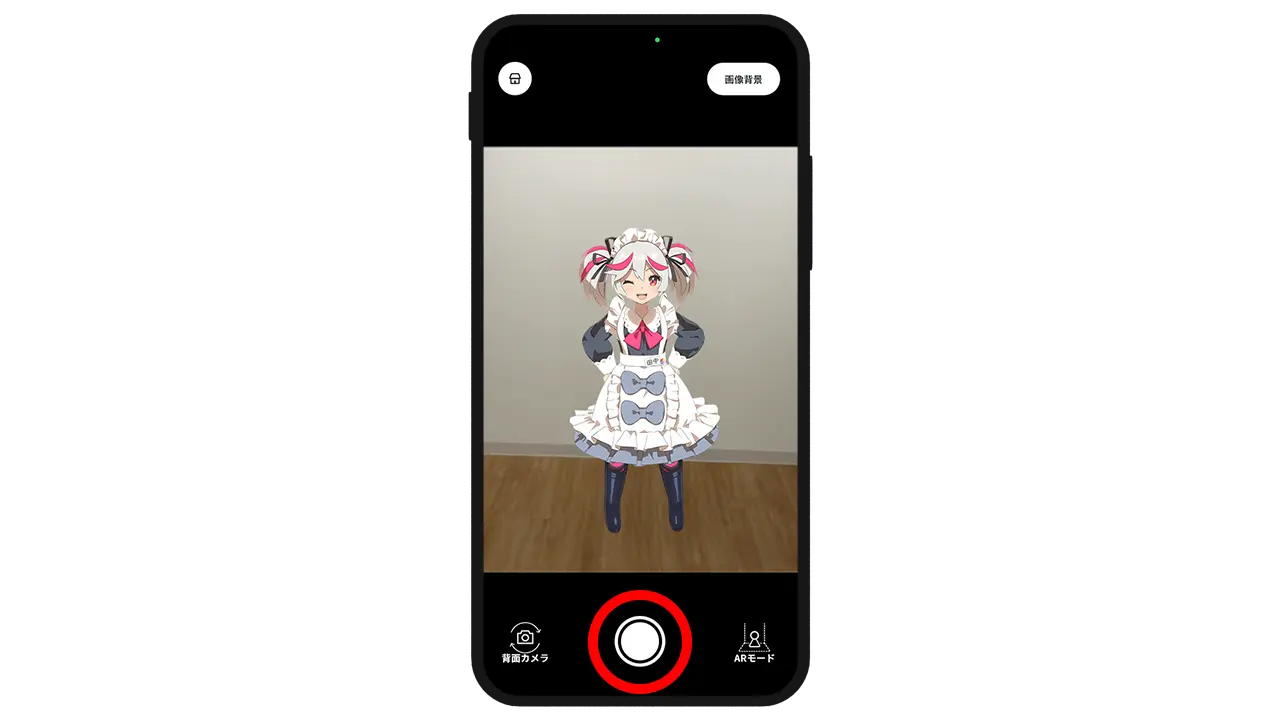
Tap the ◎ button at the bottom to take a photo.
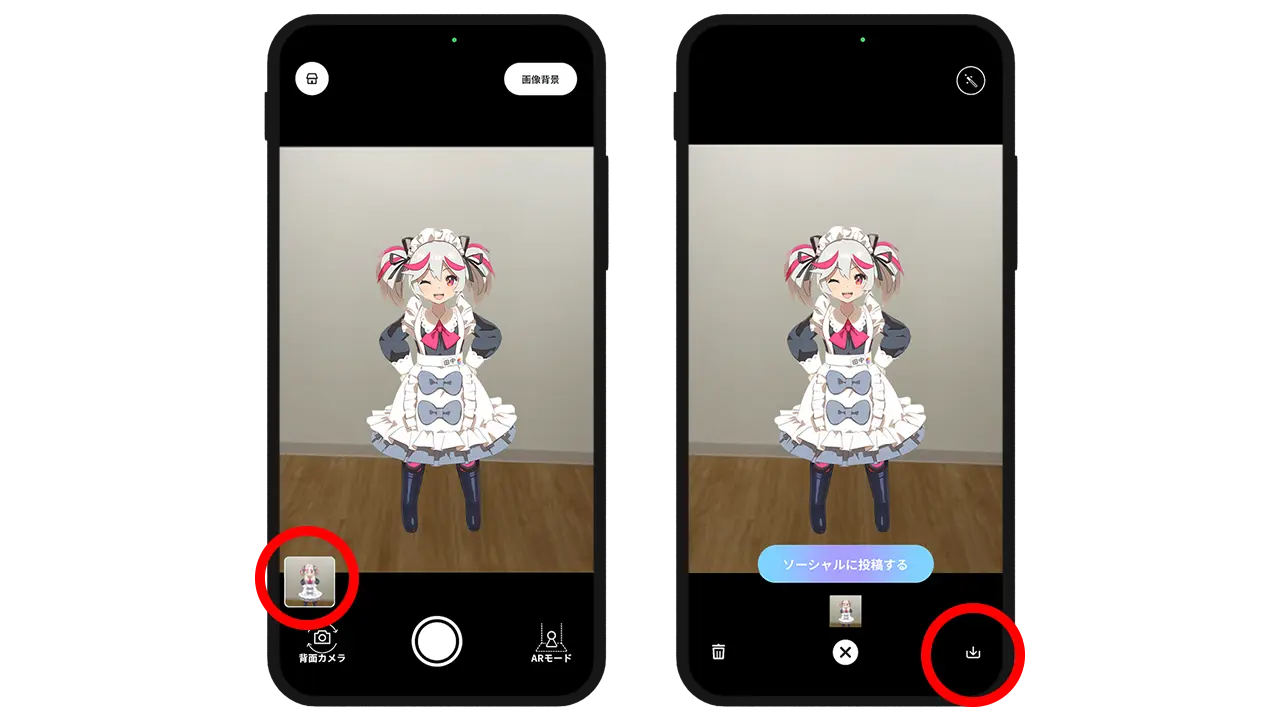
Captured images can be viewed from the gallery at the bottom left. Images saved in the gallery can be downloaded to your device using the download button at the bottom right.
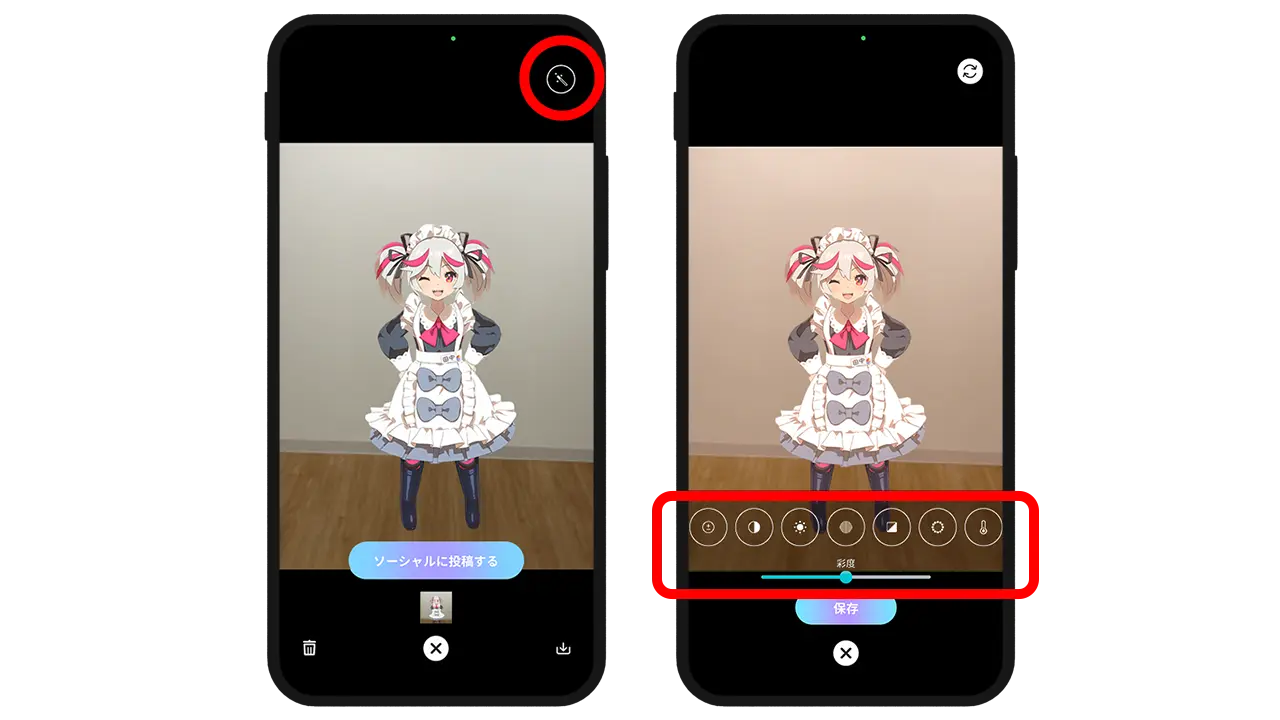
Images in the gallery can also be edited using the button at the top right. If you do not plan to use AR mode, please proceed to 5) SNS Features.
b. AR mode
*In the beta version, you cannot change the figure size or adjust its height. Please look forward to the release version.
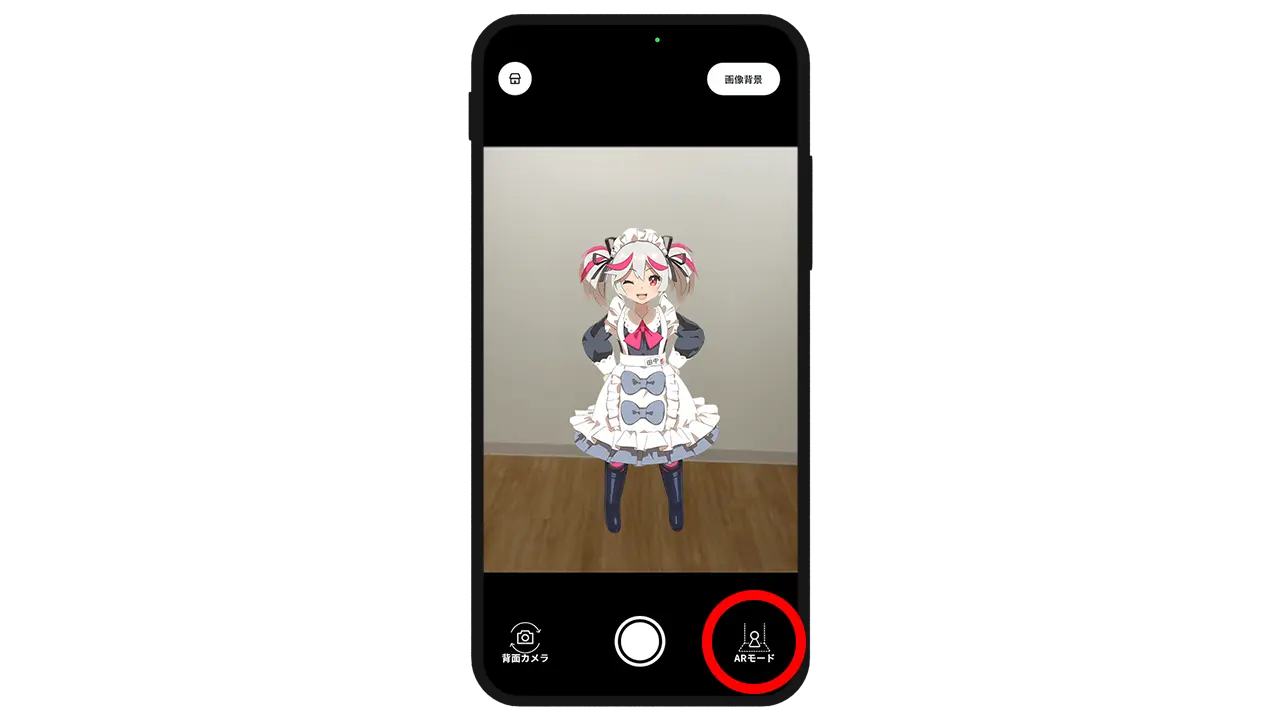
Launch the camera and select "AR Mode" at the bottom right.
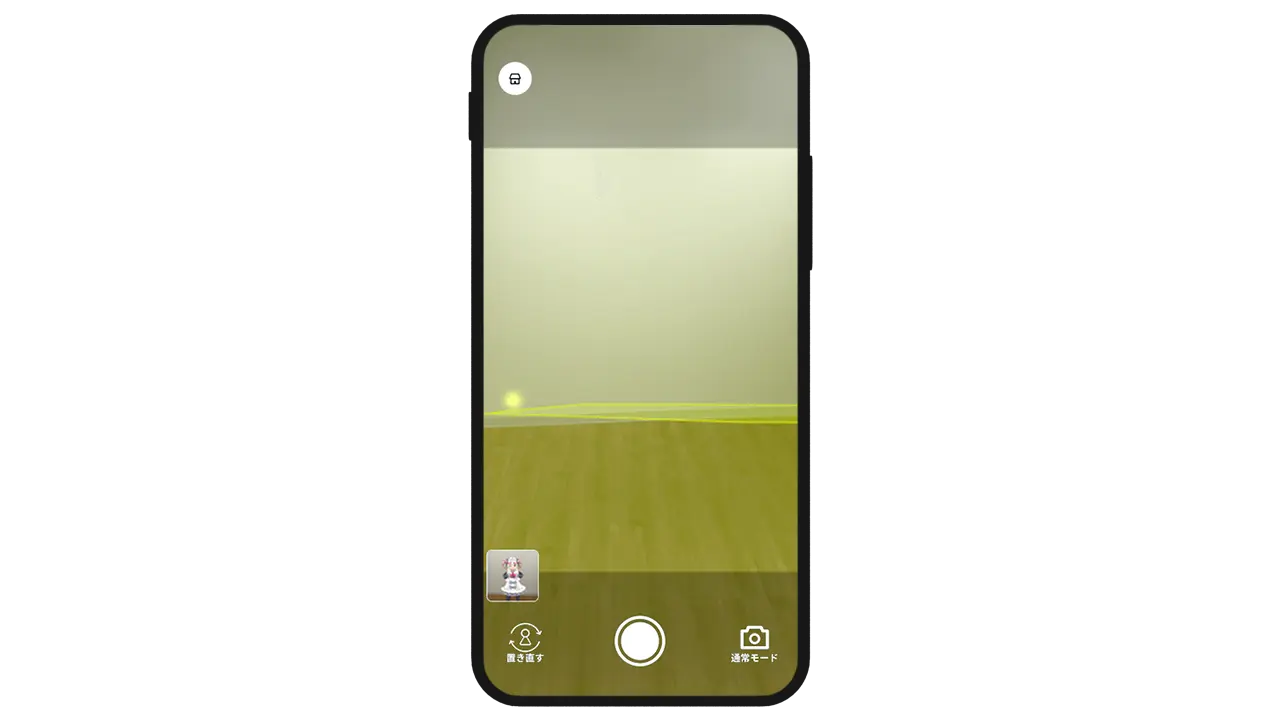
Point the device at the floor where you want to place the figure and move it to allow the surface to be recognized. Once recognized, a yellow outline will appear. (The yellow dots will appear first for detection, followed by the yellow outline.)
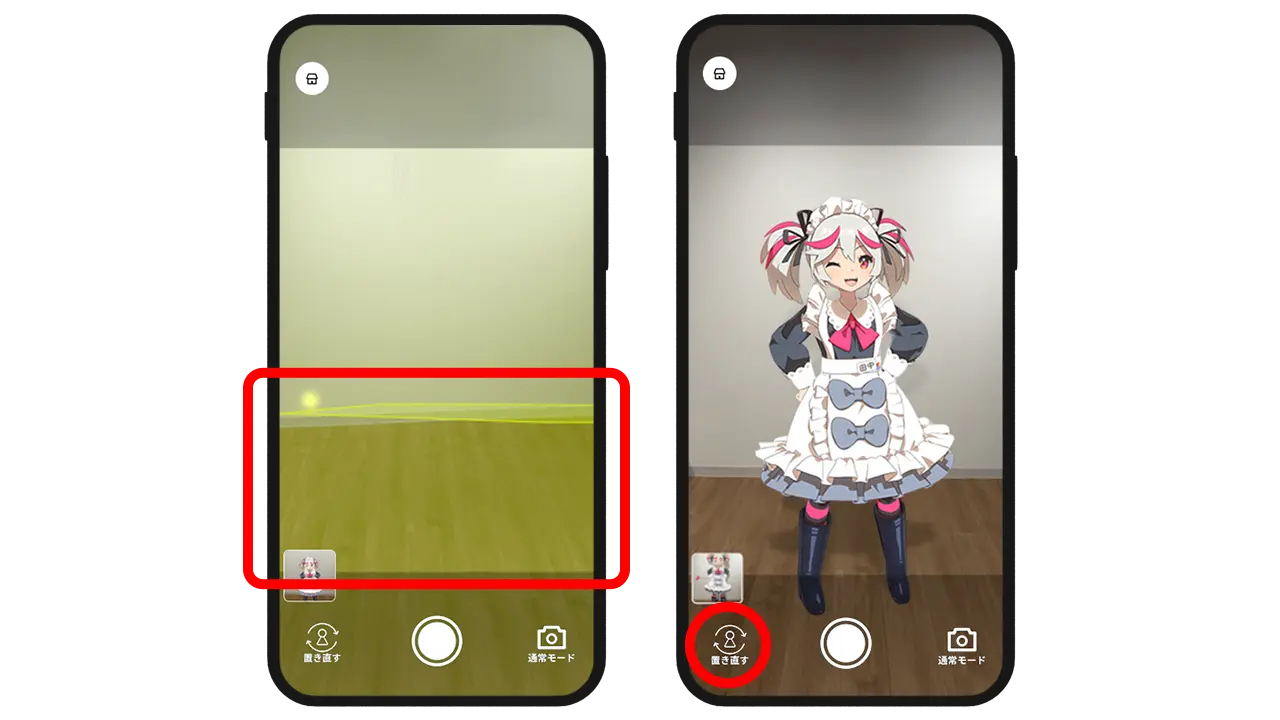
Tap the position inside the yellow outline where you want to place the figure. To adjust the position, select "Reposition" to place it again.
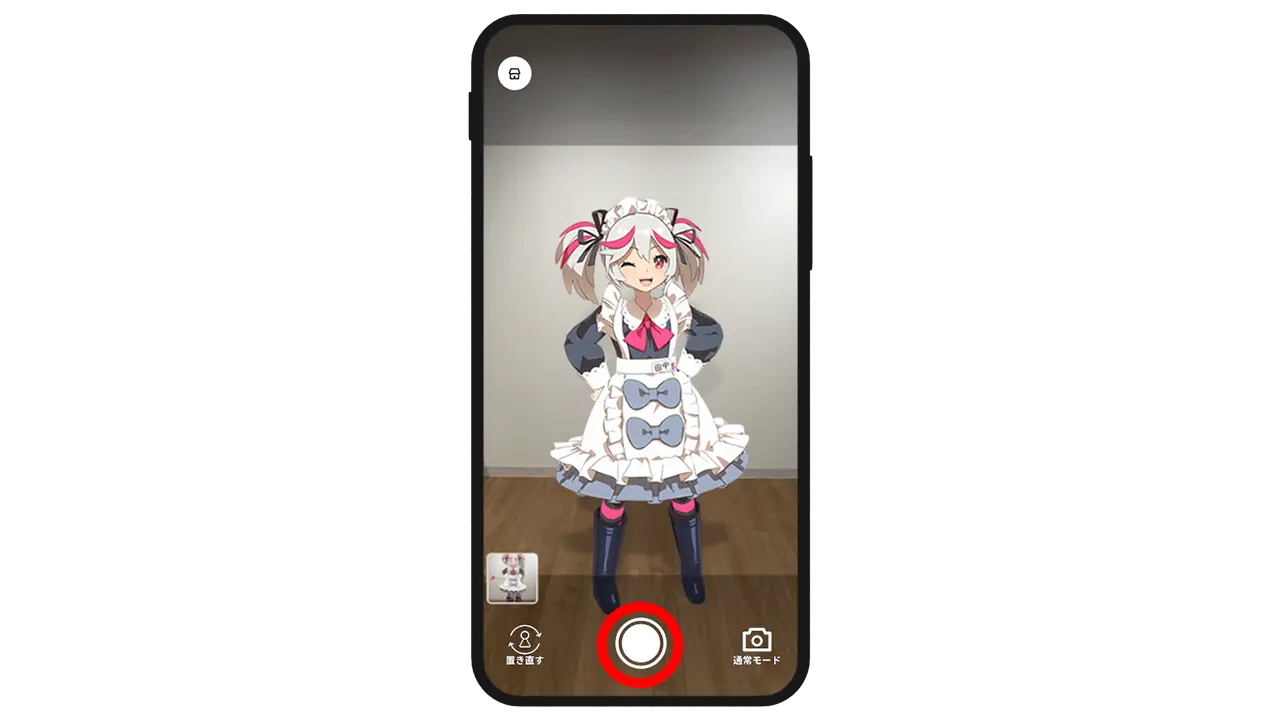
Tap the ◎ button at the bottom to take a photo.
Captured images can be viewed from the gallery at the bottom left. Images saved in the gallery can be downloaded to your device using the download button at the bottom right.
Images in the gallery can also be edited using the button at the top right.
5 SNS Features
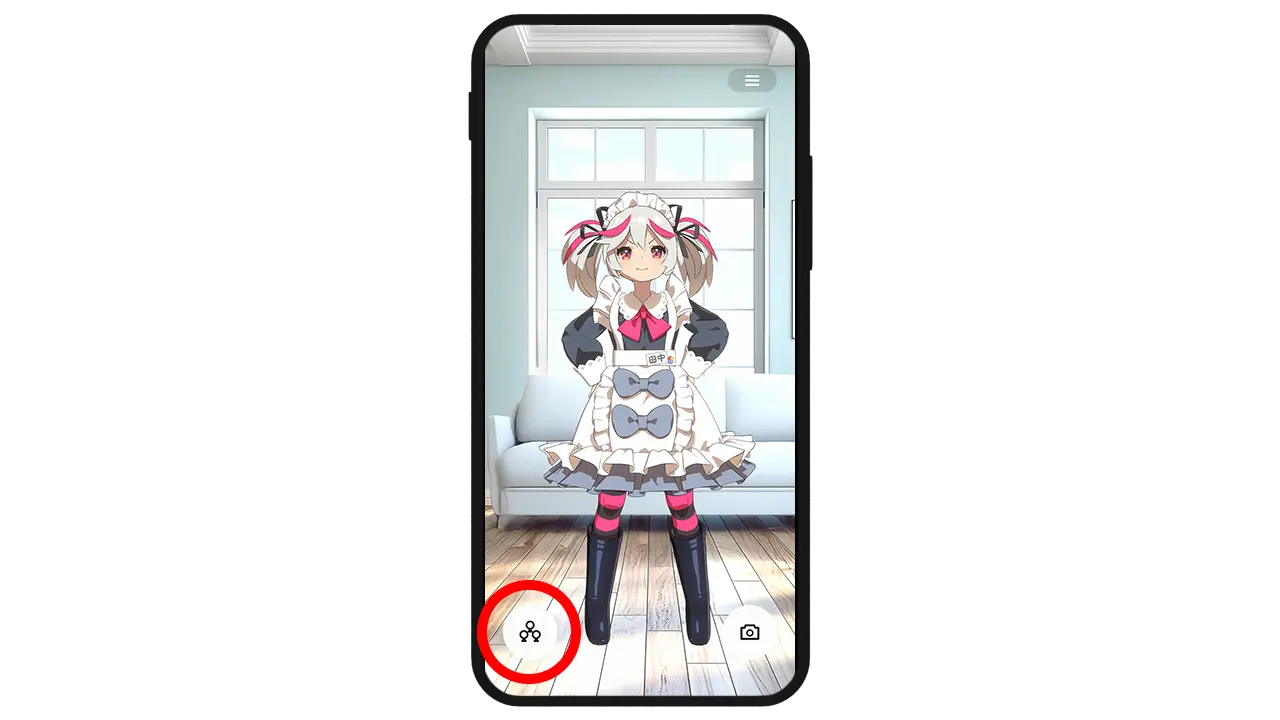
From the home screen, press the SNS feature button at the bottom left to open the SNS screen.
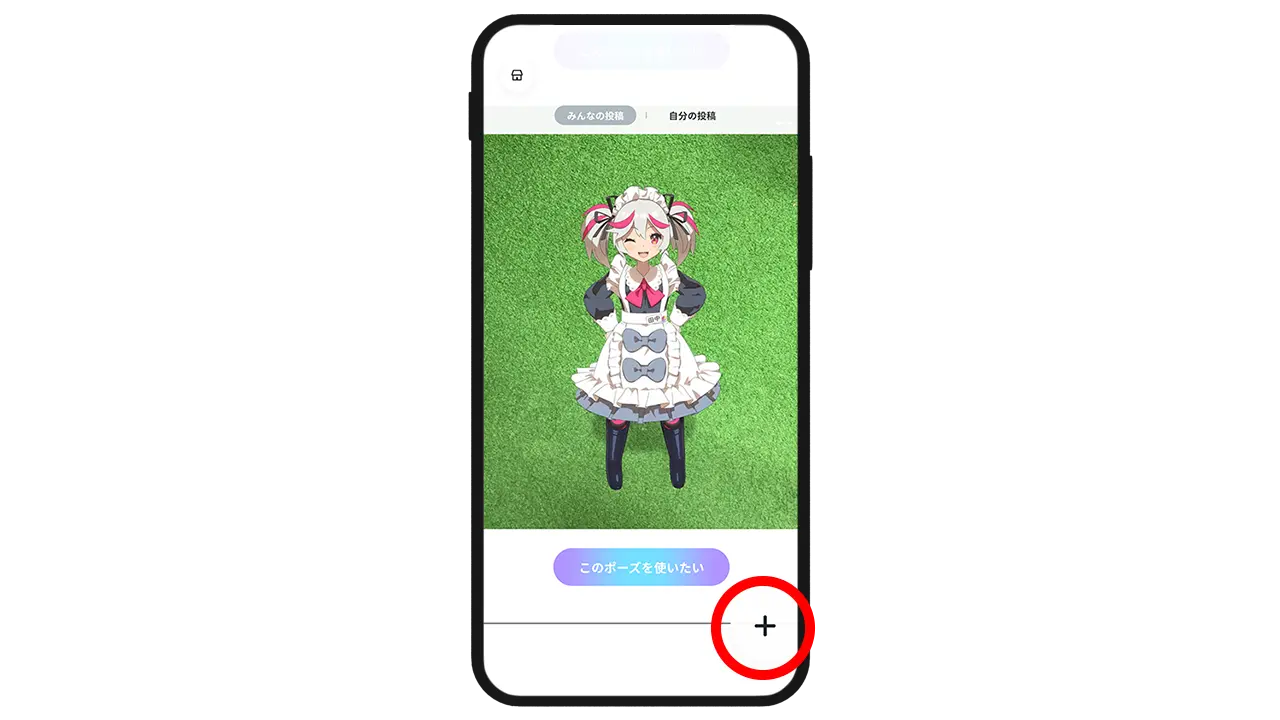
You can share images you created by pressing the "+" button at the bottom right.
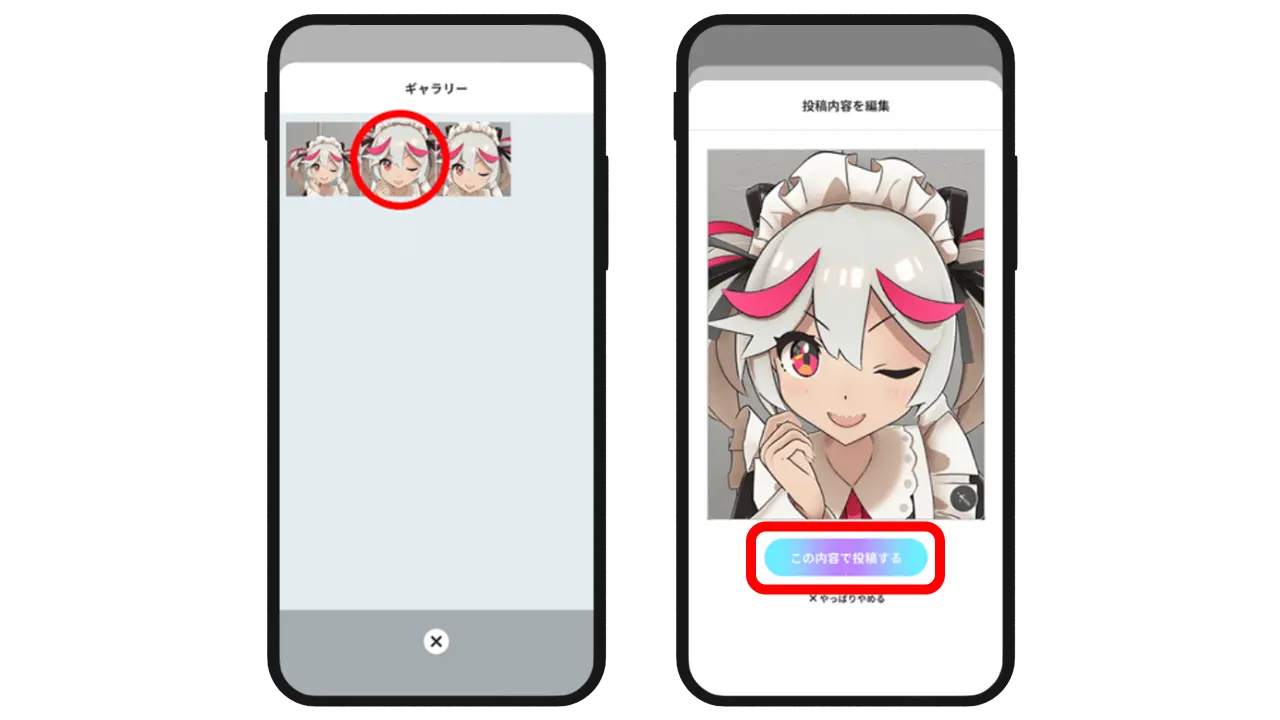
Select the image you want to share from the gallery, then choose "Post with this content".
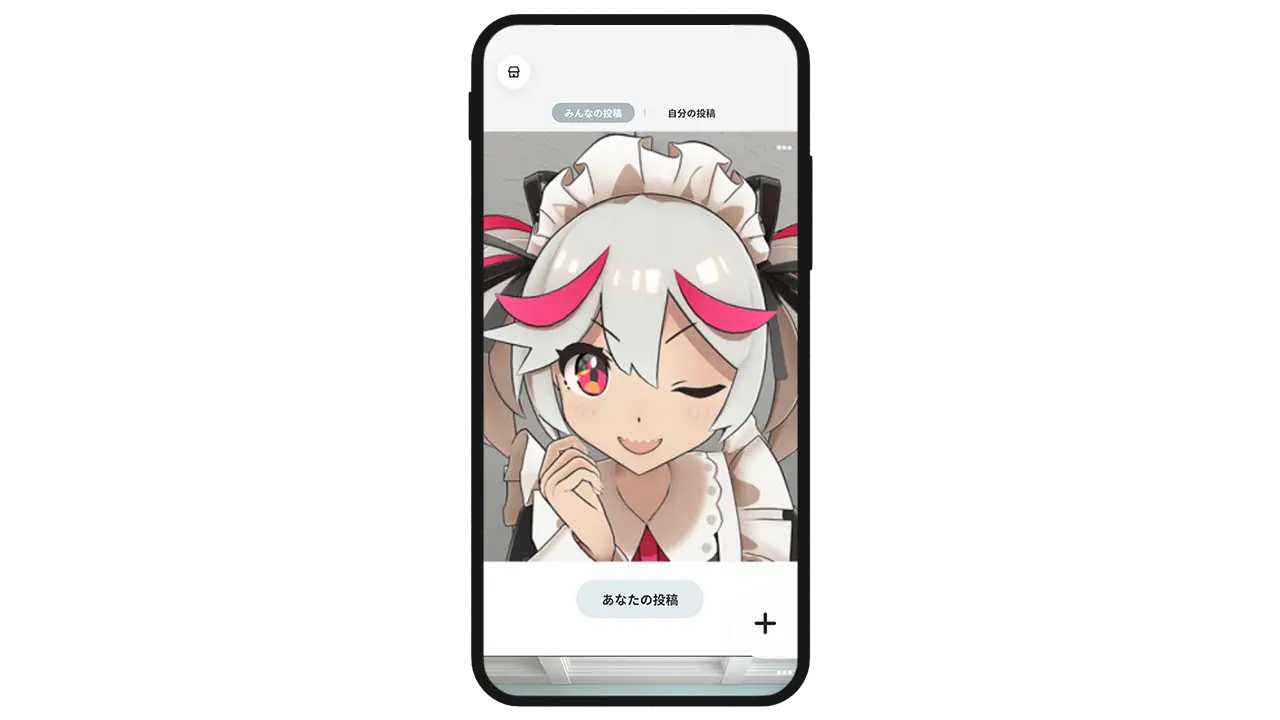
Posting is complete!
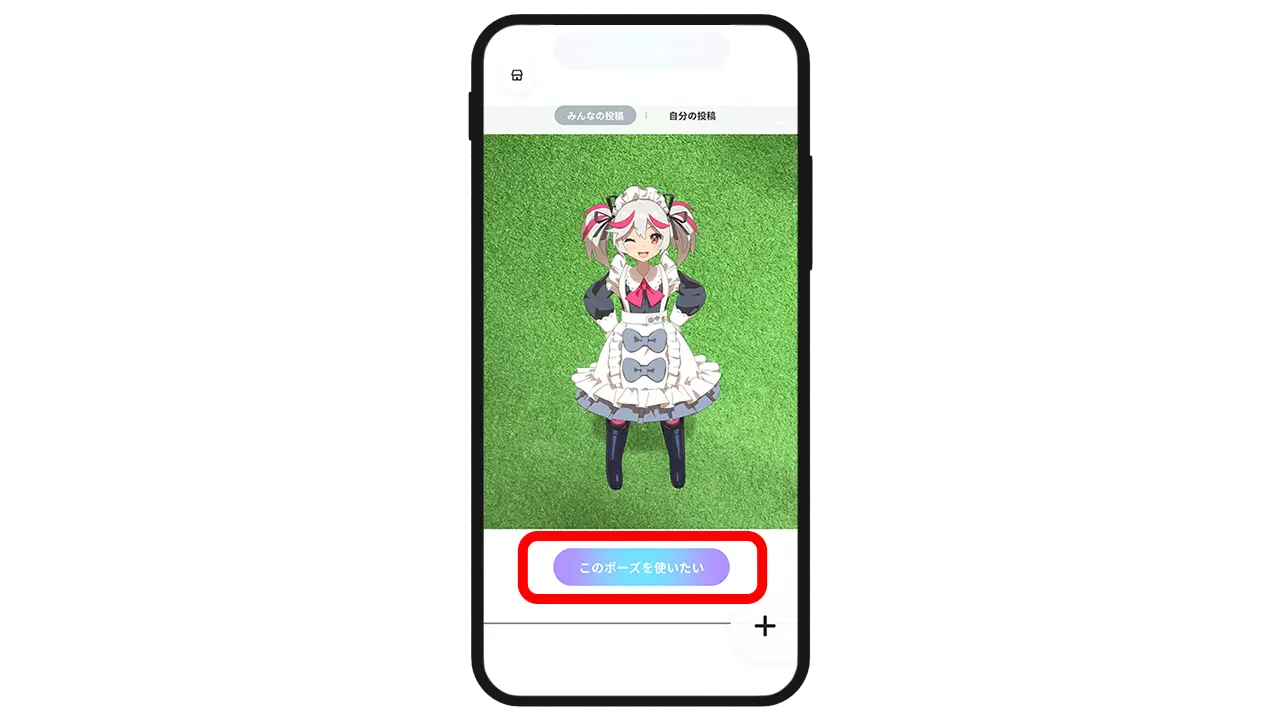
You can use poses created by other users by pressing the "Use this pose" button.
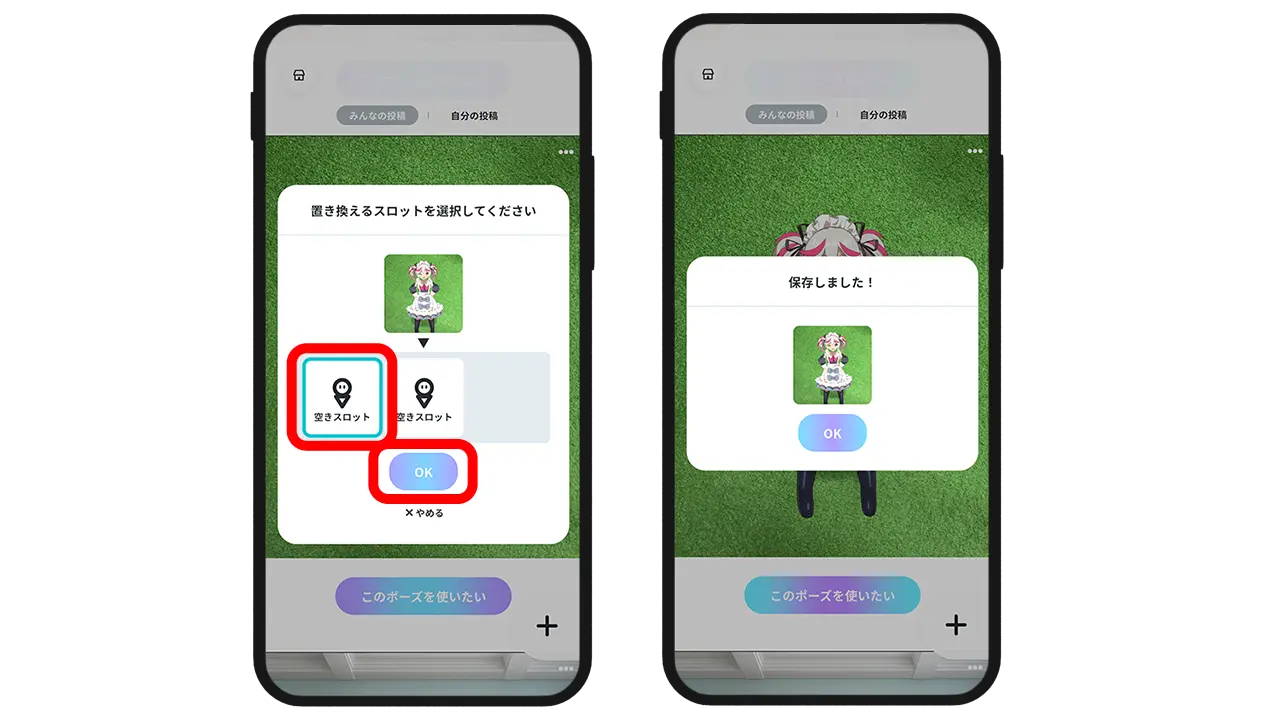
Select the slot to replace and press "OK" to complete saving.
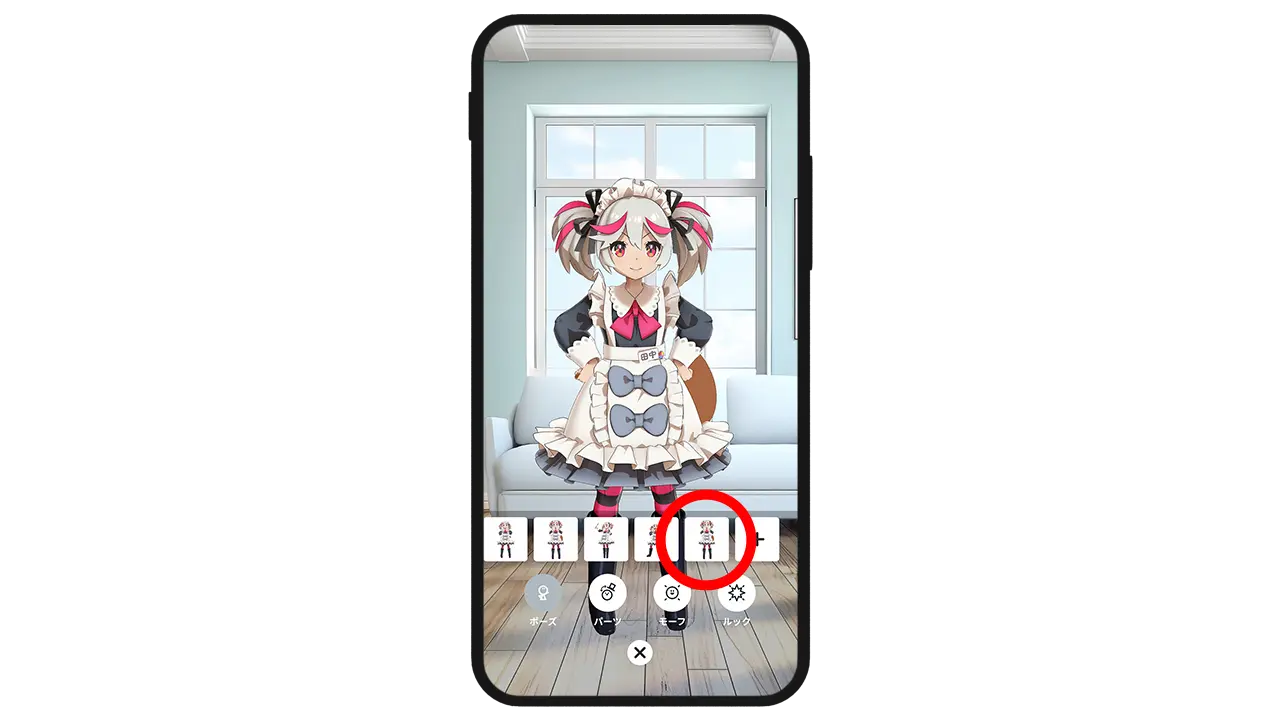
You can use the saved pose from "Advanced Customization".
Smartphone Digital Figure Viewer Enjoyable in XR (AR/VR)
Easy and simple shooting!
[New] HoloModels
Traditional AR pose creation, event features, and more
HoloModels Location