メイクアバターの遊び方
メイクアバターで作ったオリジナルアバターは、様々なプラットフォームと連携することで自分のアバターとして使用できます。
各プラットフォームの連携方法
VRChatとの連携方法
アップロードすることができるアバターブランドは「化体(女性バージョン)」「化体(男性バージョン)」「ちび化体」「Mochipoly(モチポリ)」「極ぽり」「ミラフィー」「いちごちゃん」の7種類です。
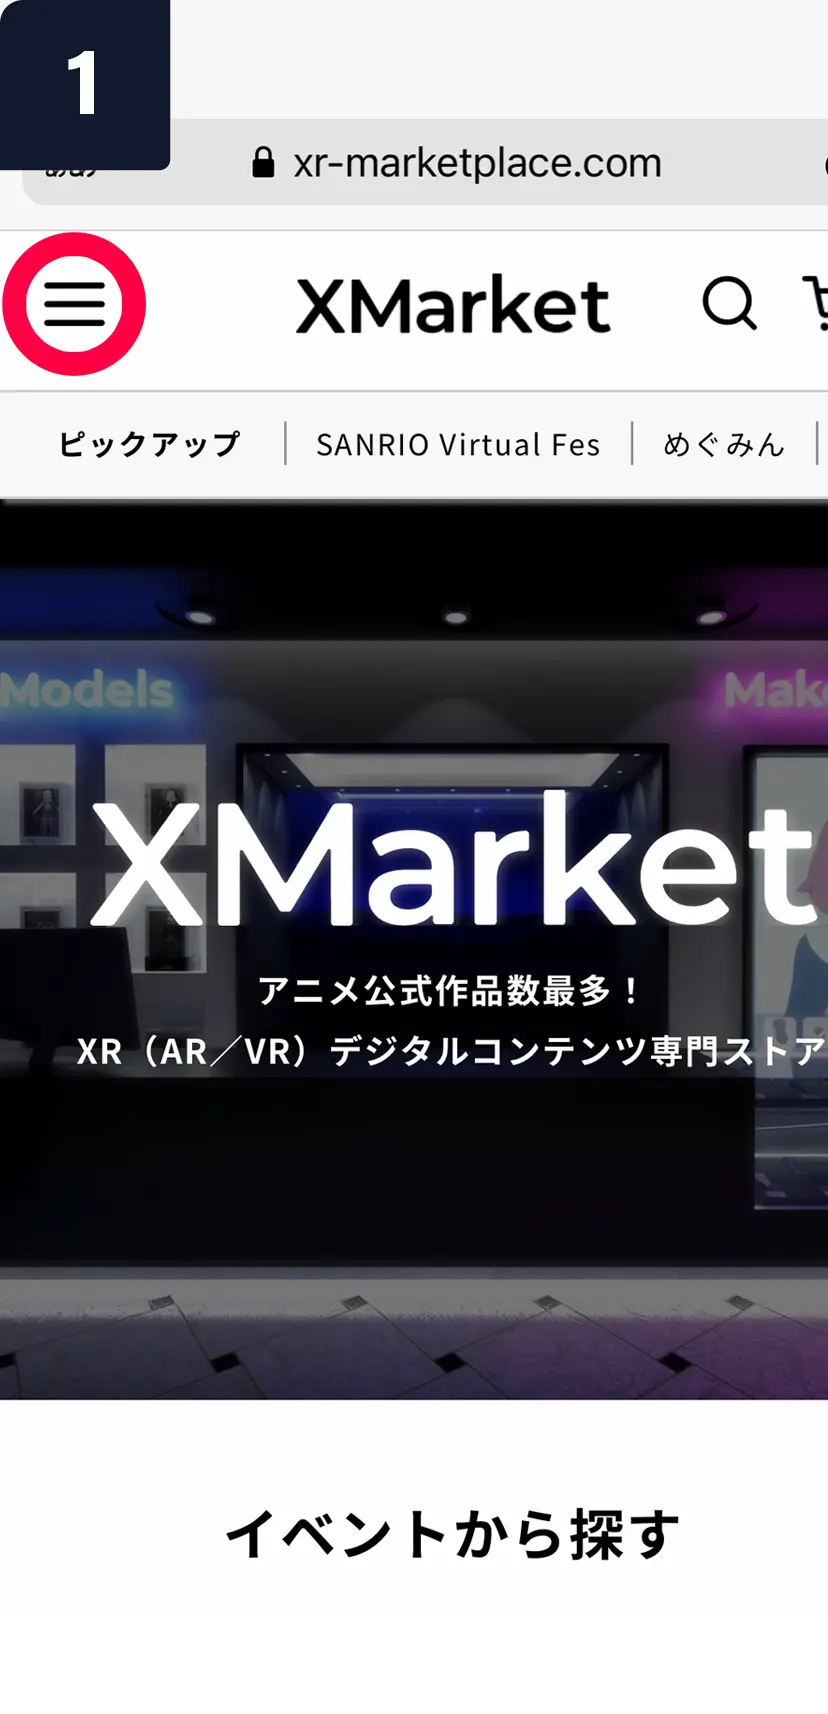
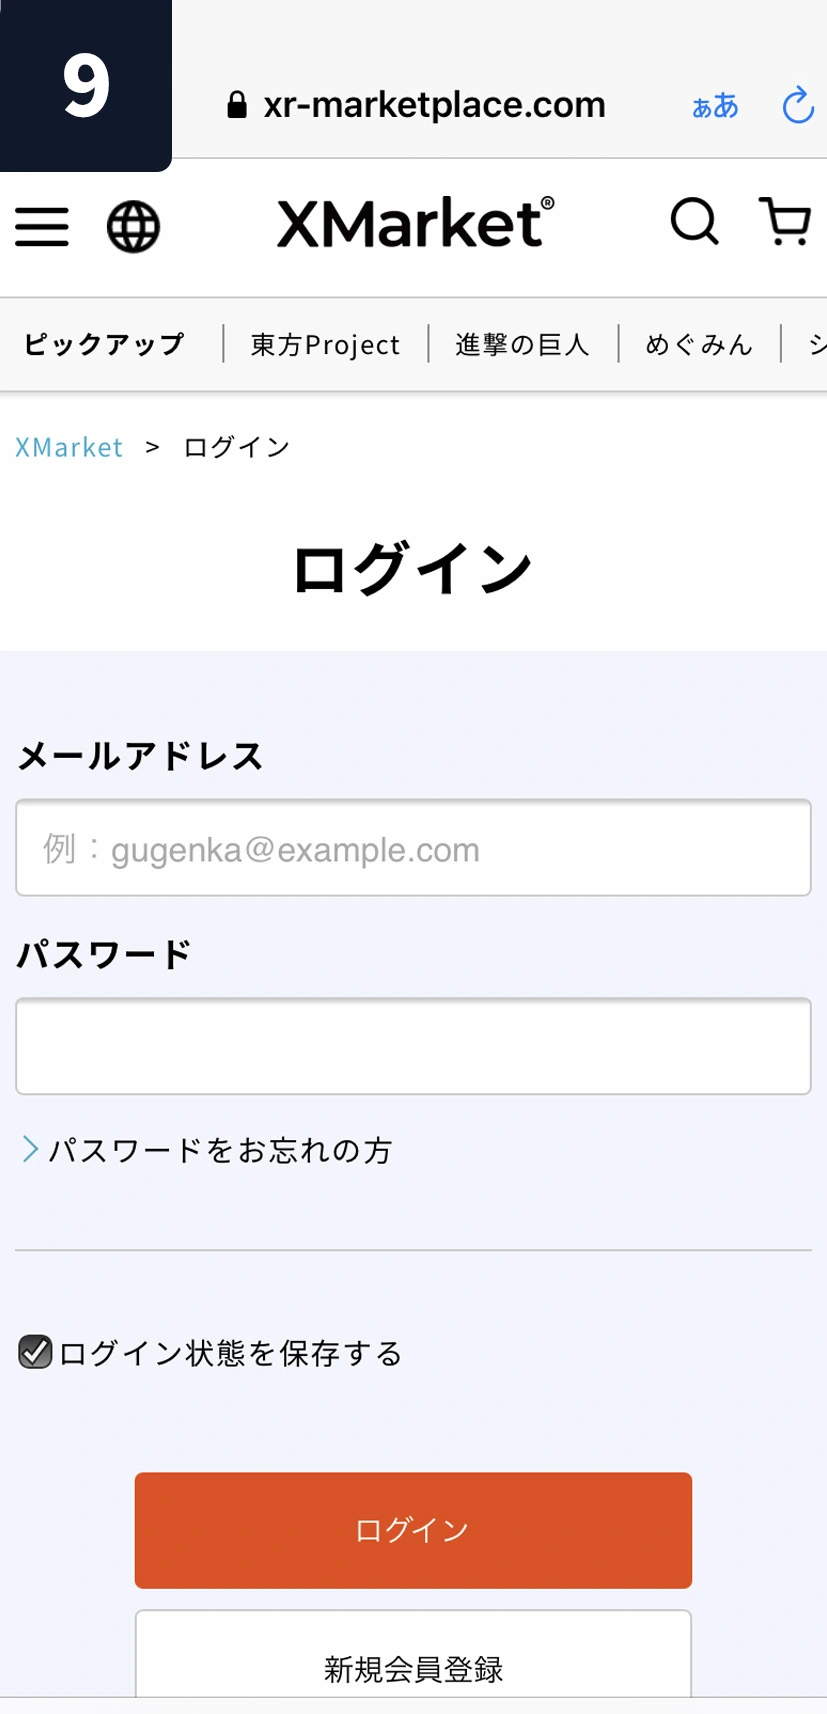
①Xマーケットにアクセスします。
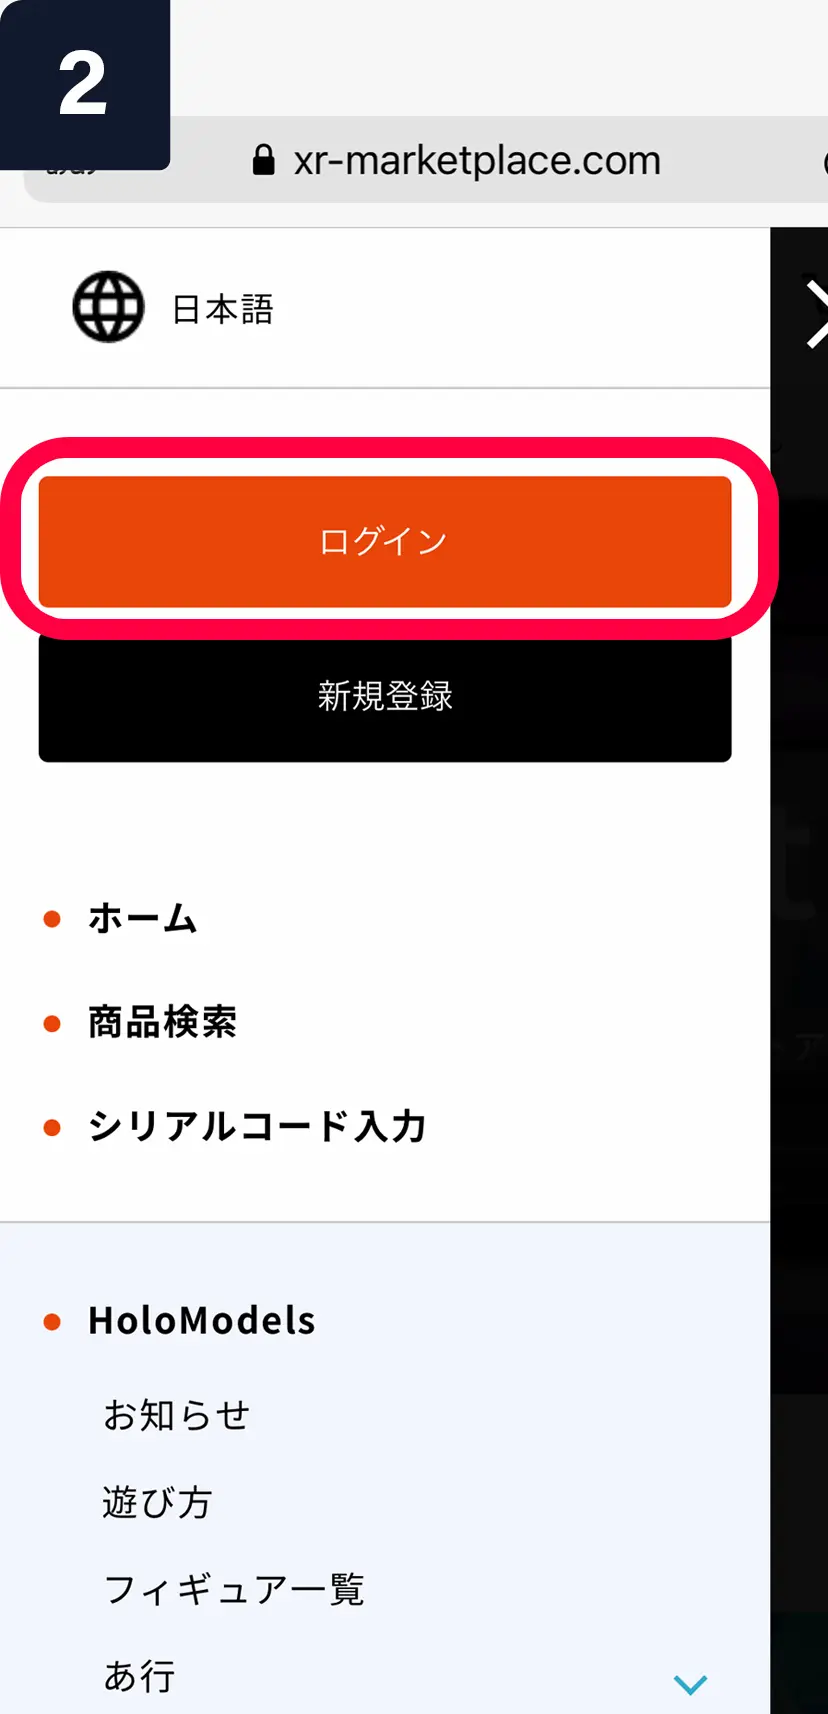
②メニューボタンを選択し、Uアカウントにログインします。
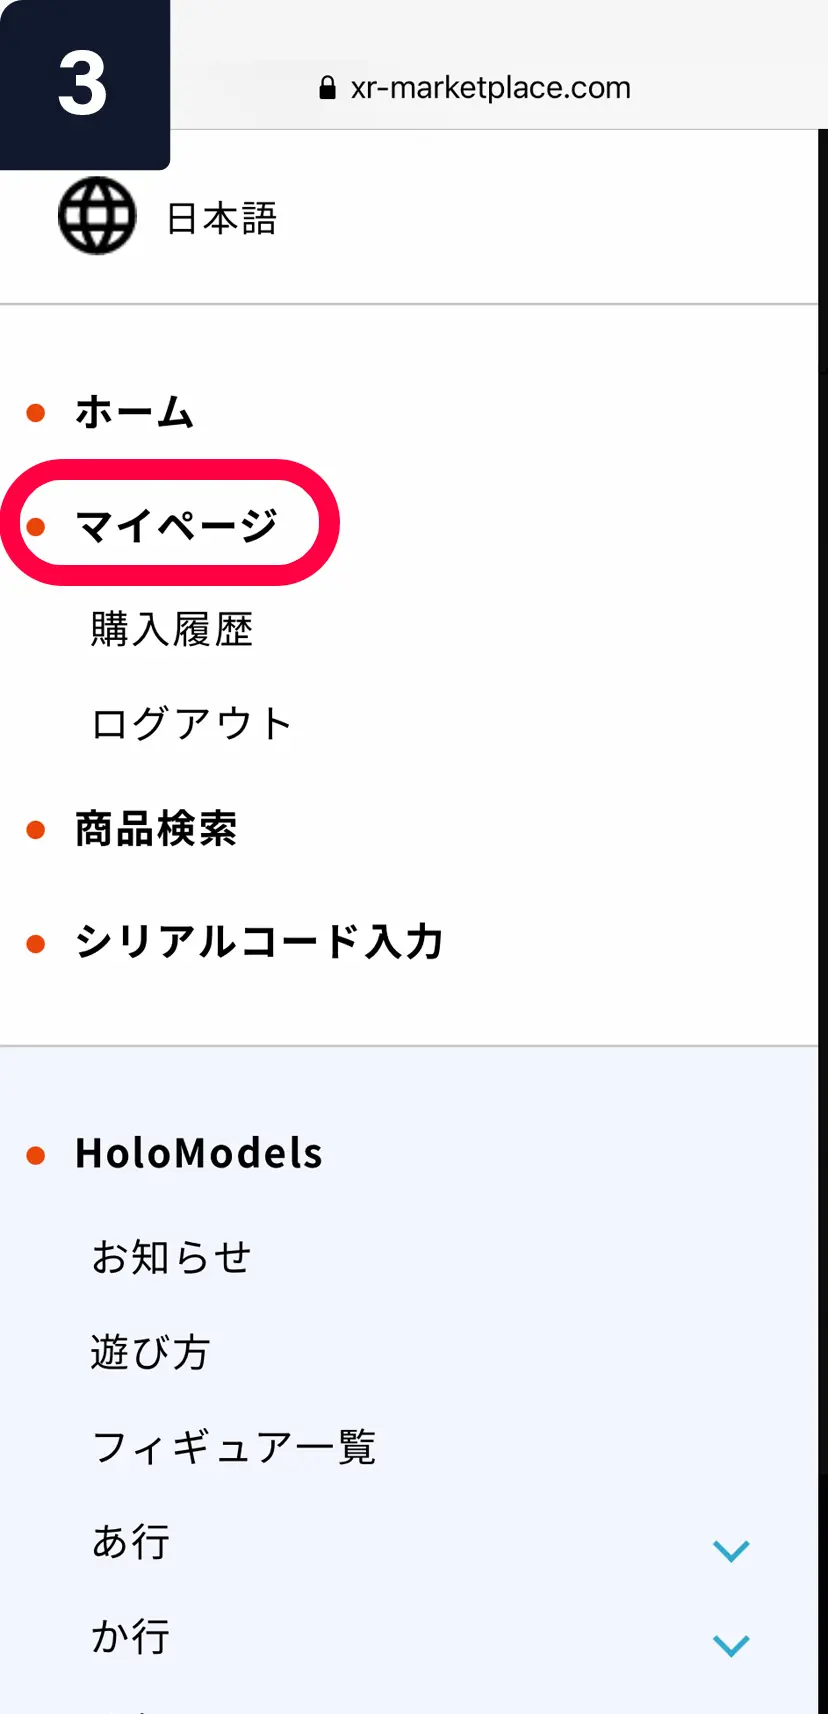
③ログイン後、マイページを選択します。
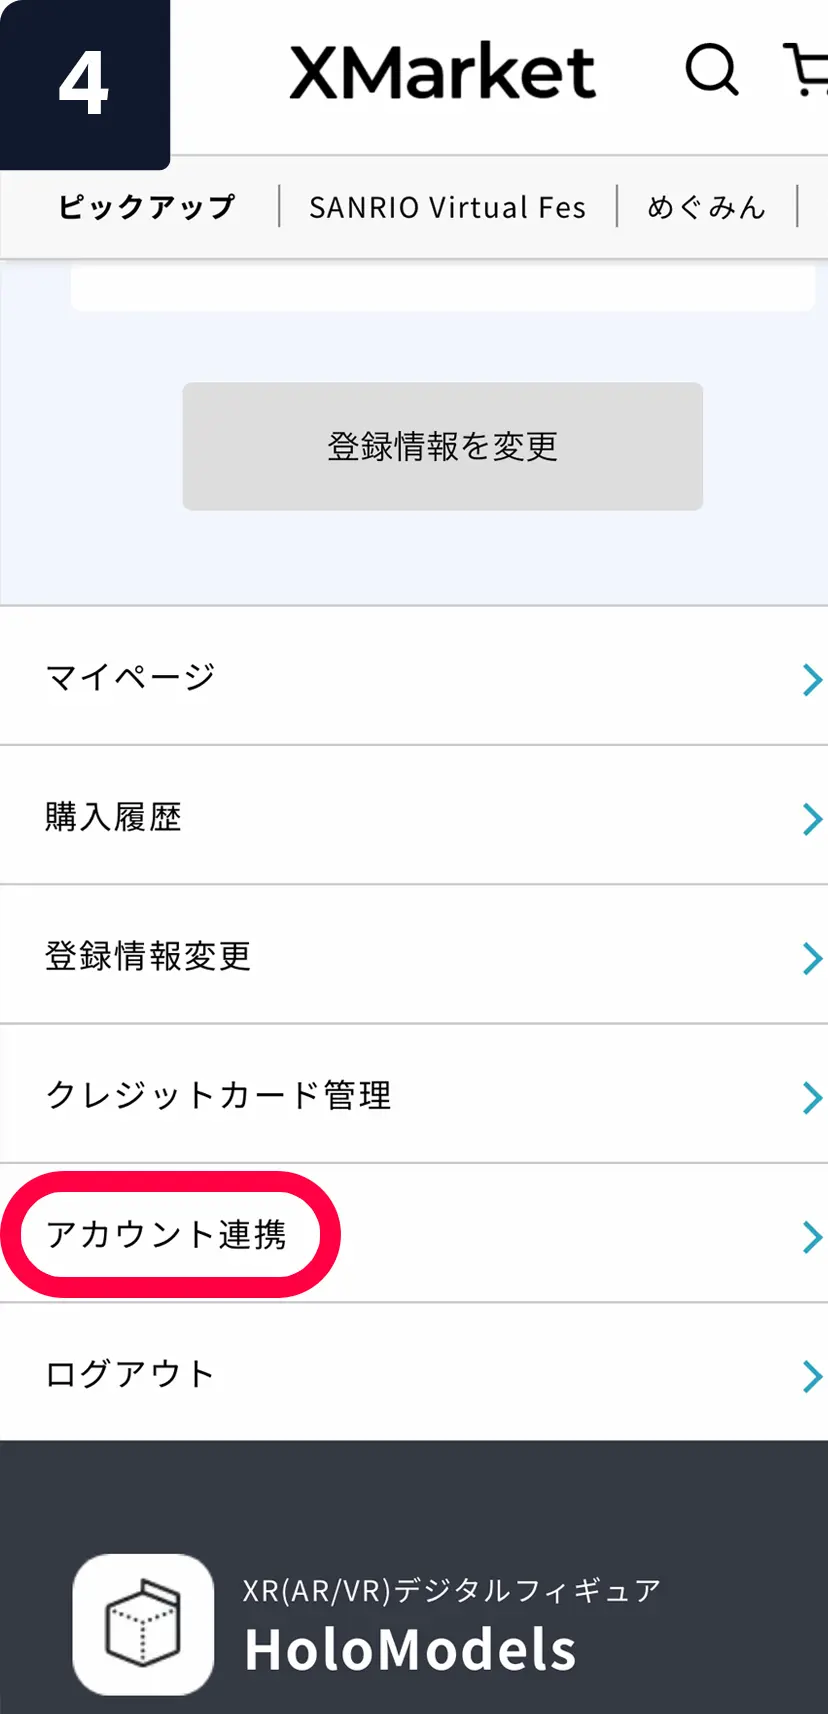
④マイページ内の下部にある「アカウント連携」を選択します。
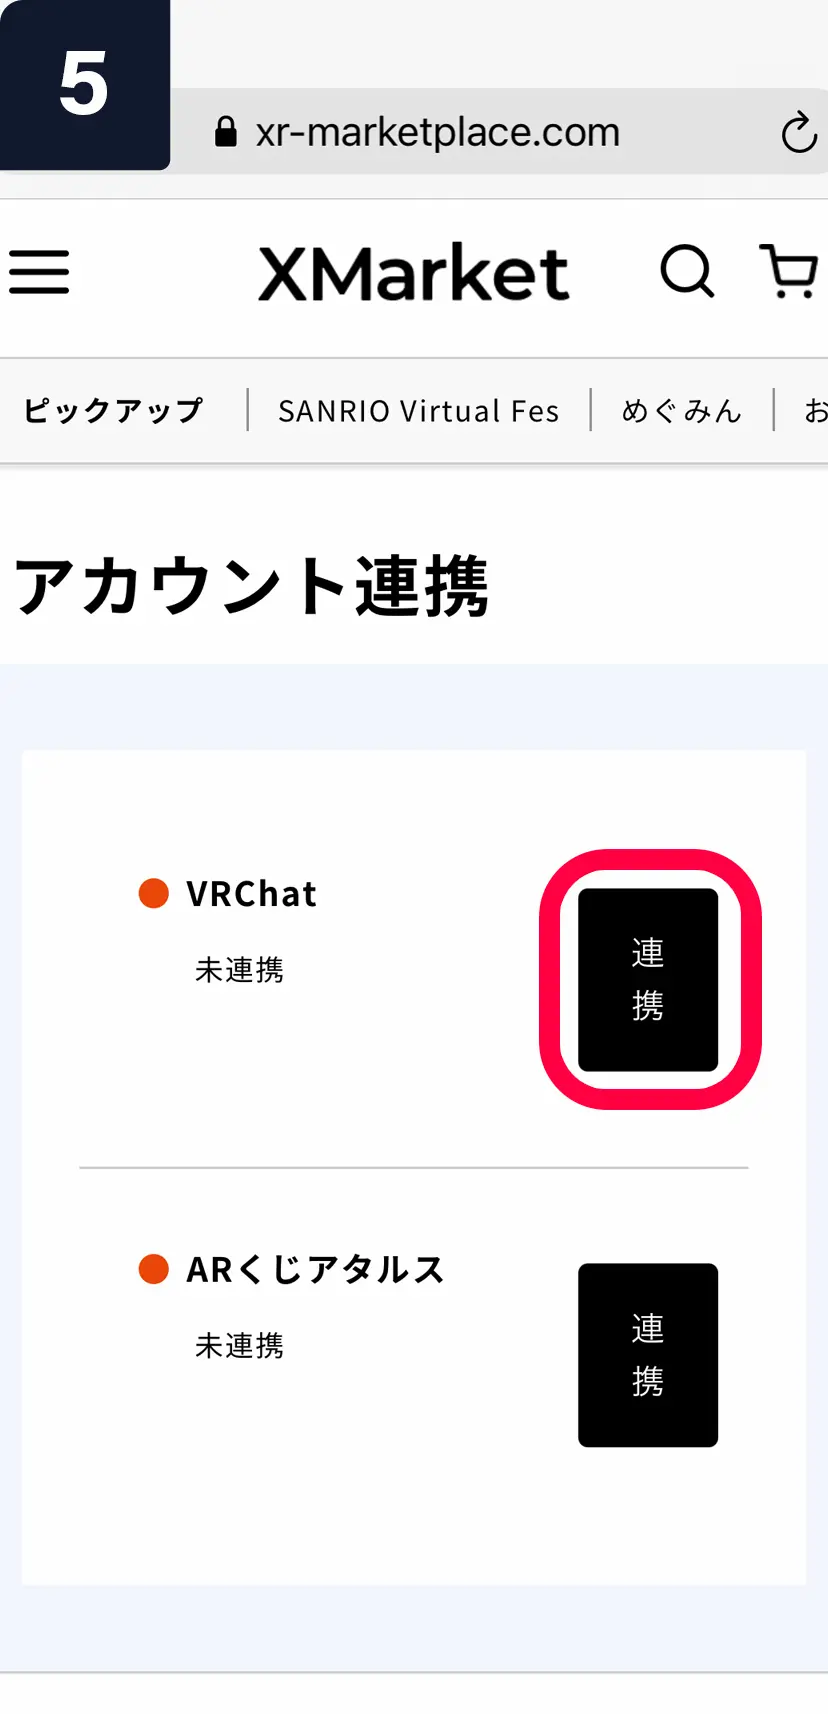
⑤VRChatの「連携」を選択します。
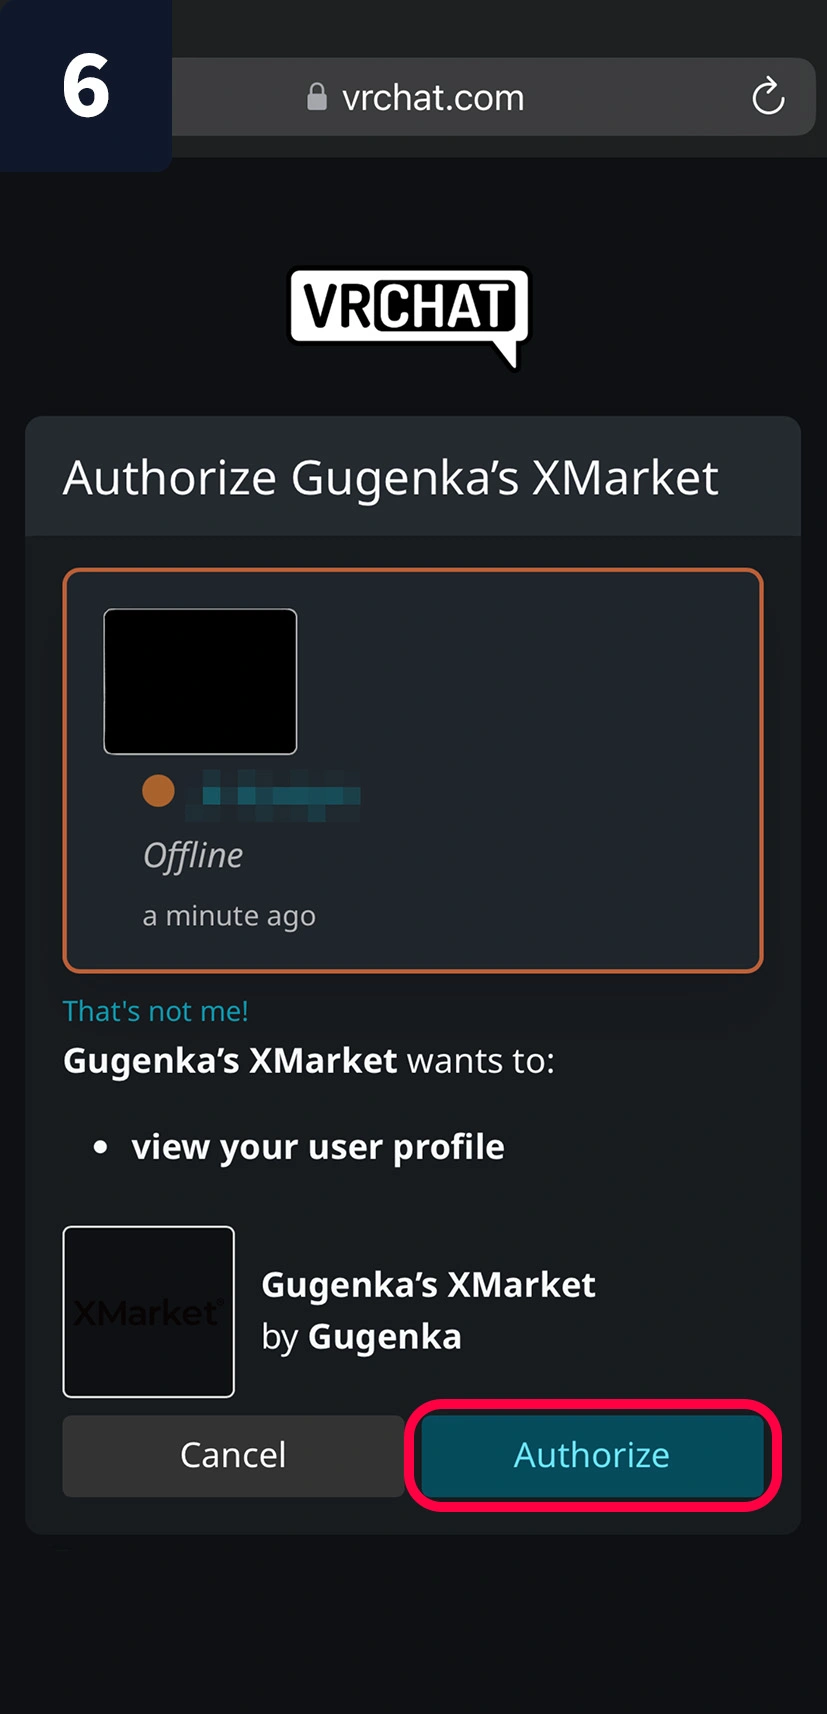
⑥自動的にVRChatの画面に移動します。アカウントにログインして、「Authorize」を押します。
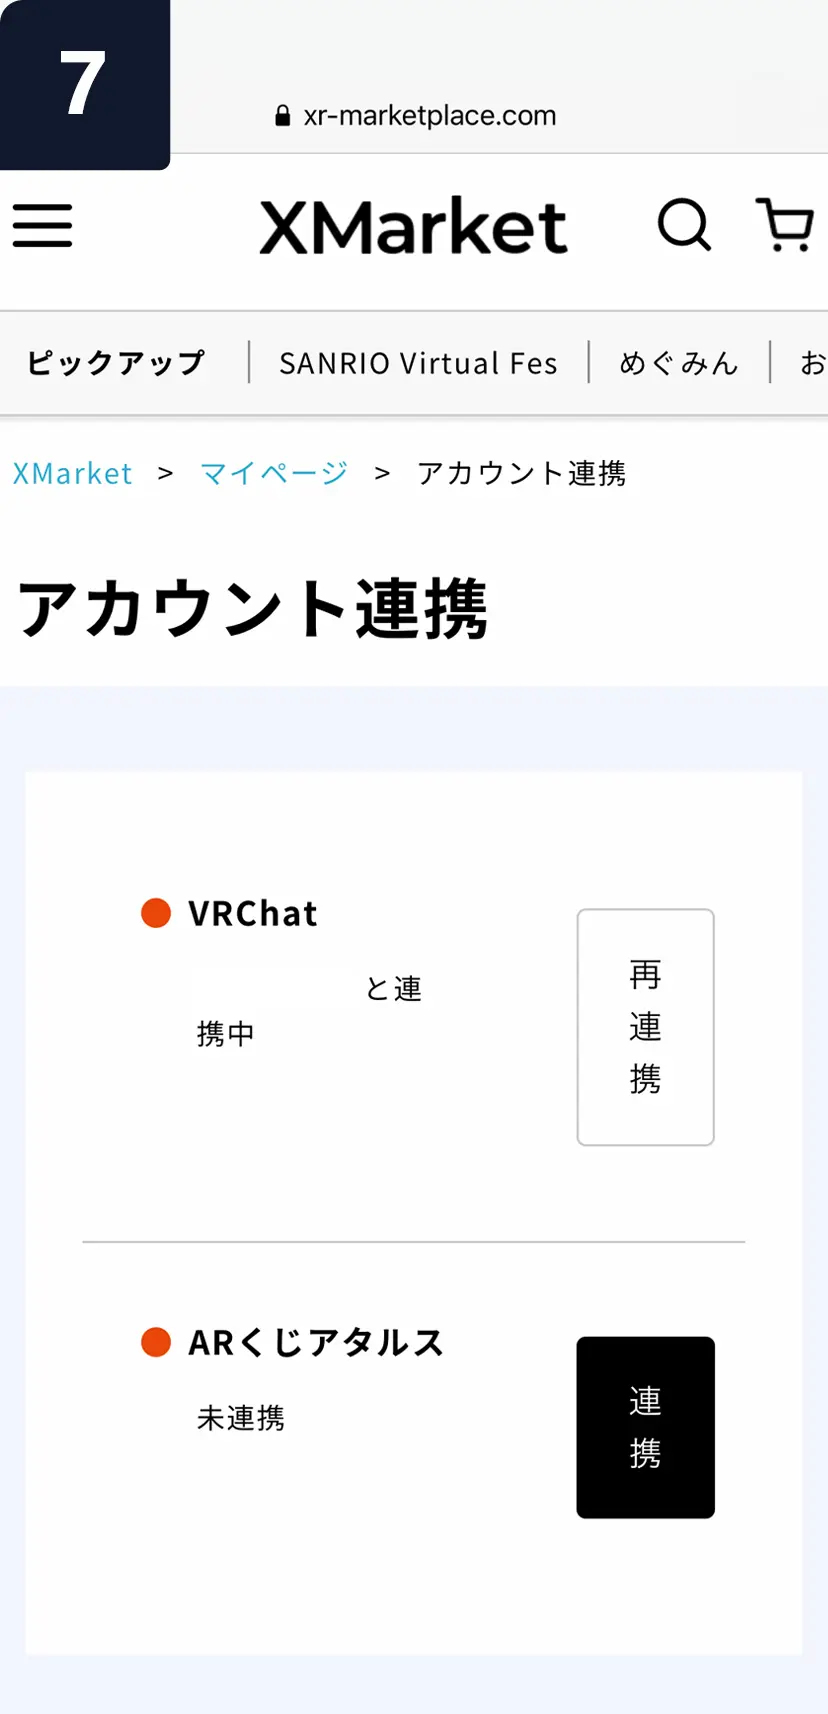
⑦UアカウントとVRChatアカウントの連携が完了しました!
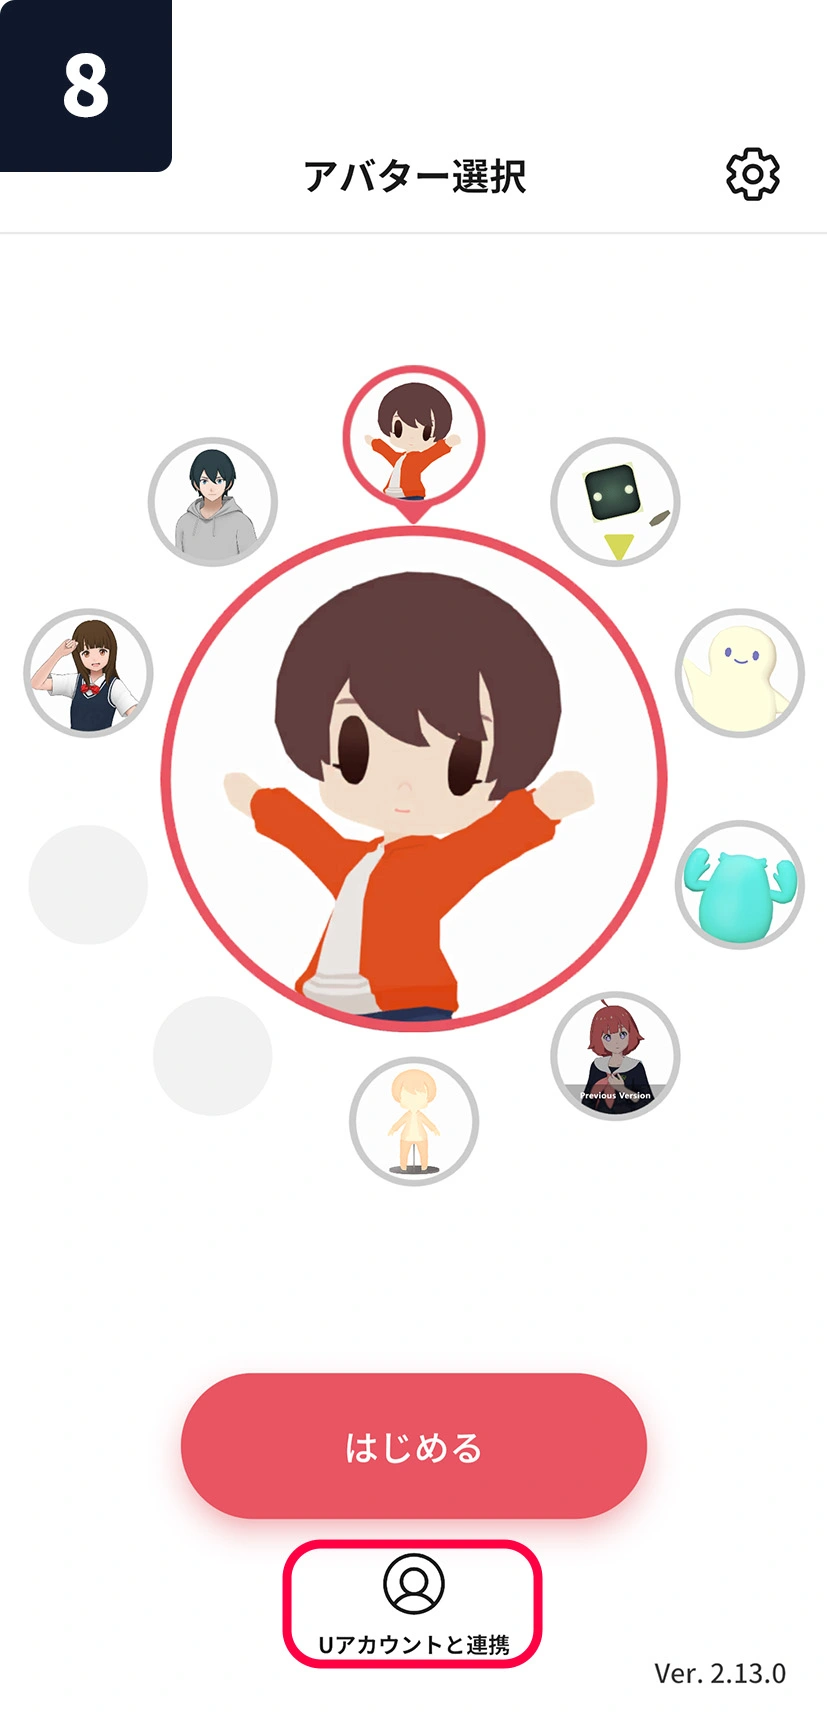
⑧メイクアバターのアプリを開いてUアカウントと連携します。
⑨Uアカウントでログインします。
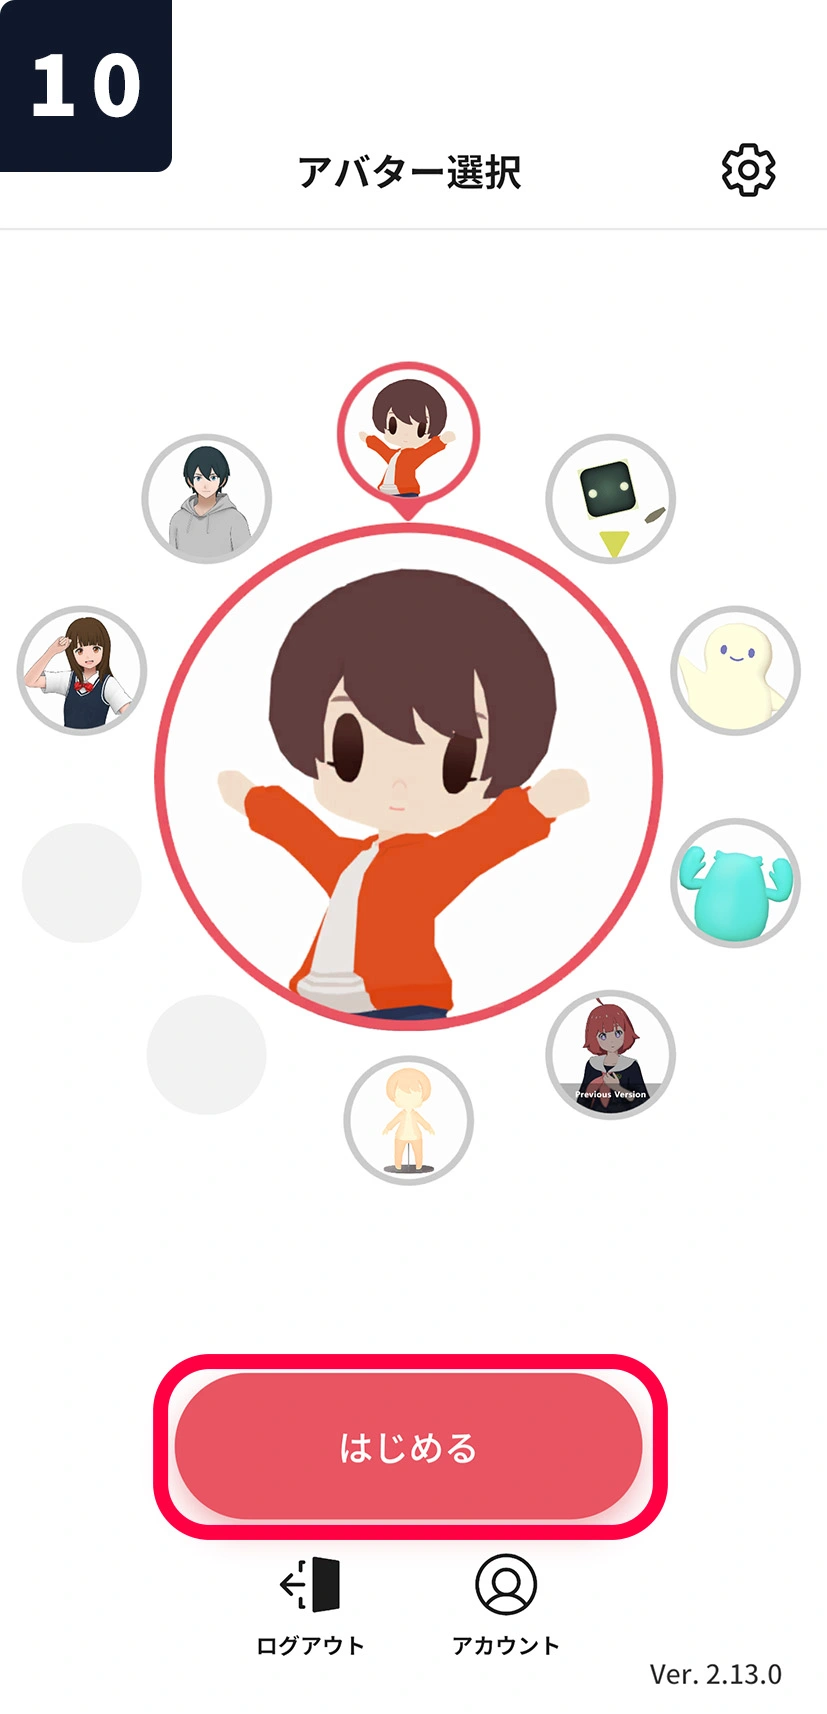
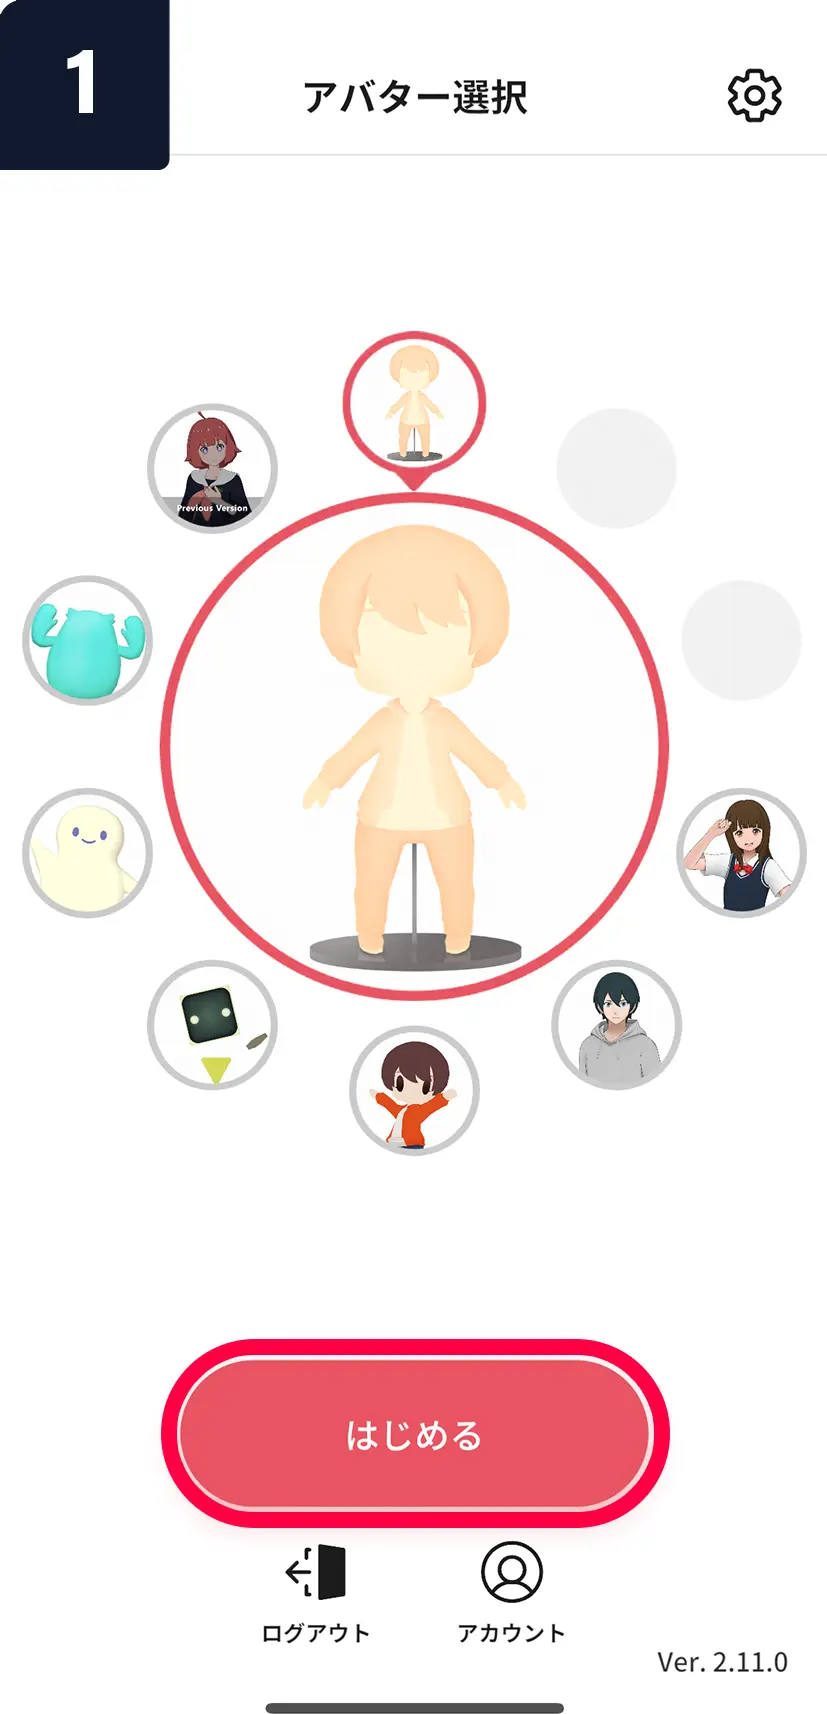
⑩下部のアイコンが変わったら連携完了です。作りたいアバターを選択し、「はじめる」を押します。
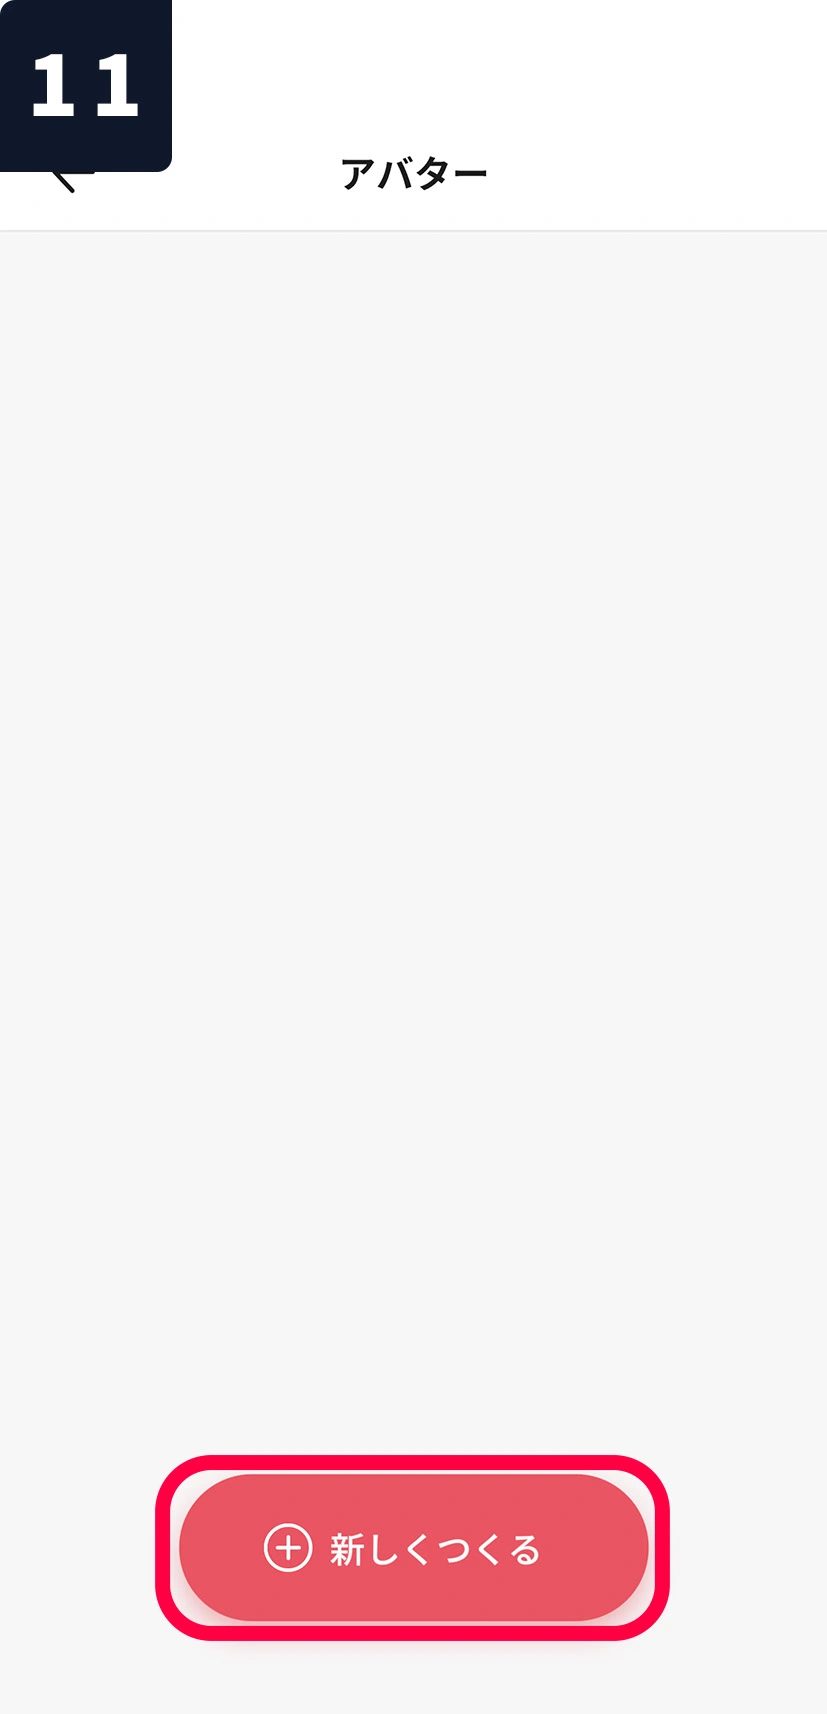
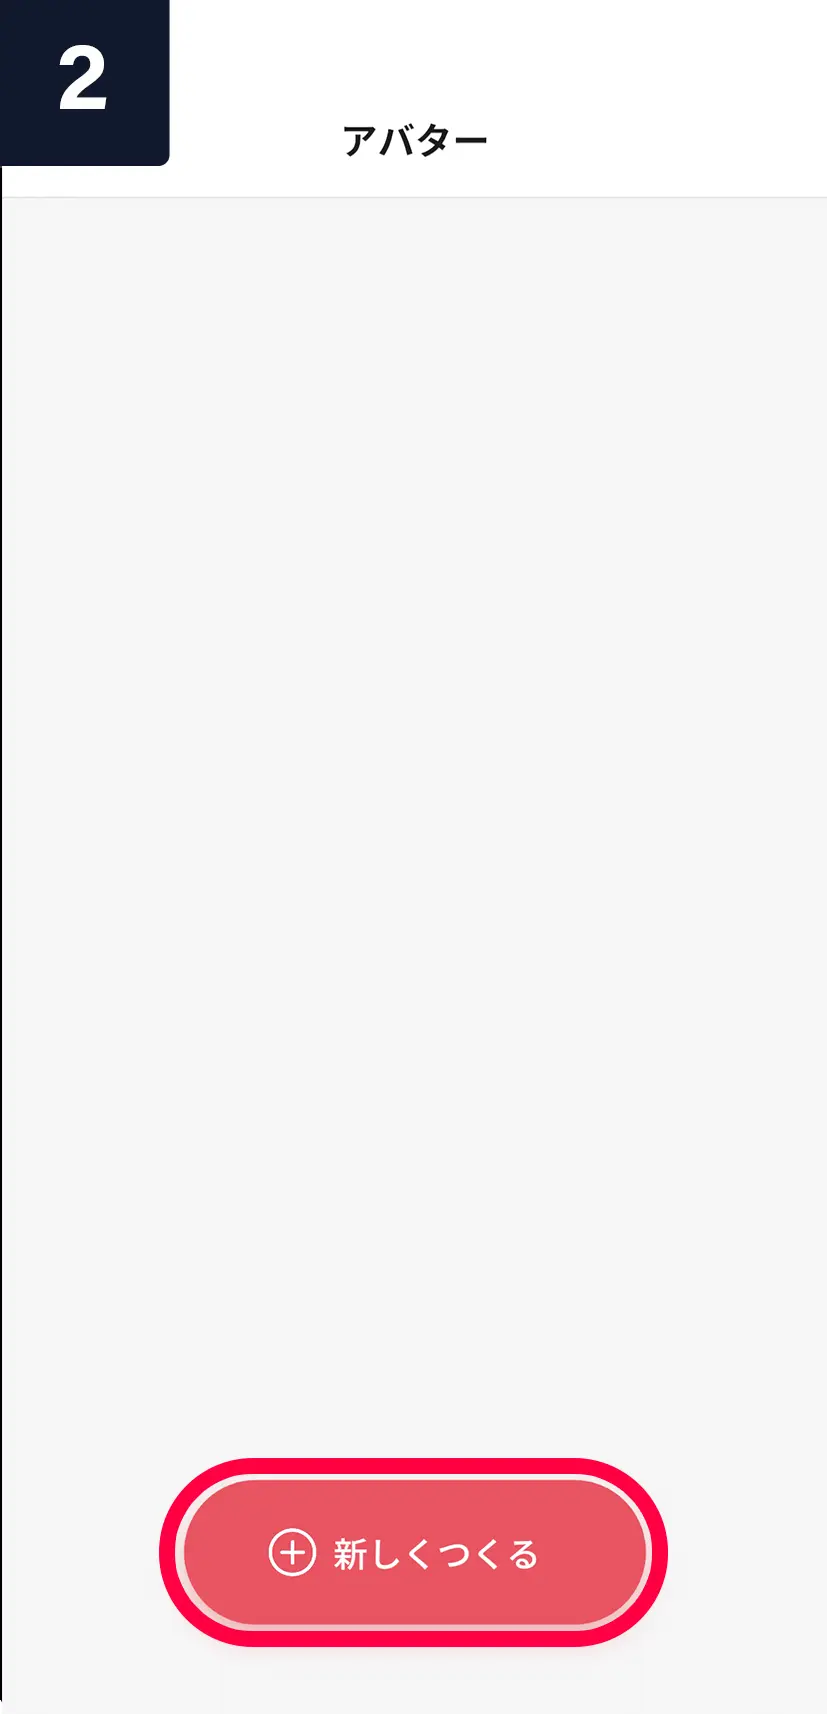
⑪「新しくつくる」を押します。
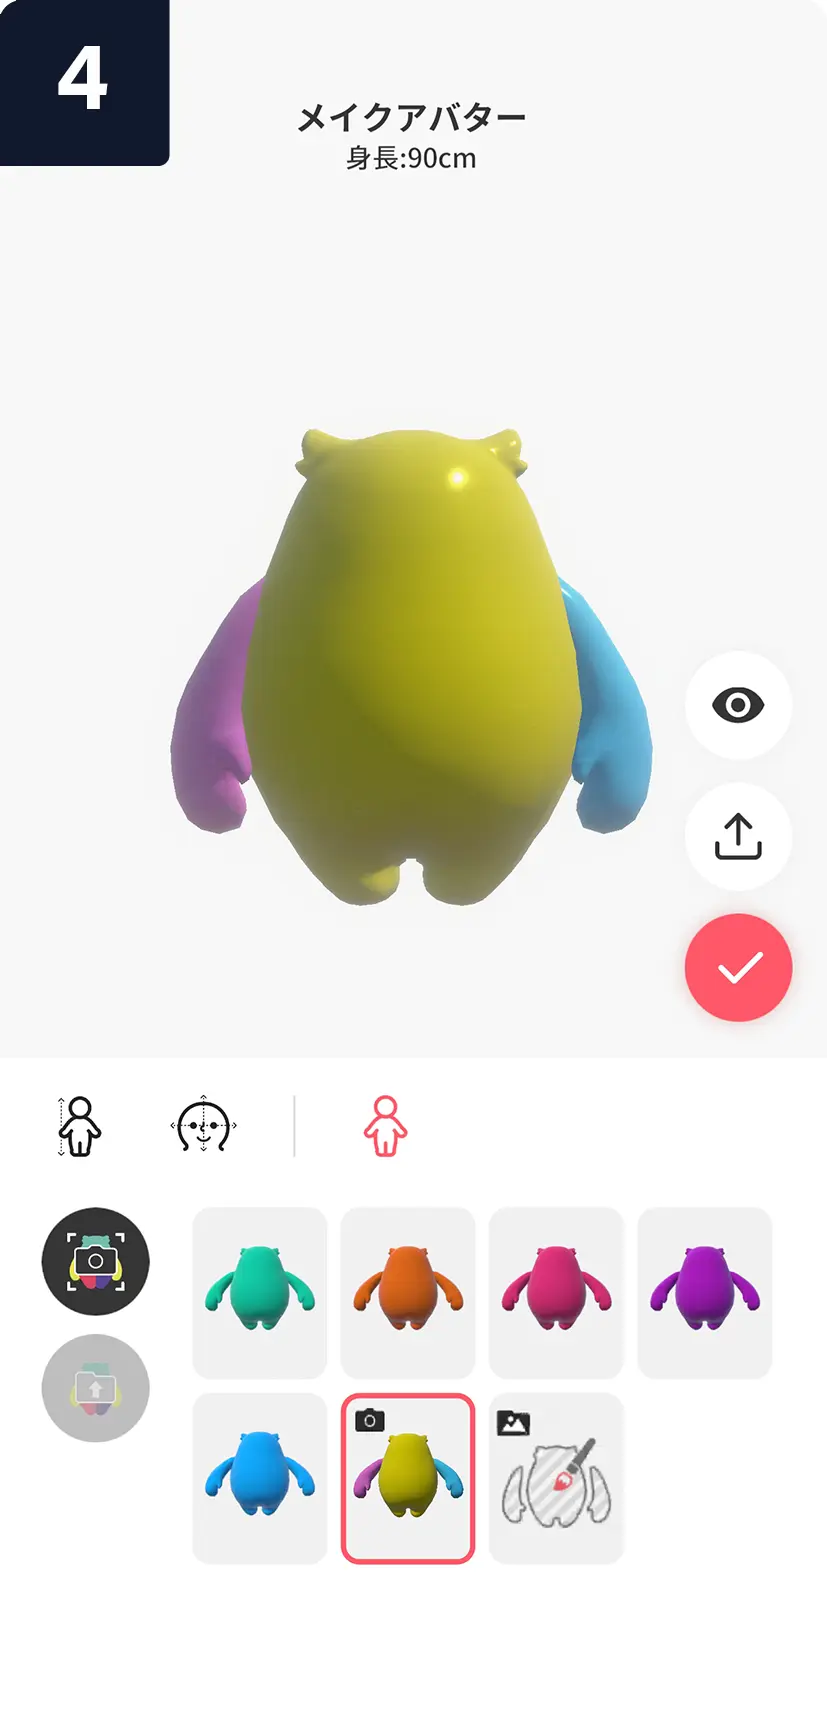
⑫アバターを作成したら、外部連携アイコンを選択し、アップロードします。
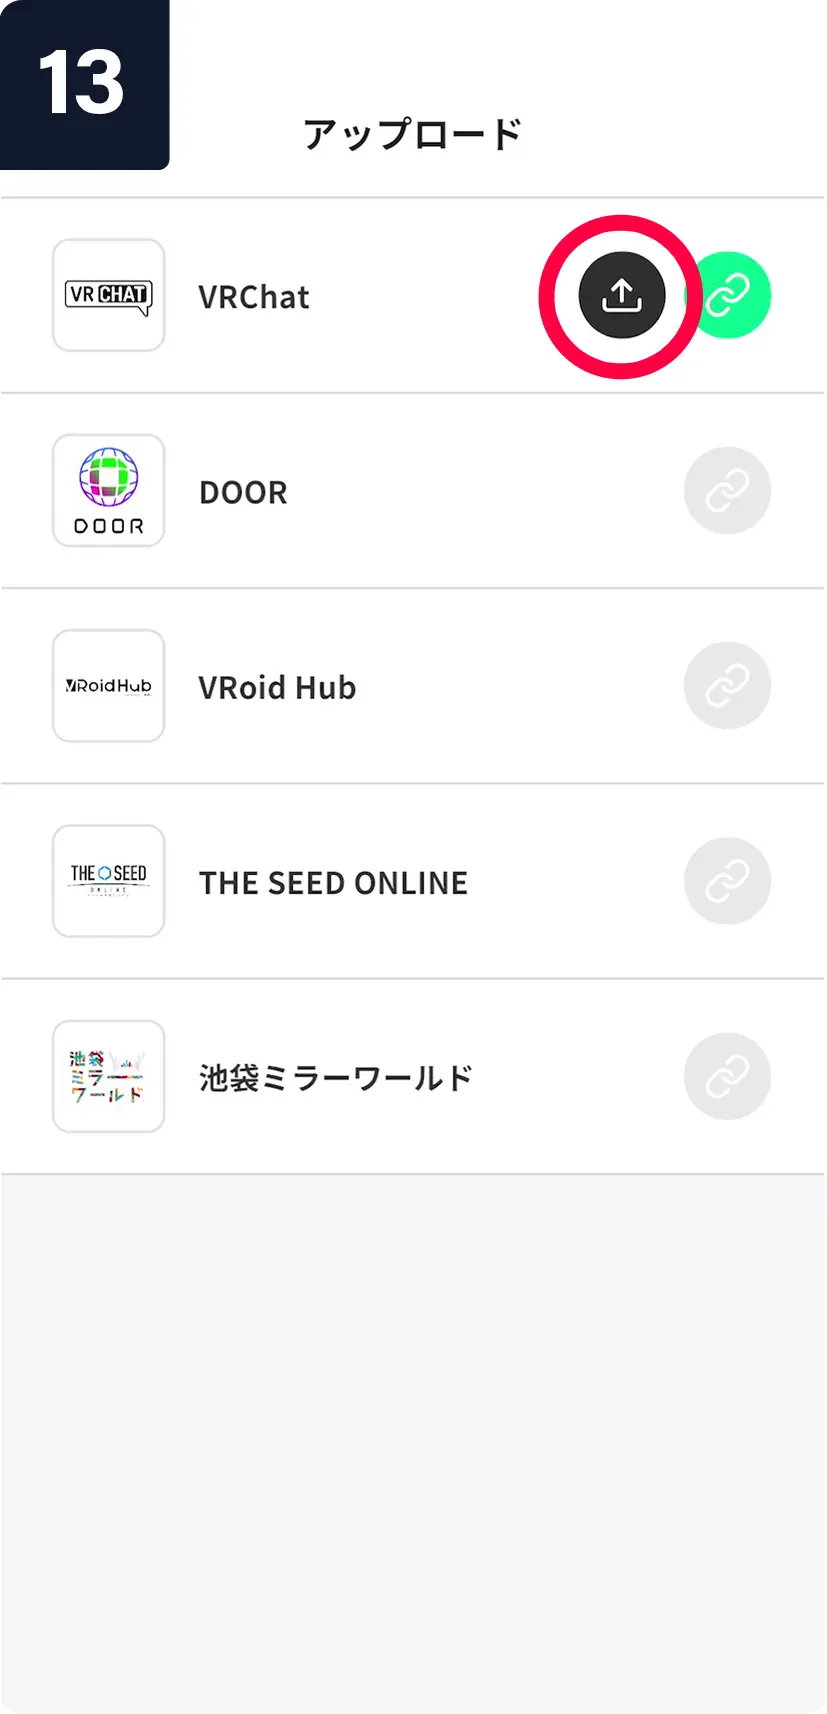
⑬VRChat欄の左のアイコンを選択します。
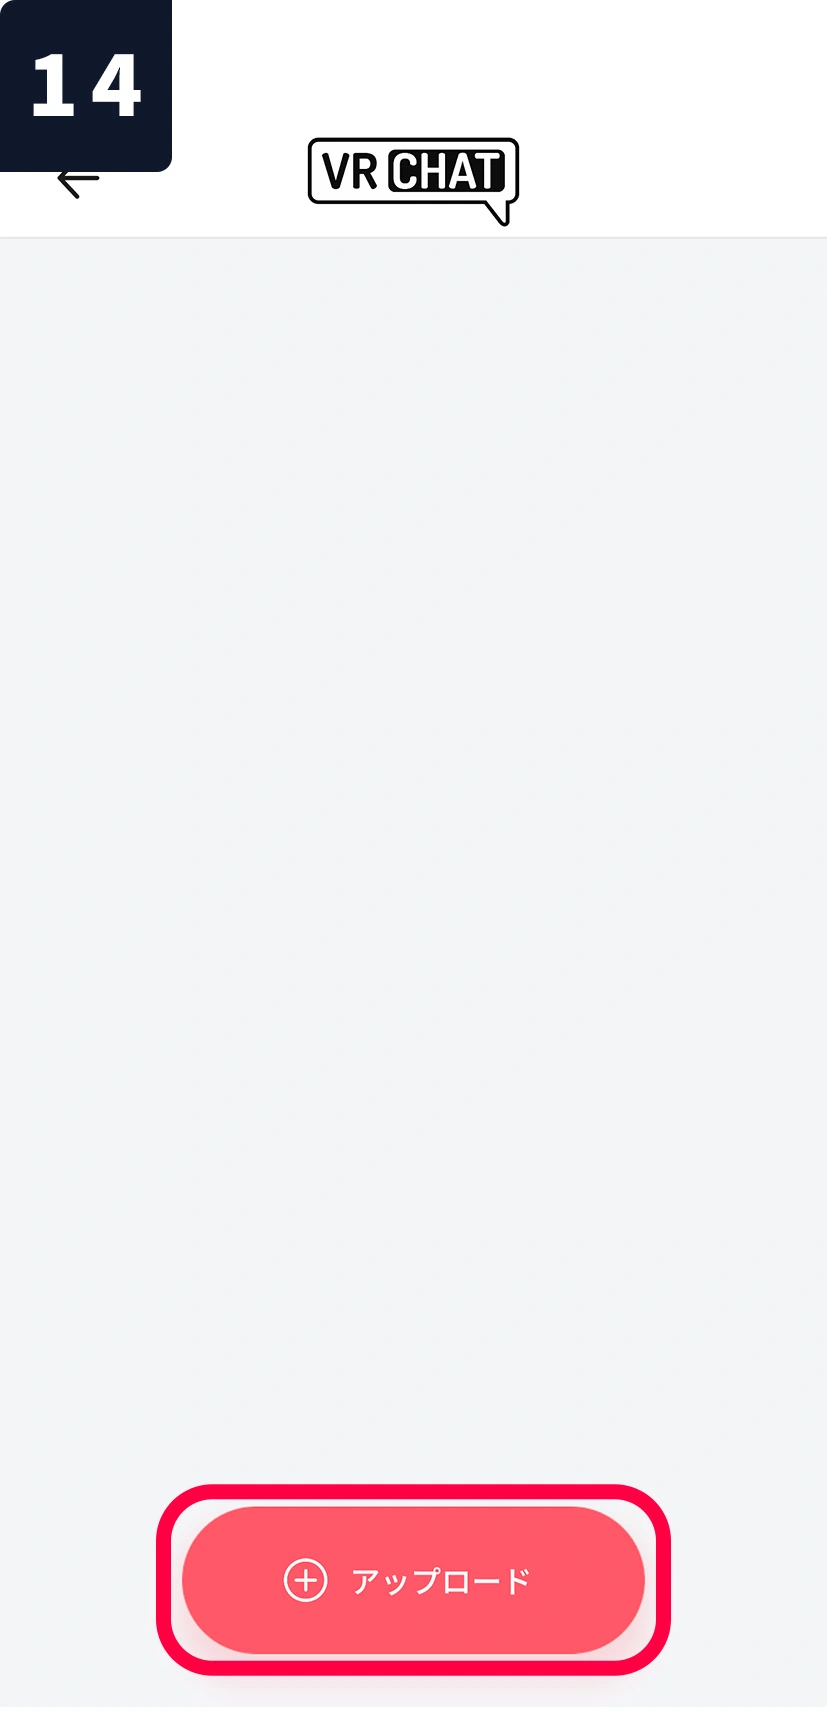
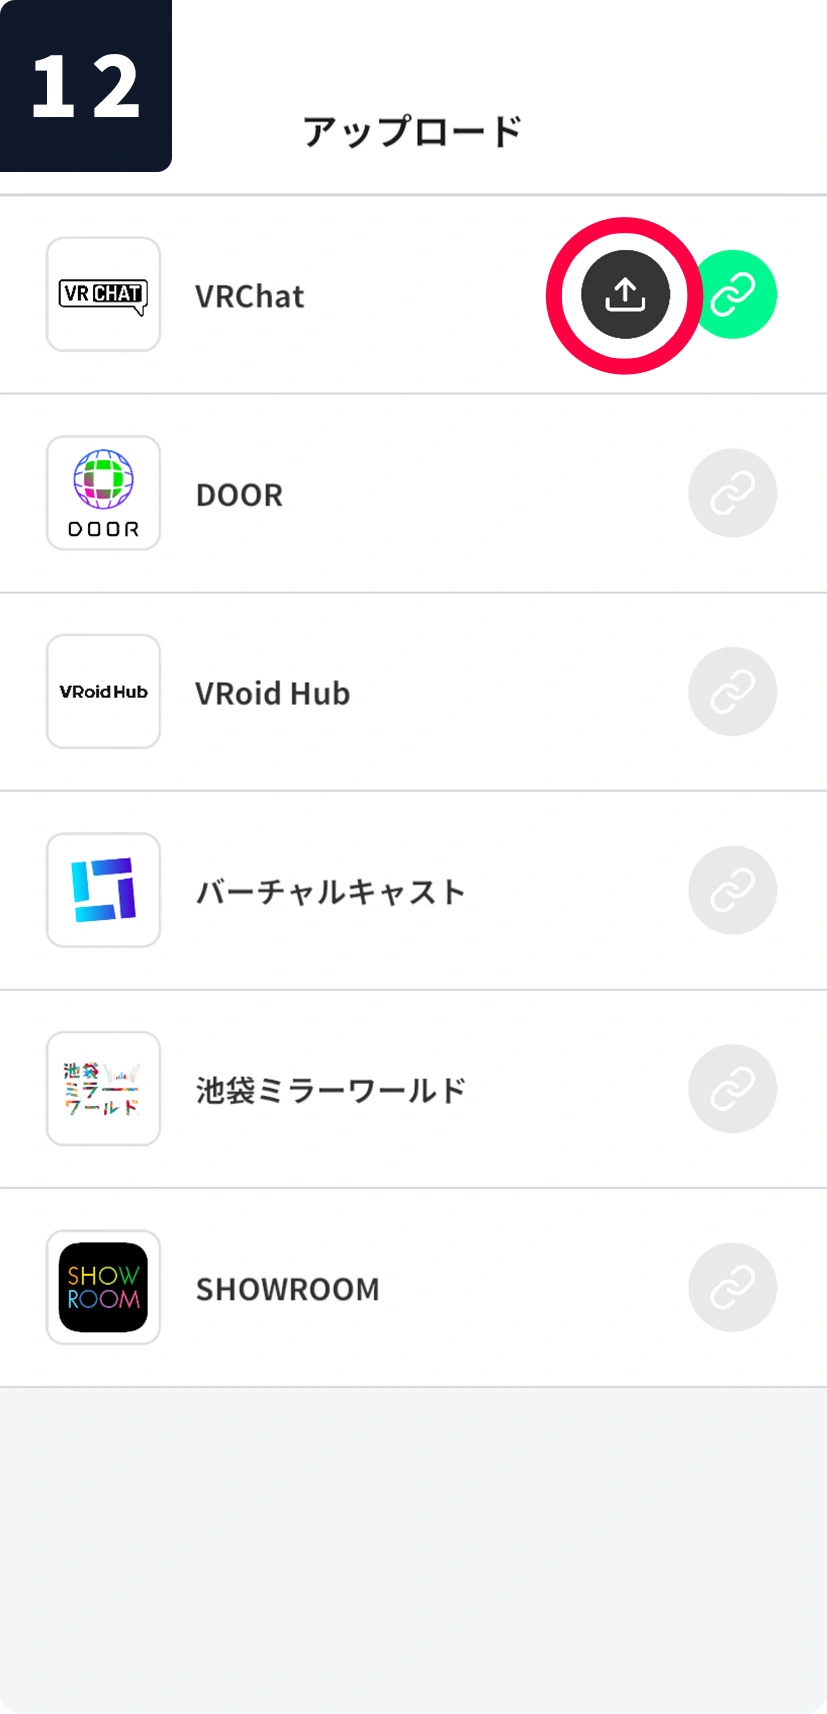
⑭下部の「アップロード」を押します。
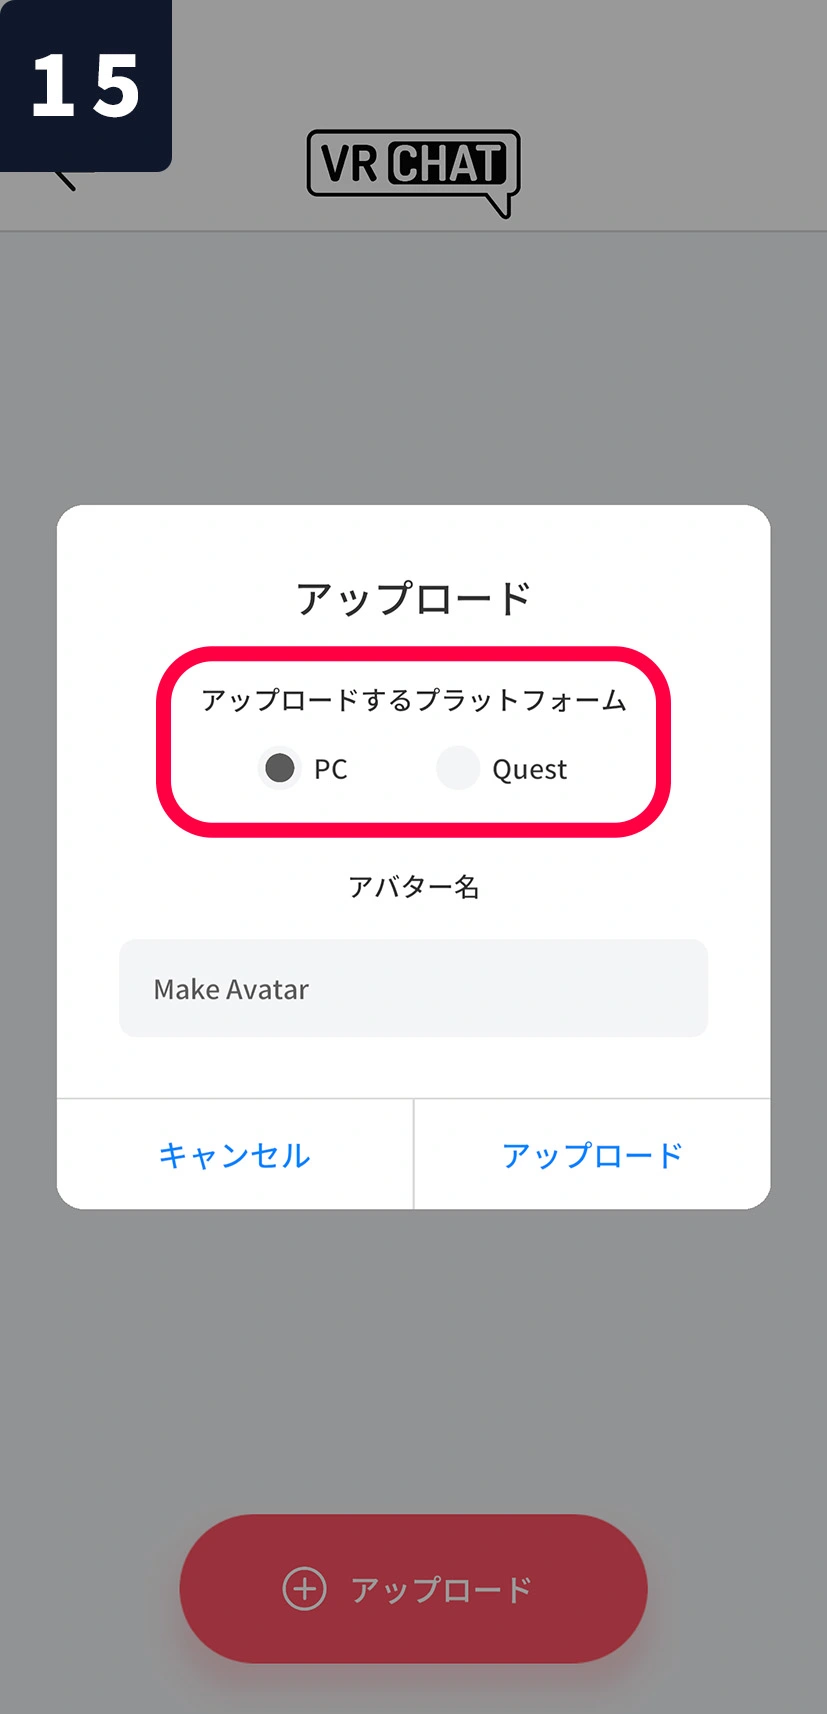
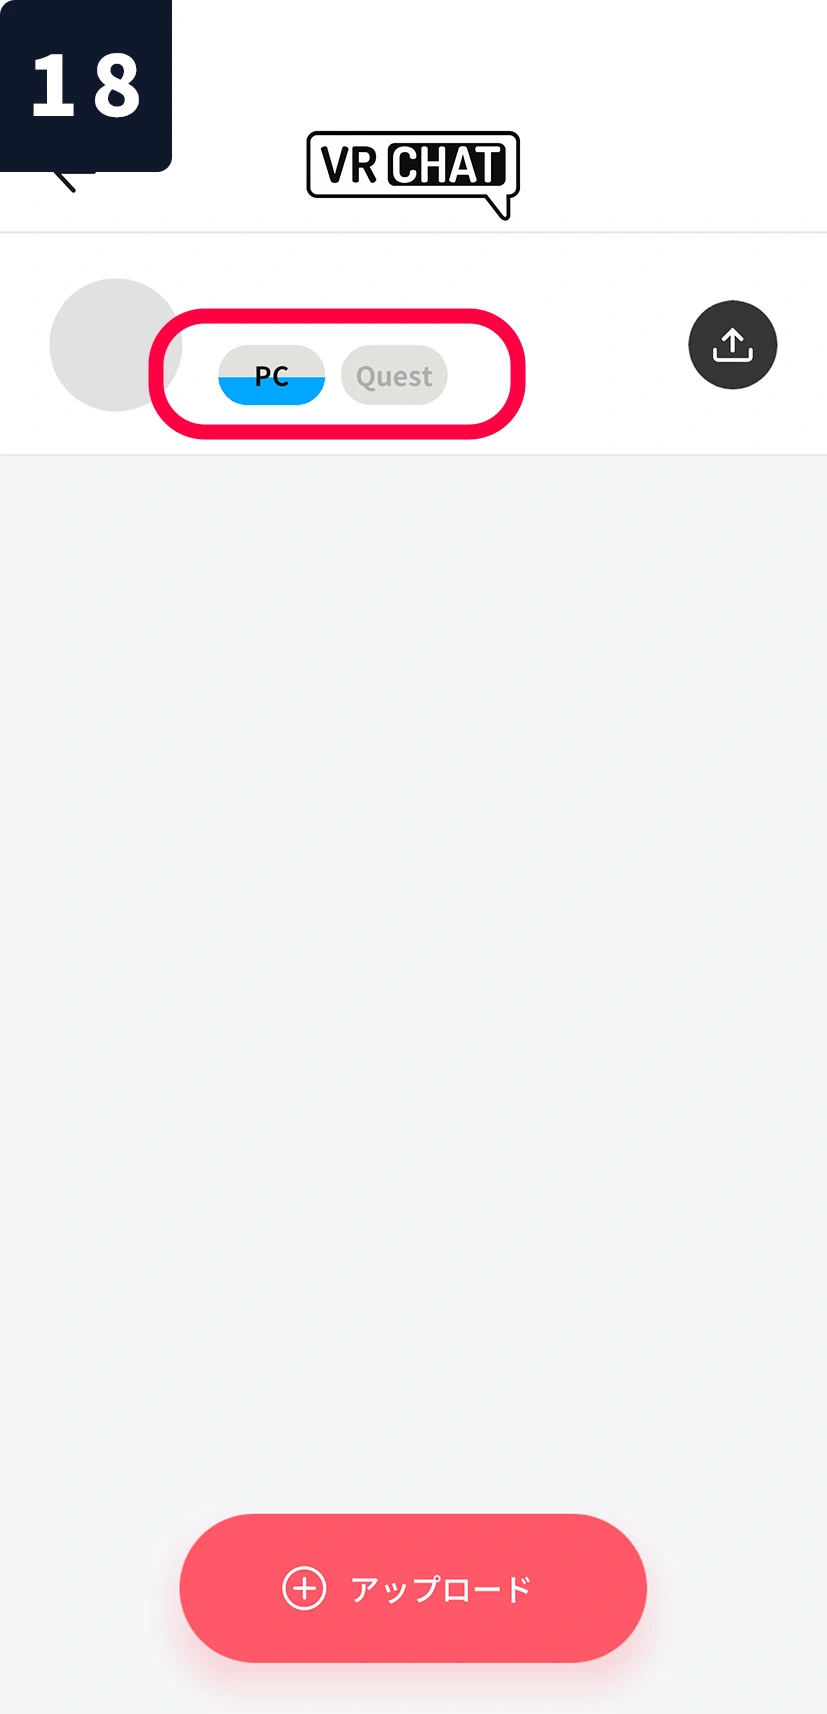
⑮アップロードするプラットフォームを選択します。
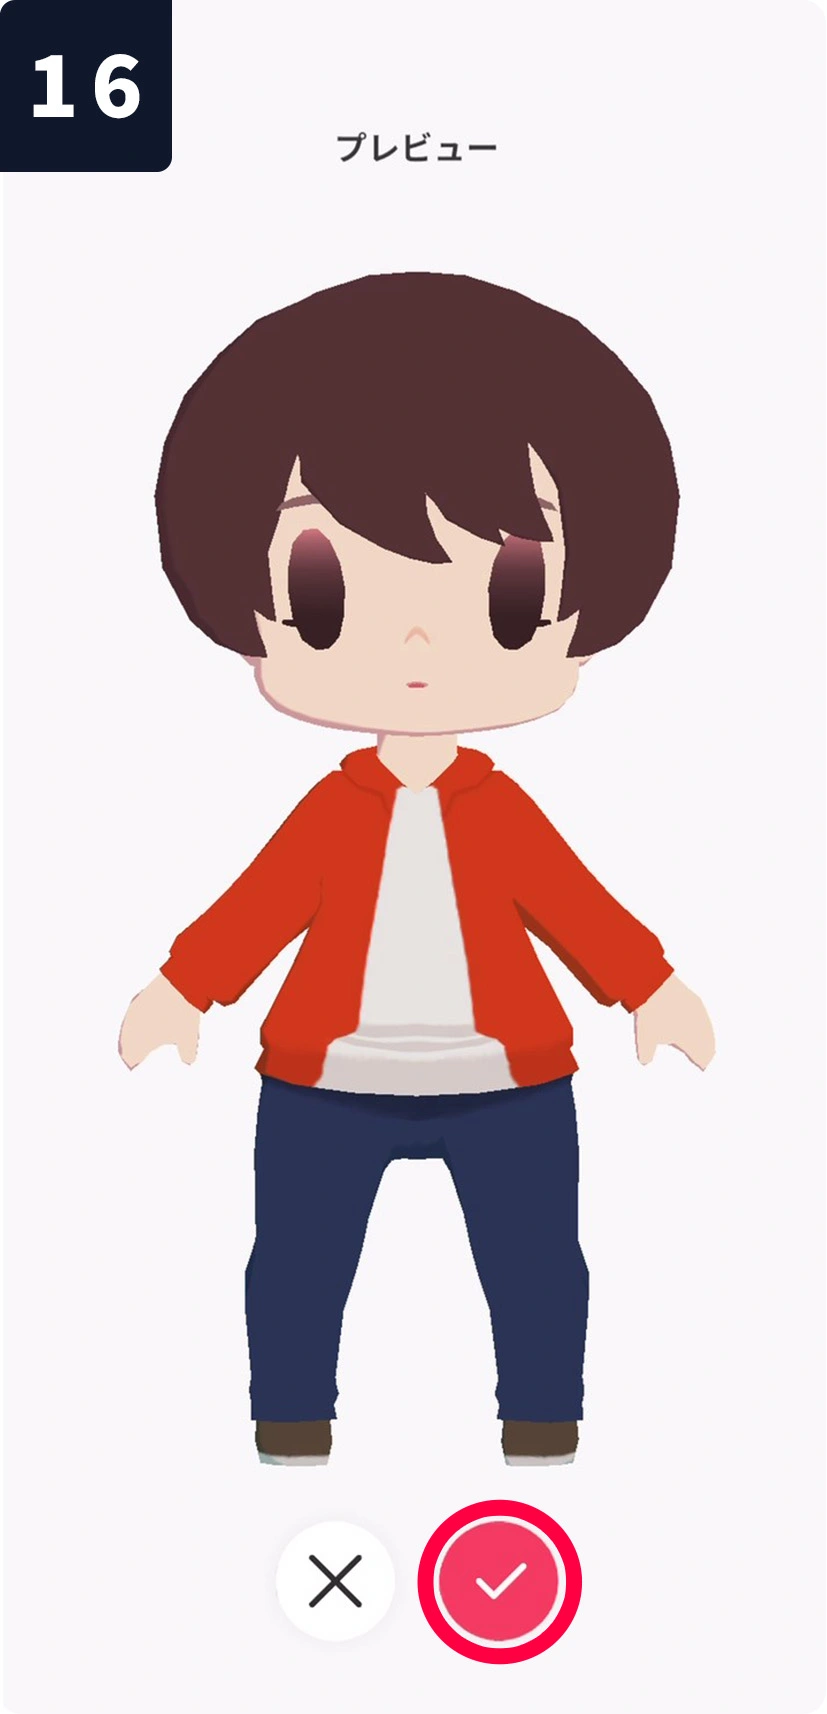
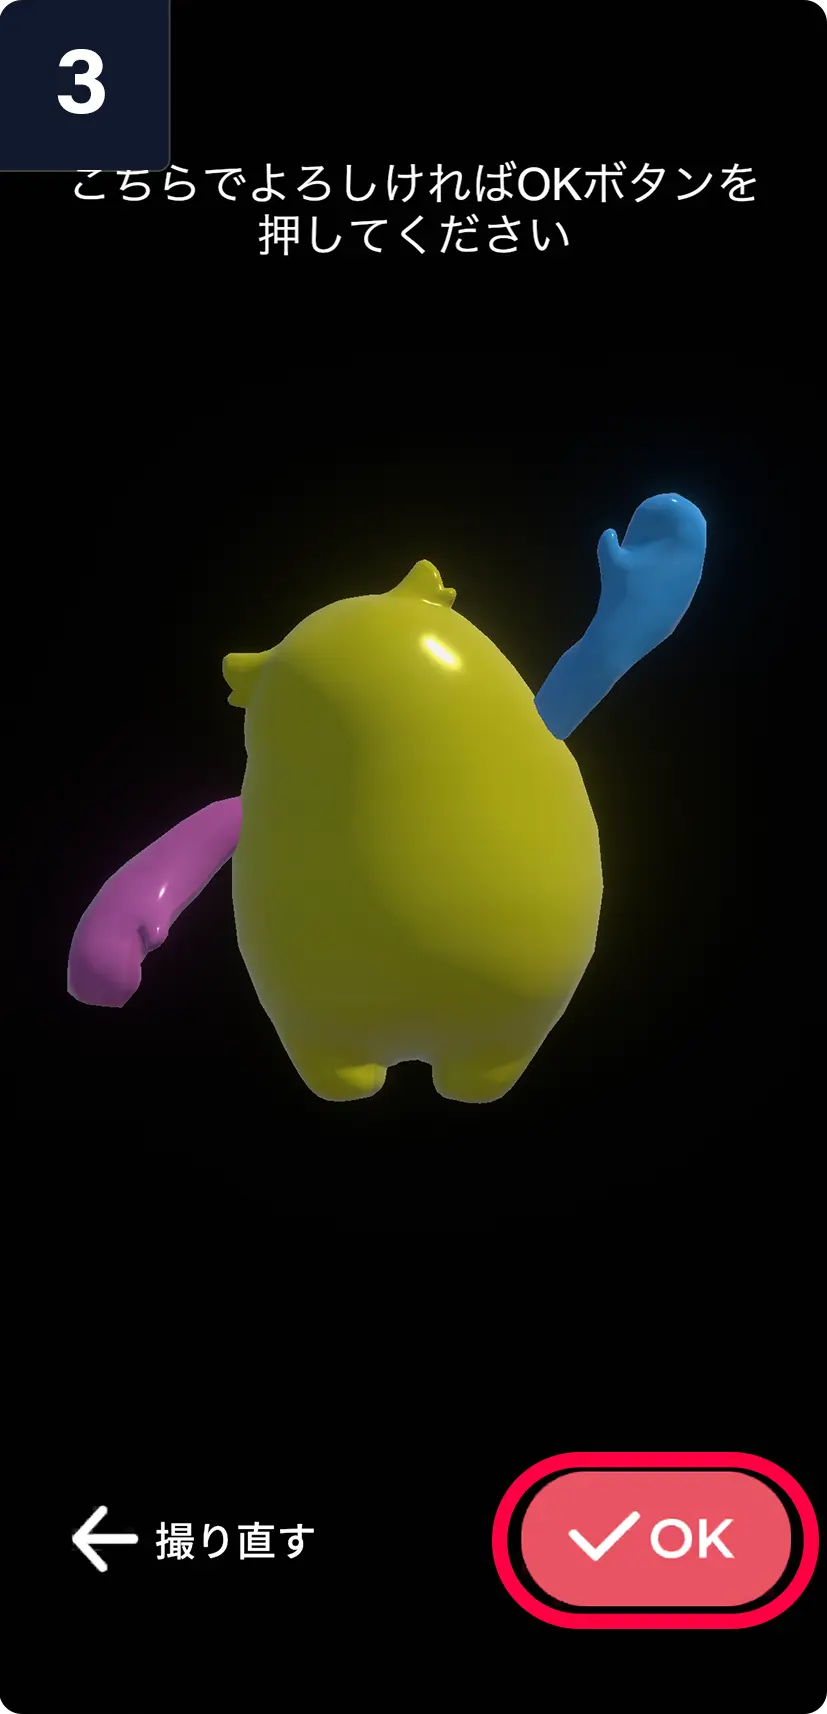
⑯プレビューを確認します。
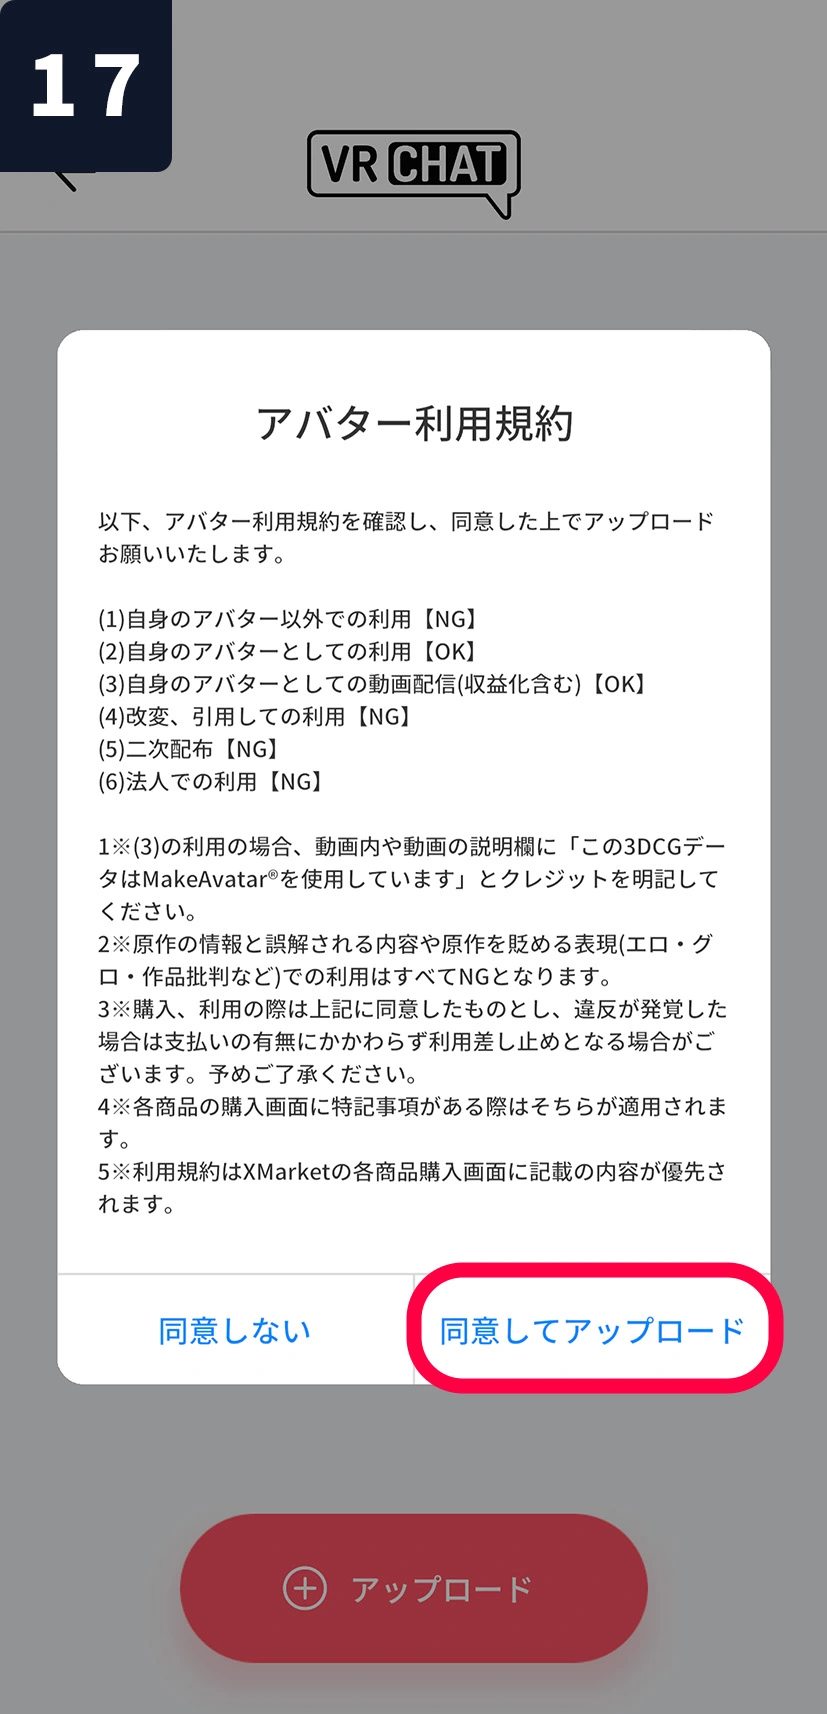
⑰アバター利用規約を確認してアップロードします。
⑱アップロードが開始しました。アップロードが完了したらUアカウントに登録されているメールアドレスにてお知らせいたします。
※最大で1時間かかることがあります。
コンプリートセット機能の使い方
①メイクアバターアプリを起動し、「コンプリートセット機能」を選択して「はじめる」をタップします。
②「新しくつくる」を選択します。
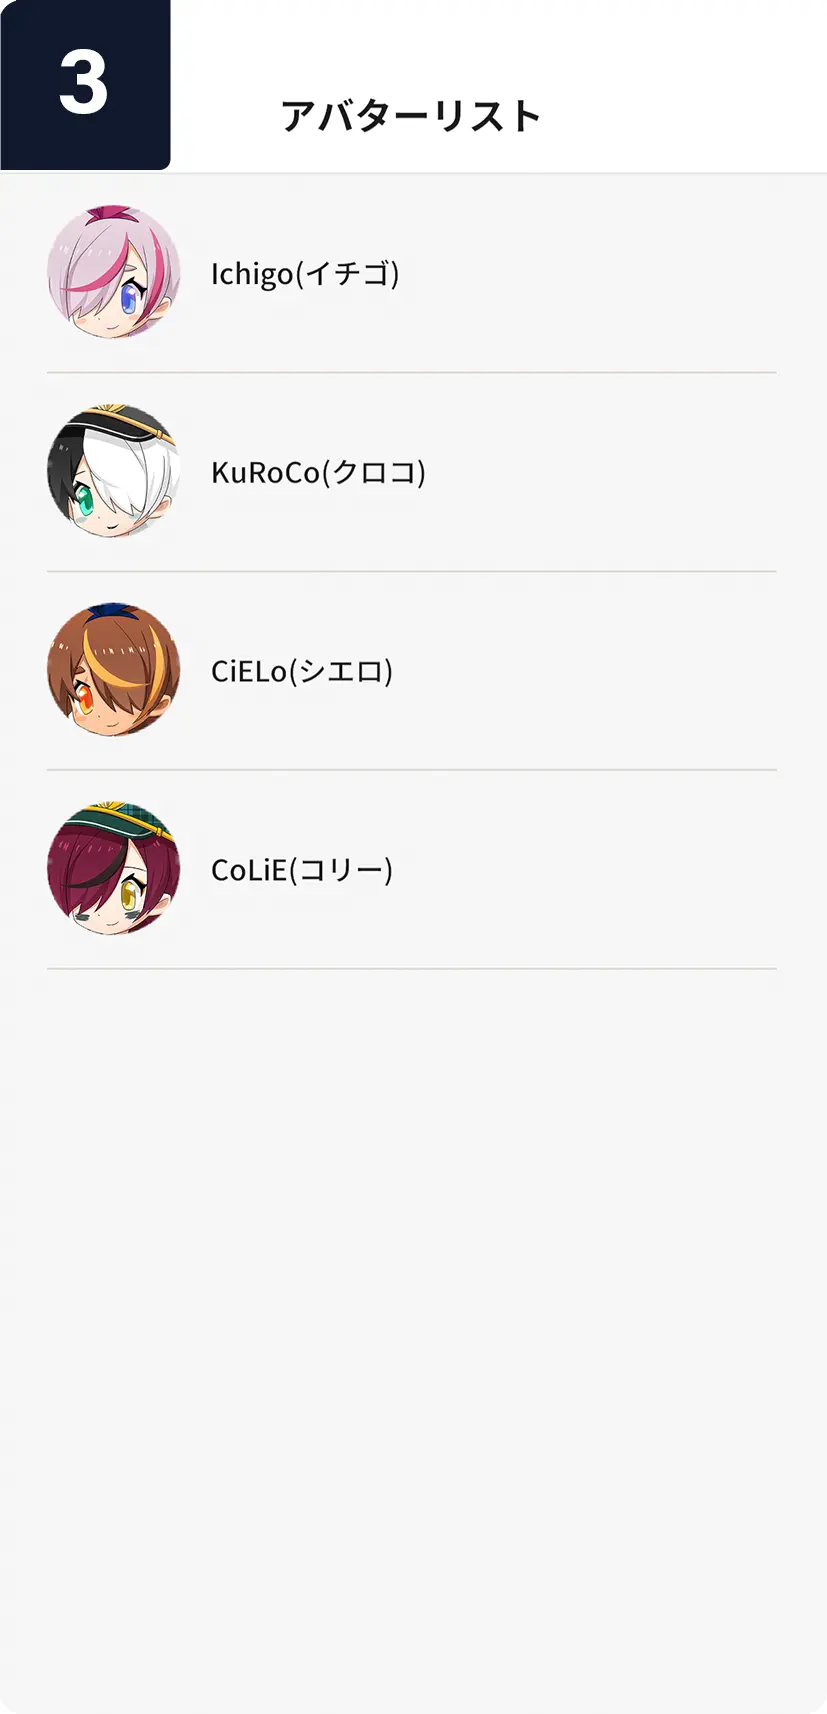
③アバターリストから、使いたいアバターを選択します。
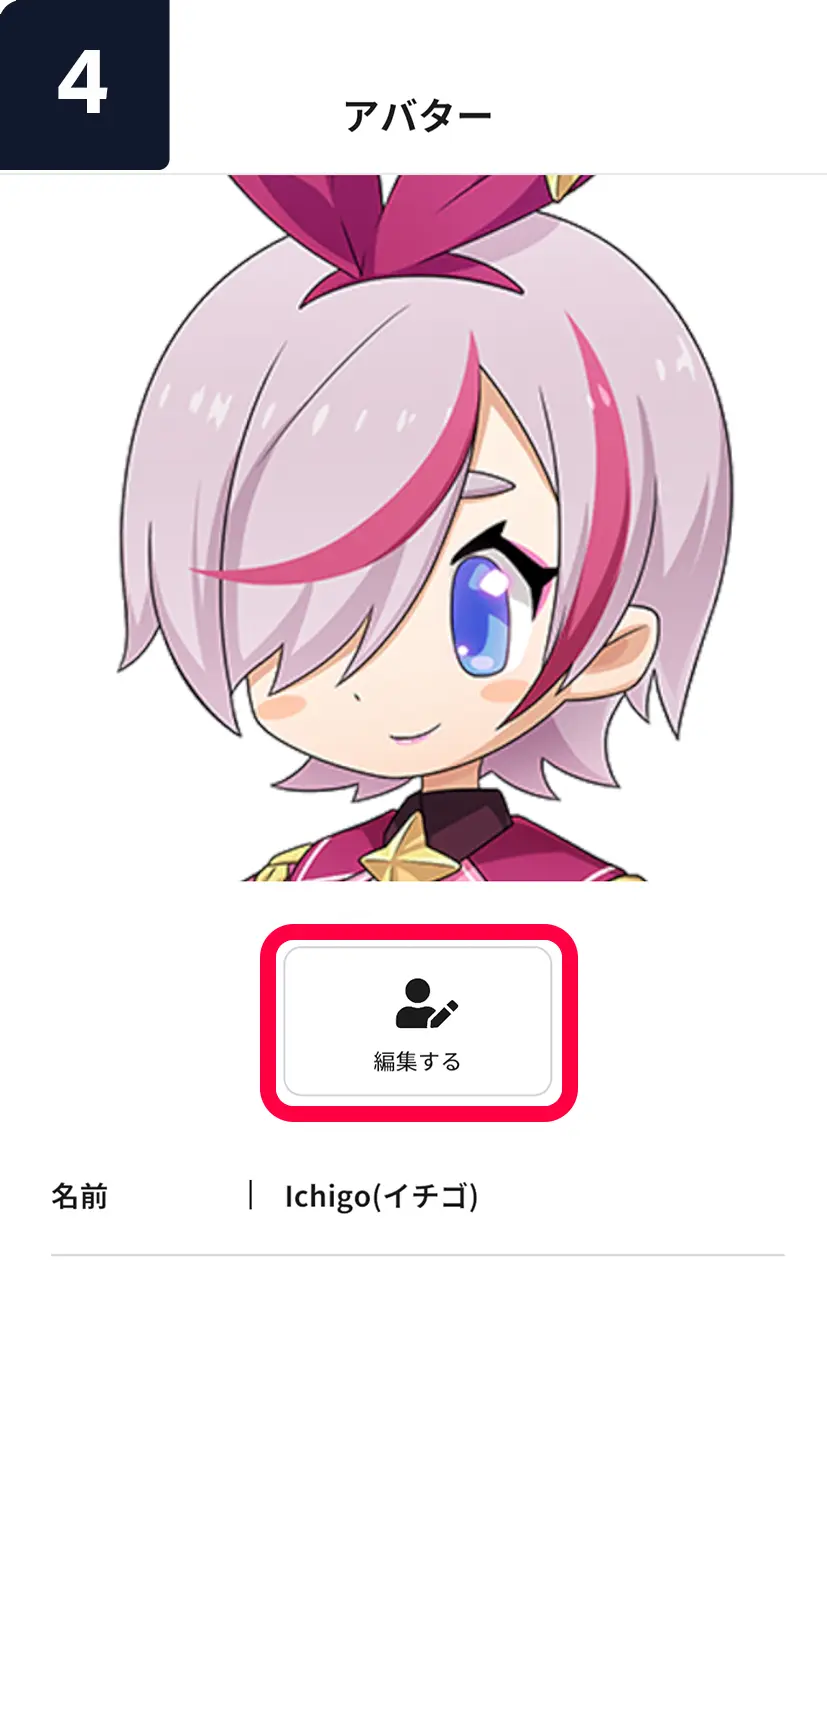
④「編集する」を選択します。
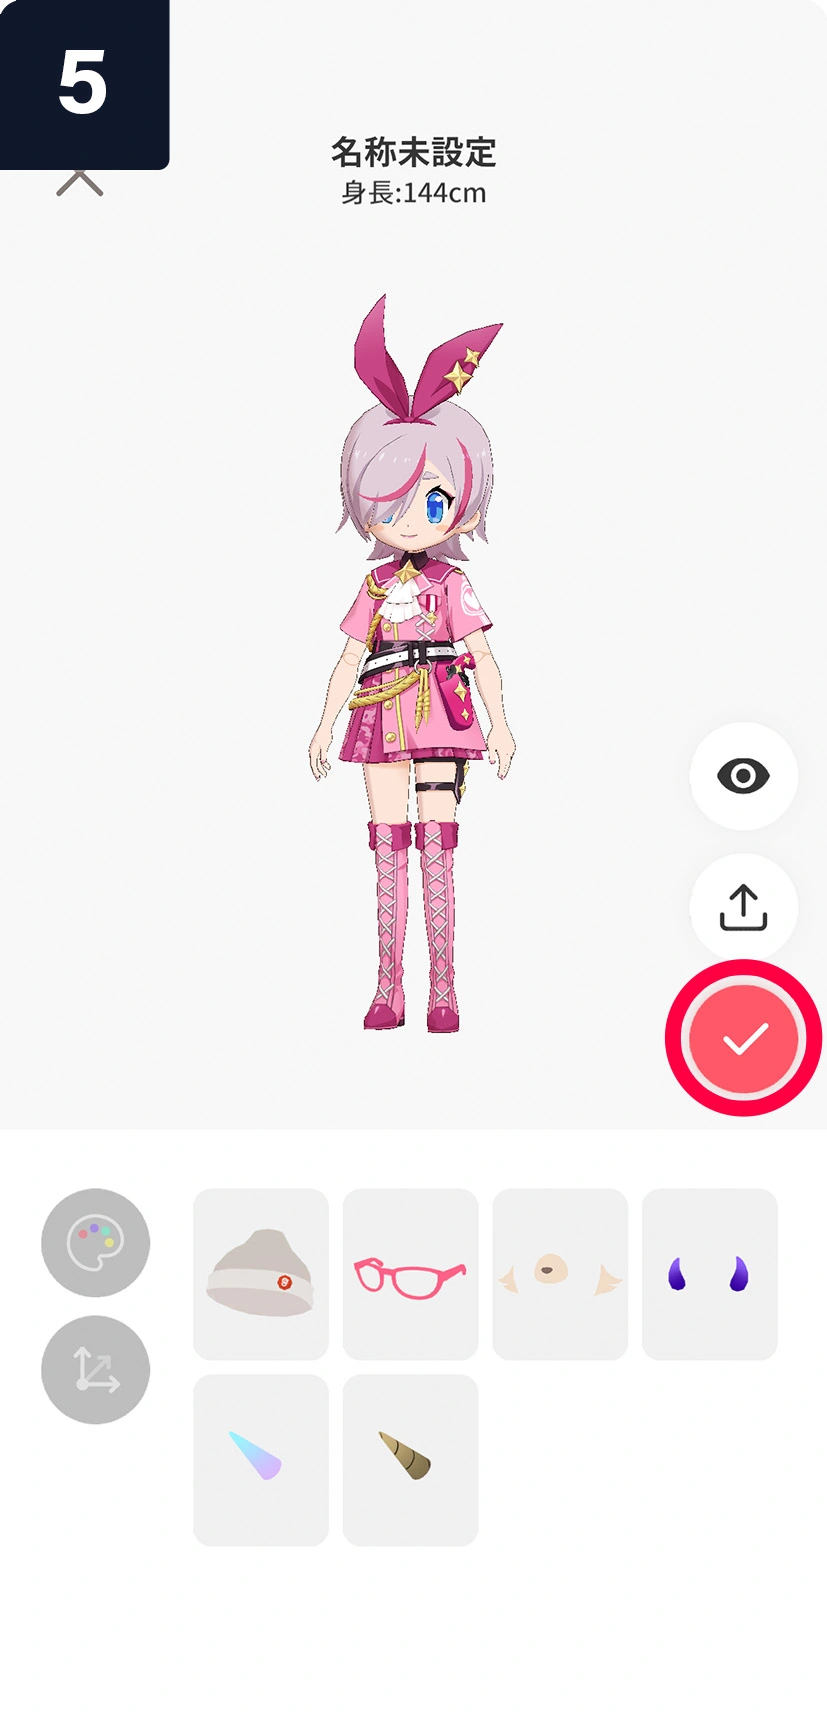
⑤右側の連携ボタンを選択し、アバターを各種サービスへアップロードします。
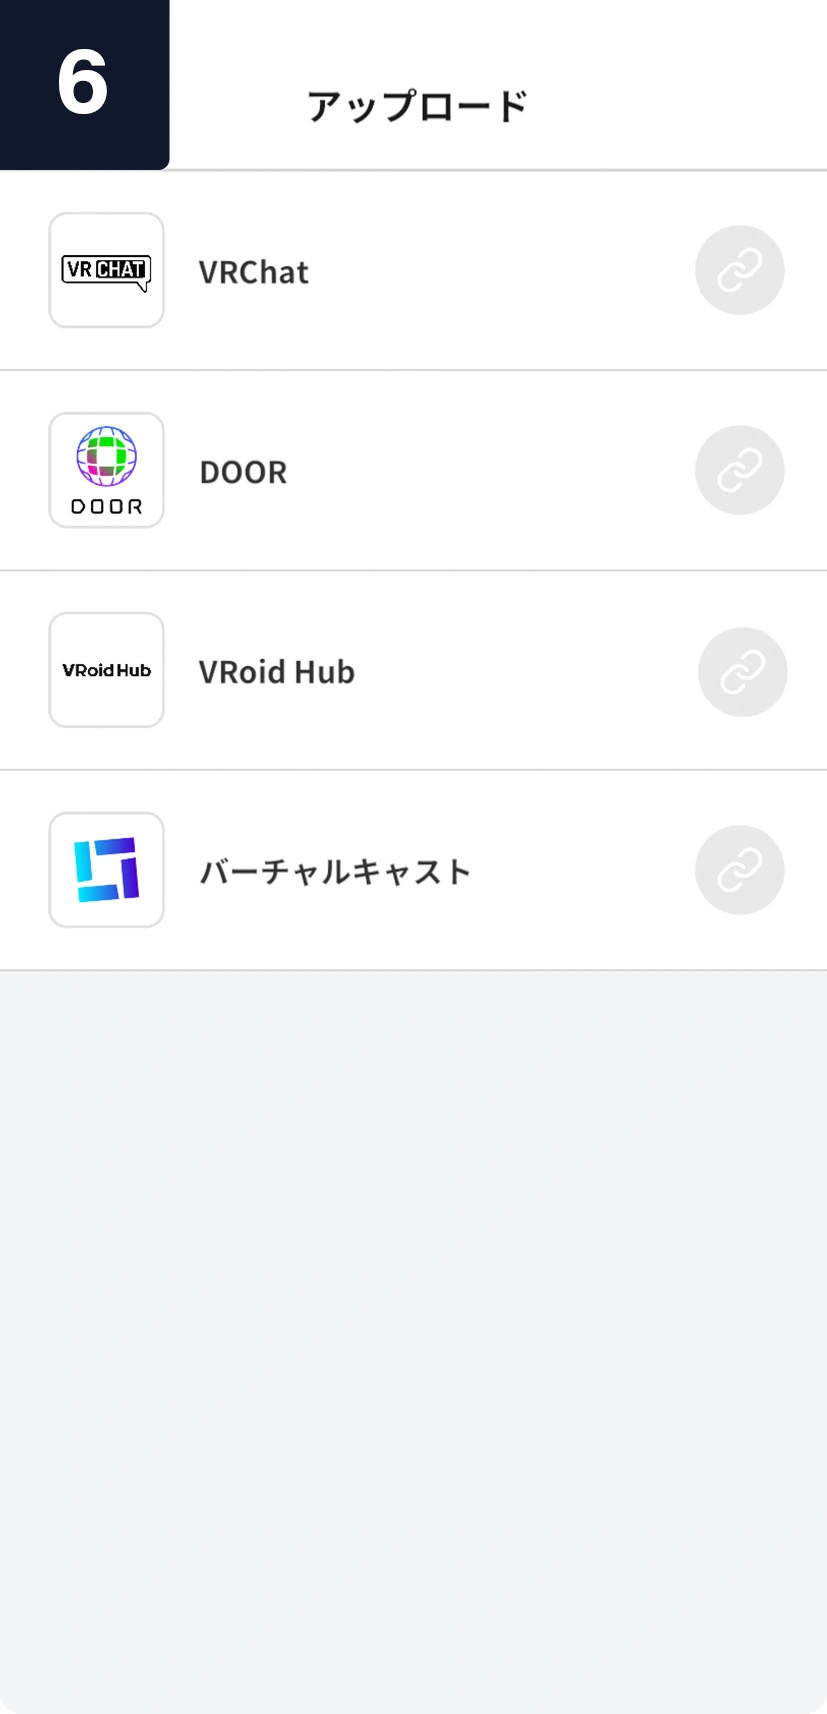
【連携可能サービス】
<2024年12月時点>
・VRChat
・VirtualCast
・VRoid Hub
SHOWROOM
Flipside
※各サービスとの詳しい連携方法は、本ページ上部に記載されている内容をご確認ください。
VRMエクスポート機能の使い方
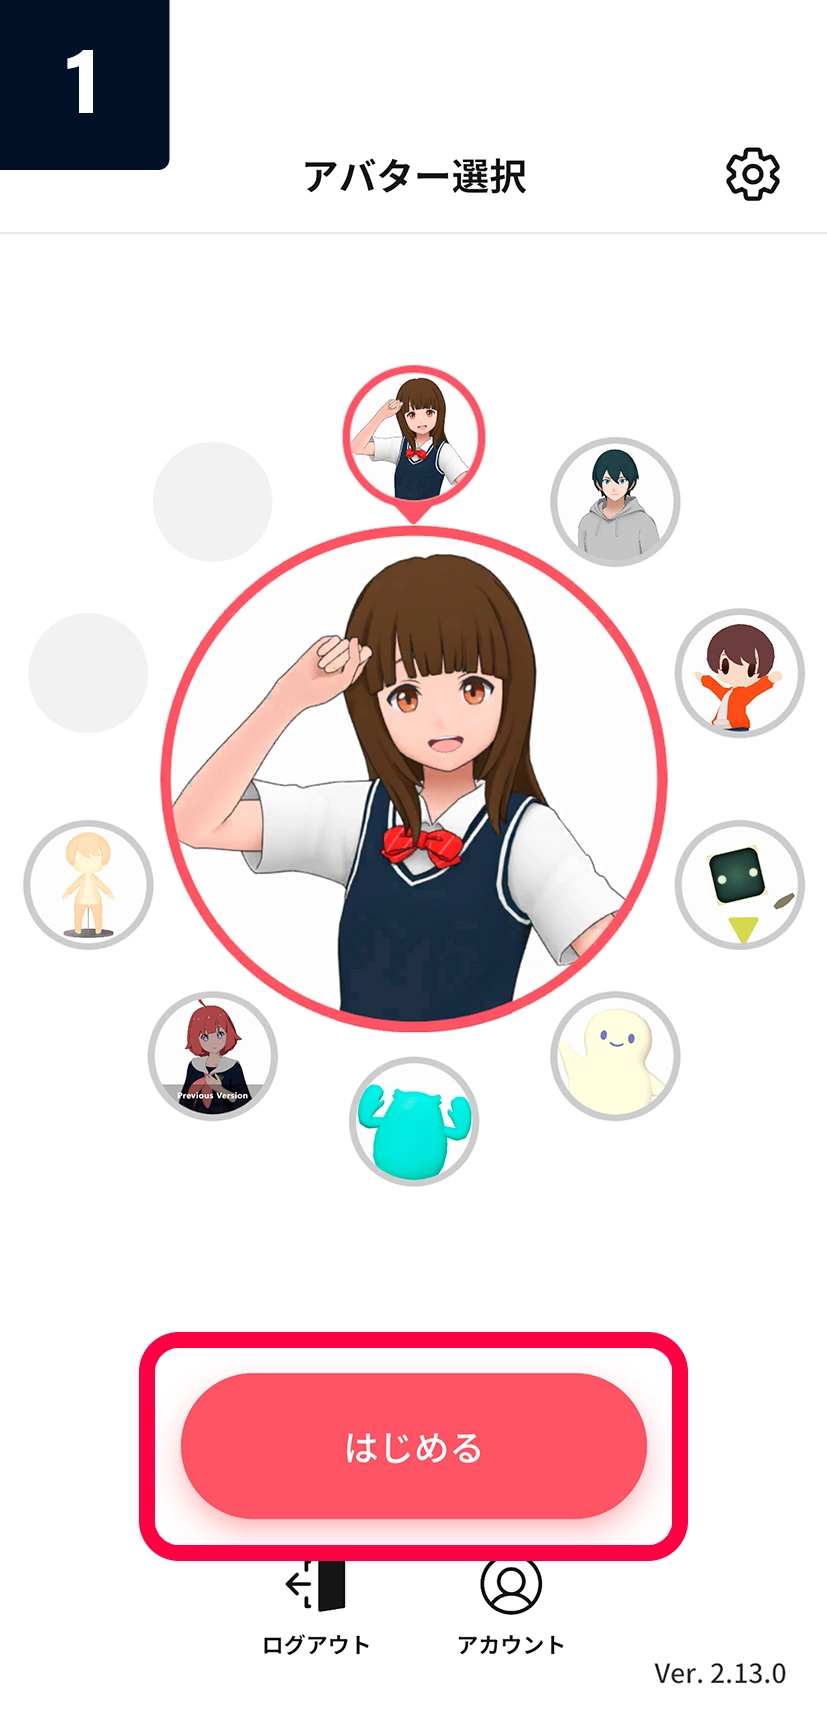
①メイクアバターアプリを起動し、作りたいアバターを選択して「はじめる」をタップします。
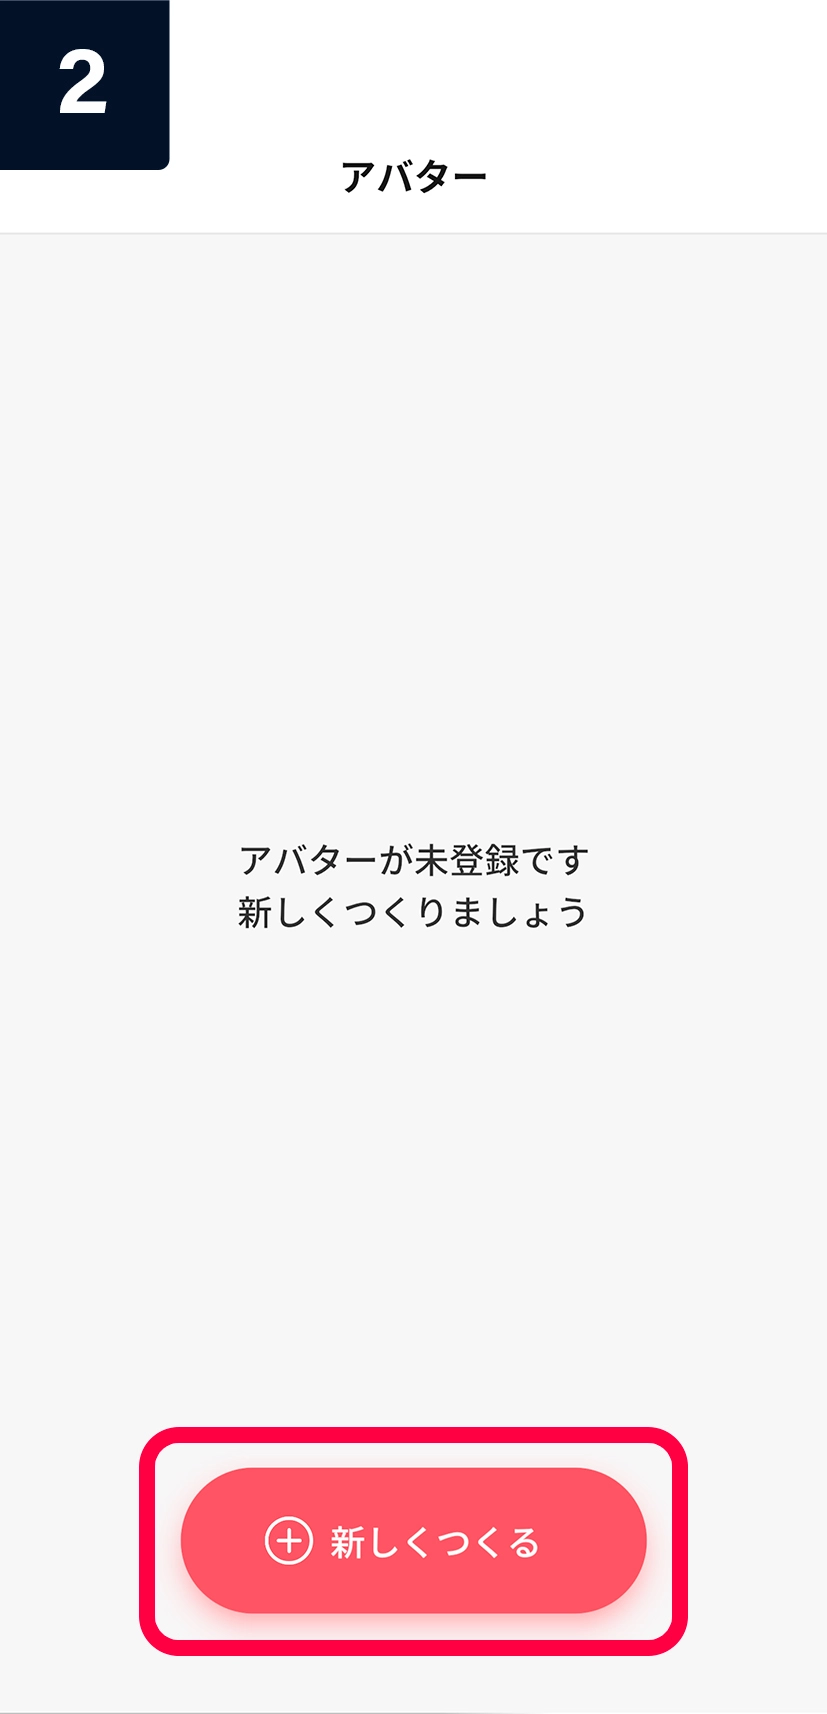
②「新しくつくる」を選択します。
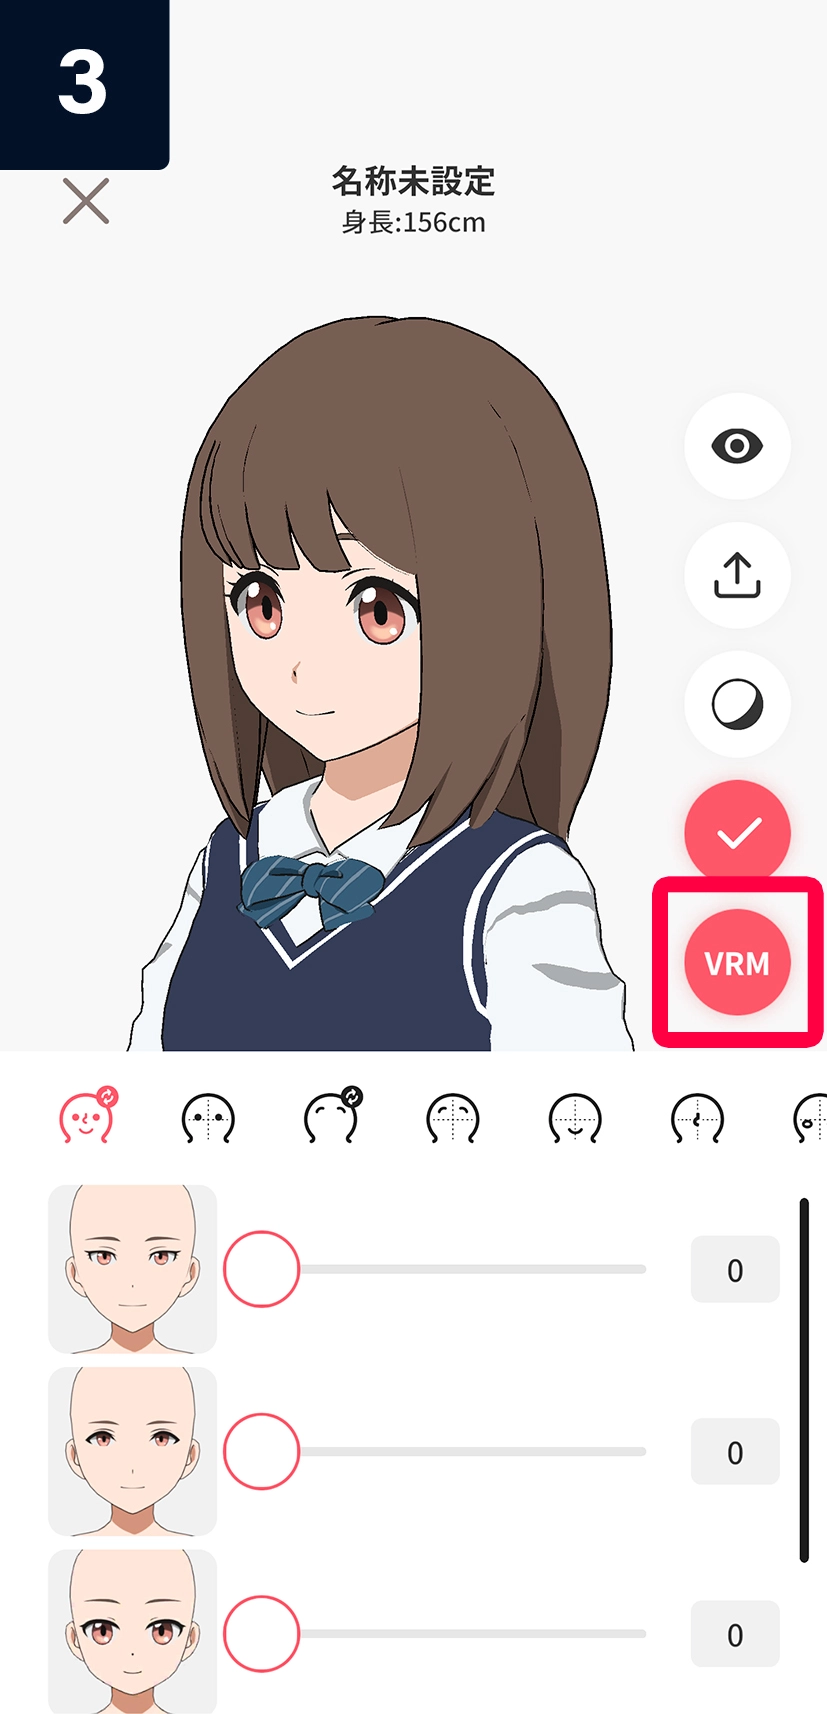
③アバターのカスタマイズが終了したら、「VRM」をタップします。

④「通常版」か「軽量版」のいずれかを選択してエクスポートをタップします。
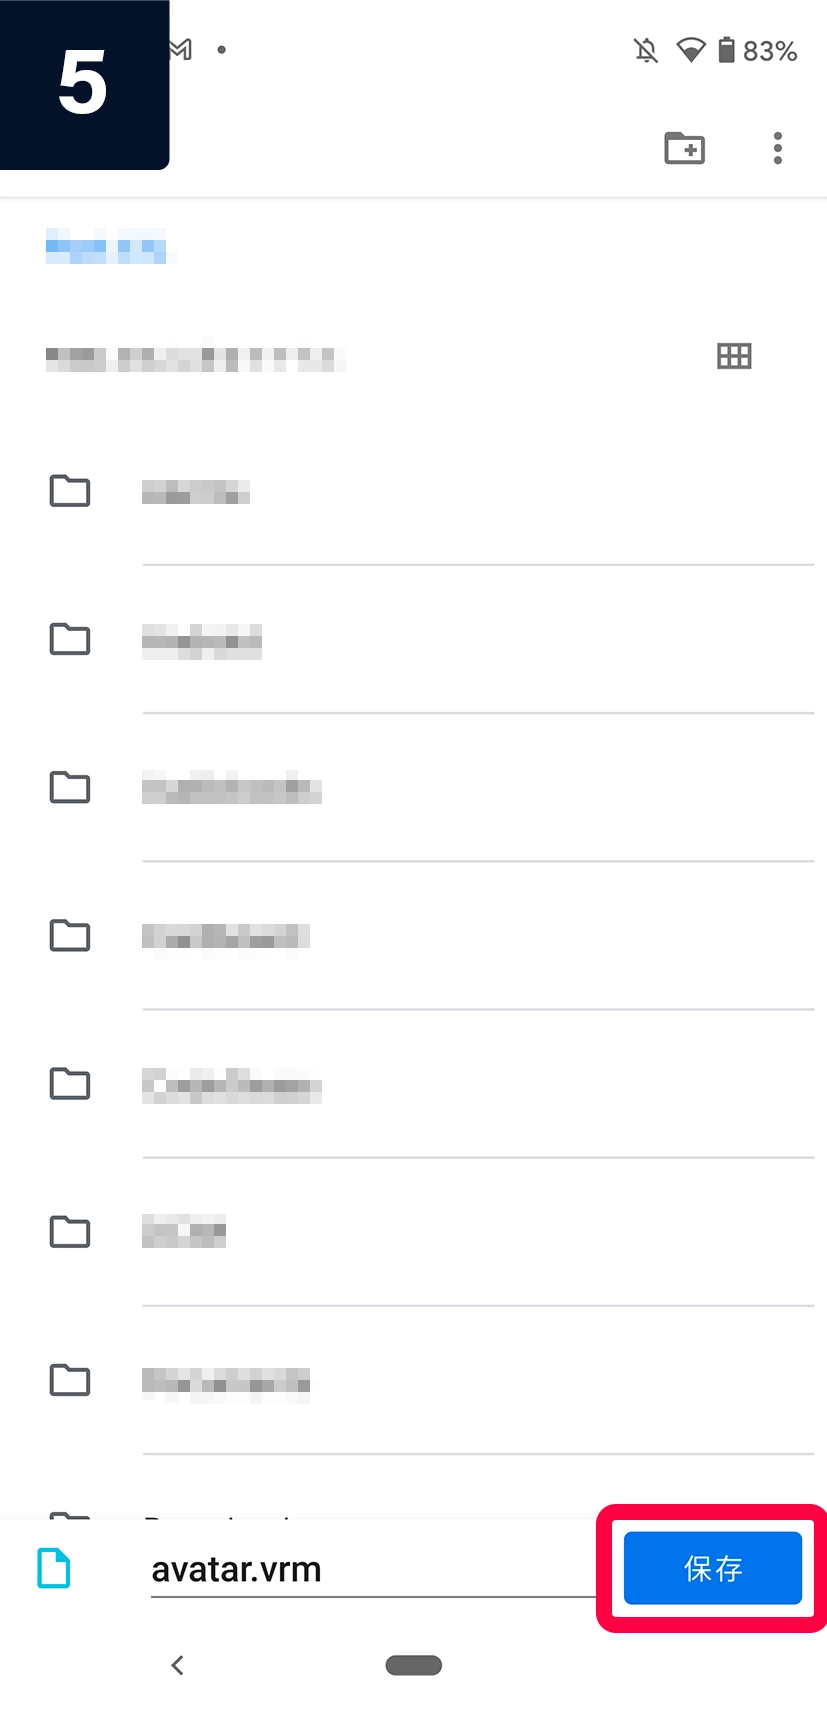
⑤エクスポート先のフォルダとファイル名を決定して、保存をタップします。
⑥エクスポートが完了しました。
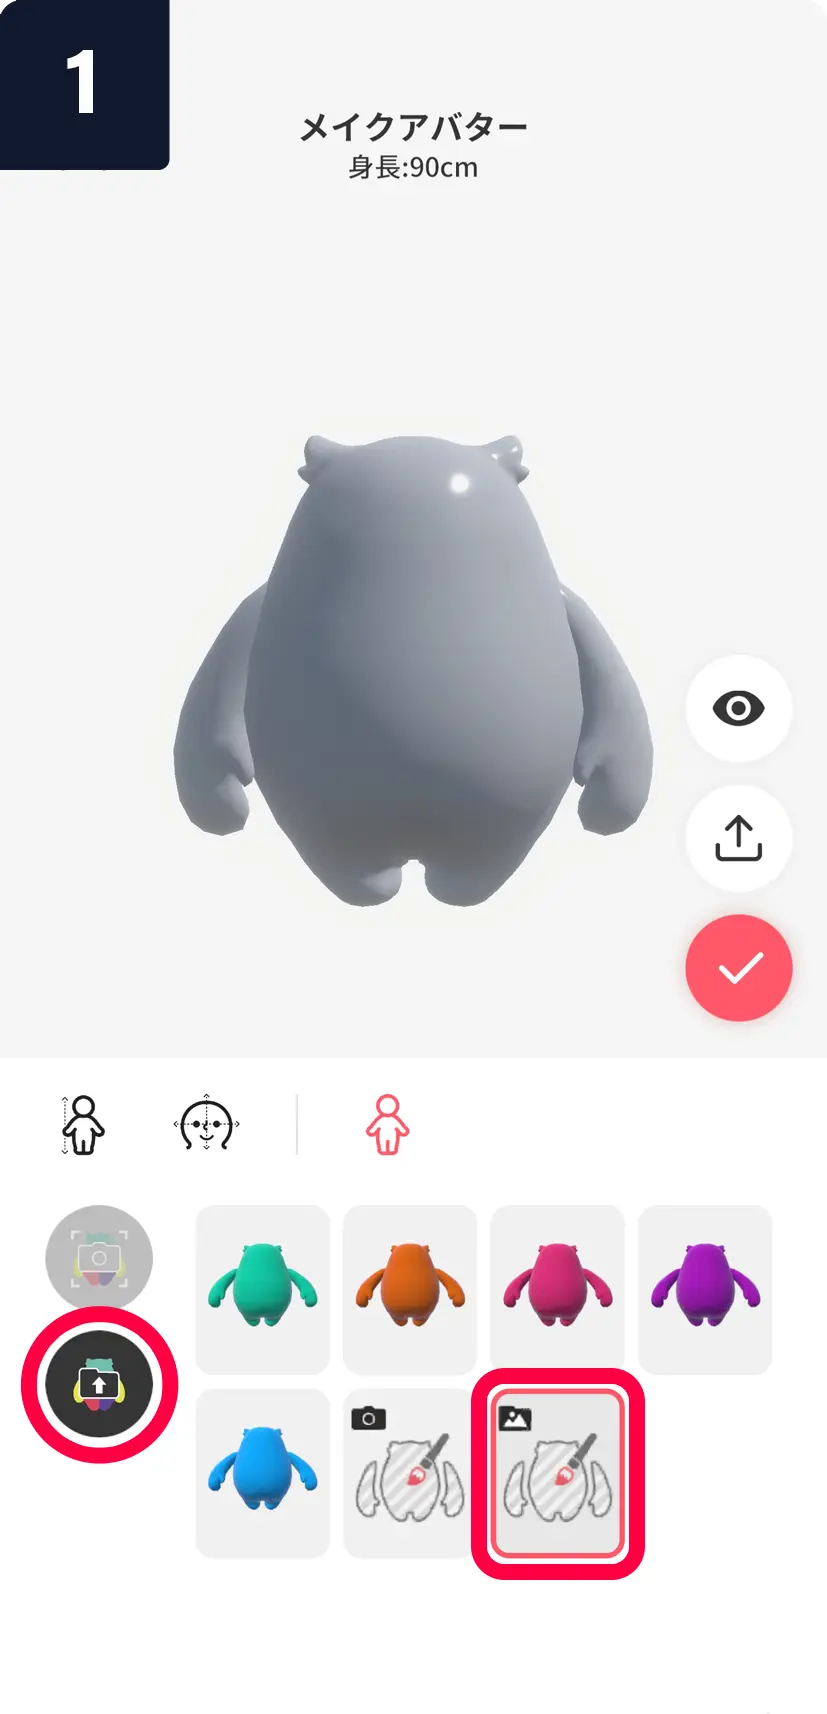
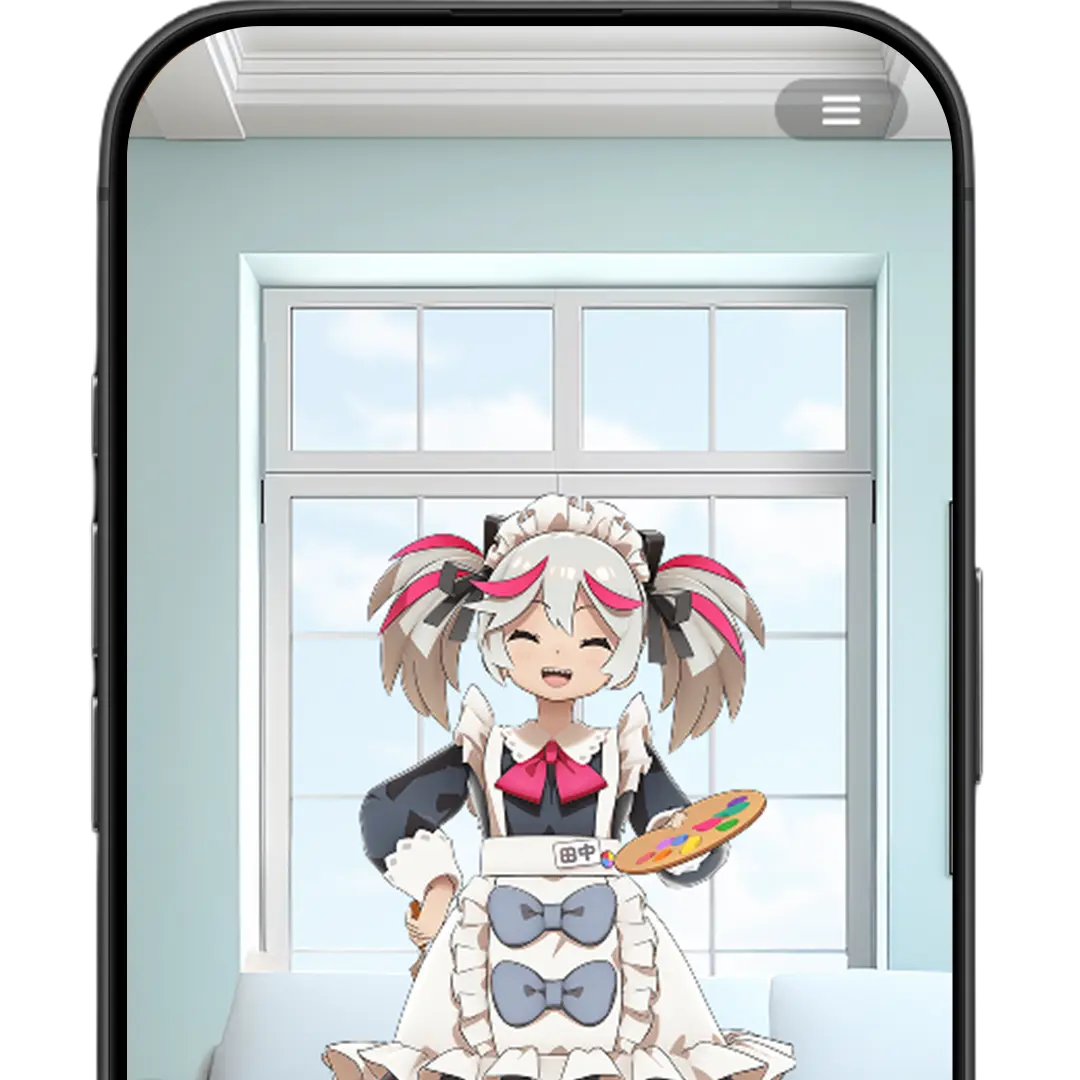
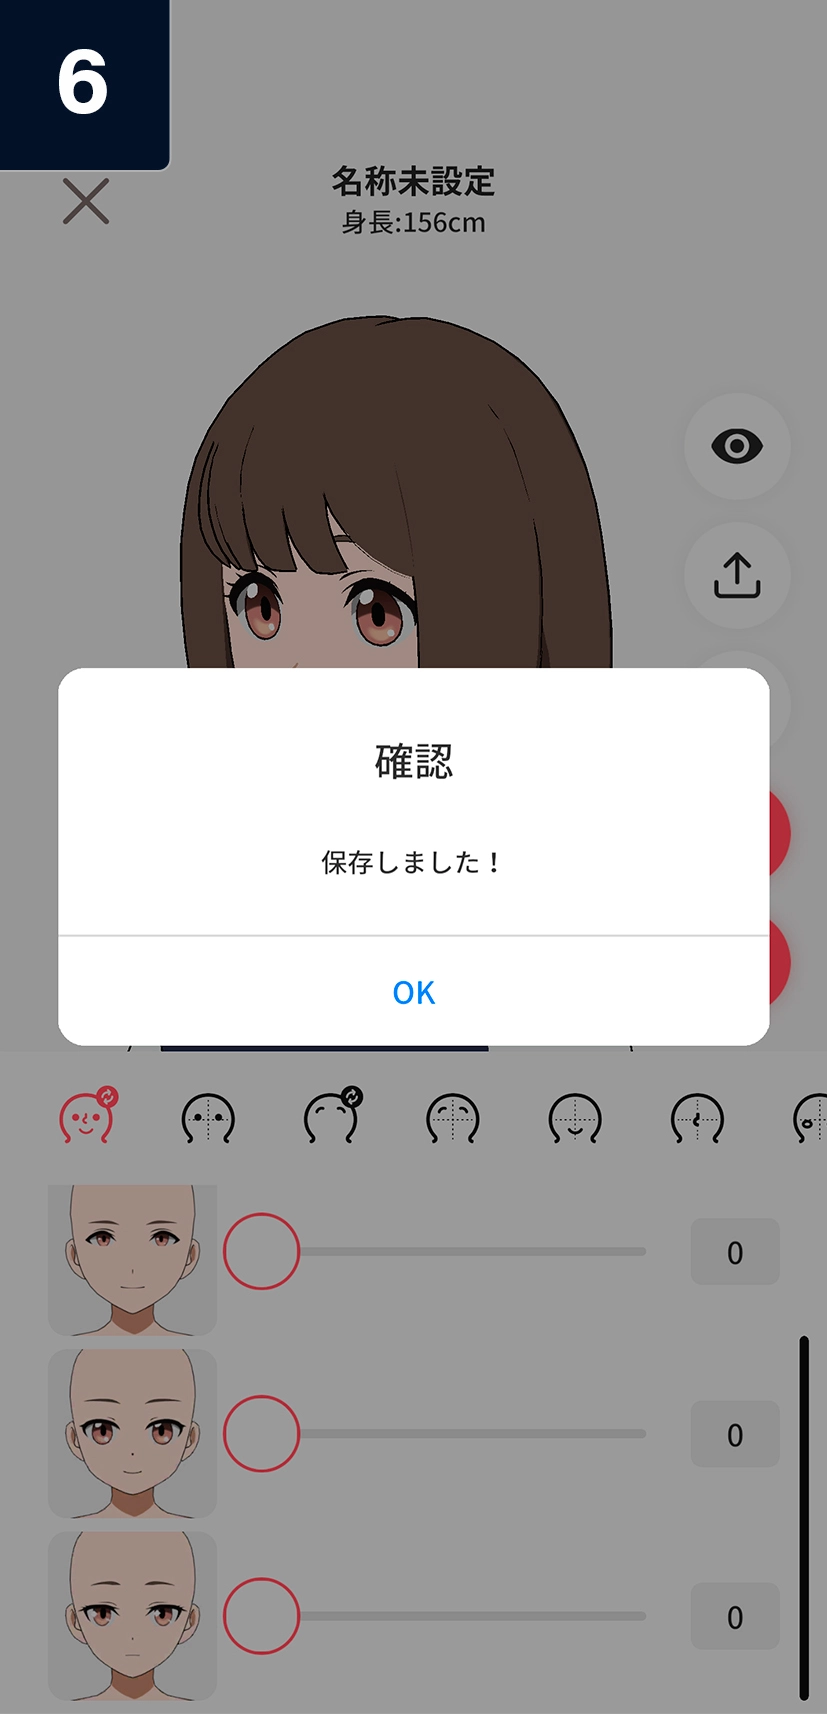
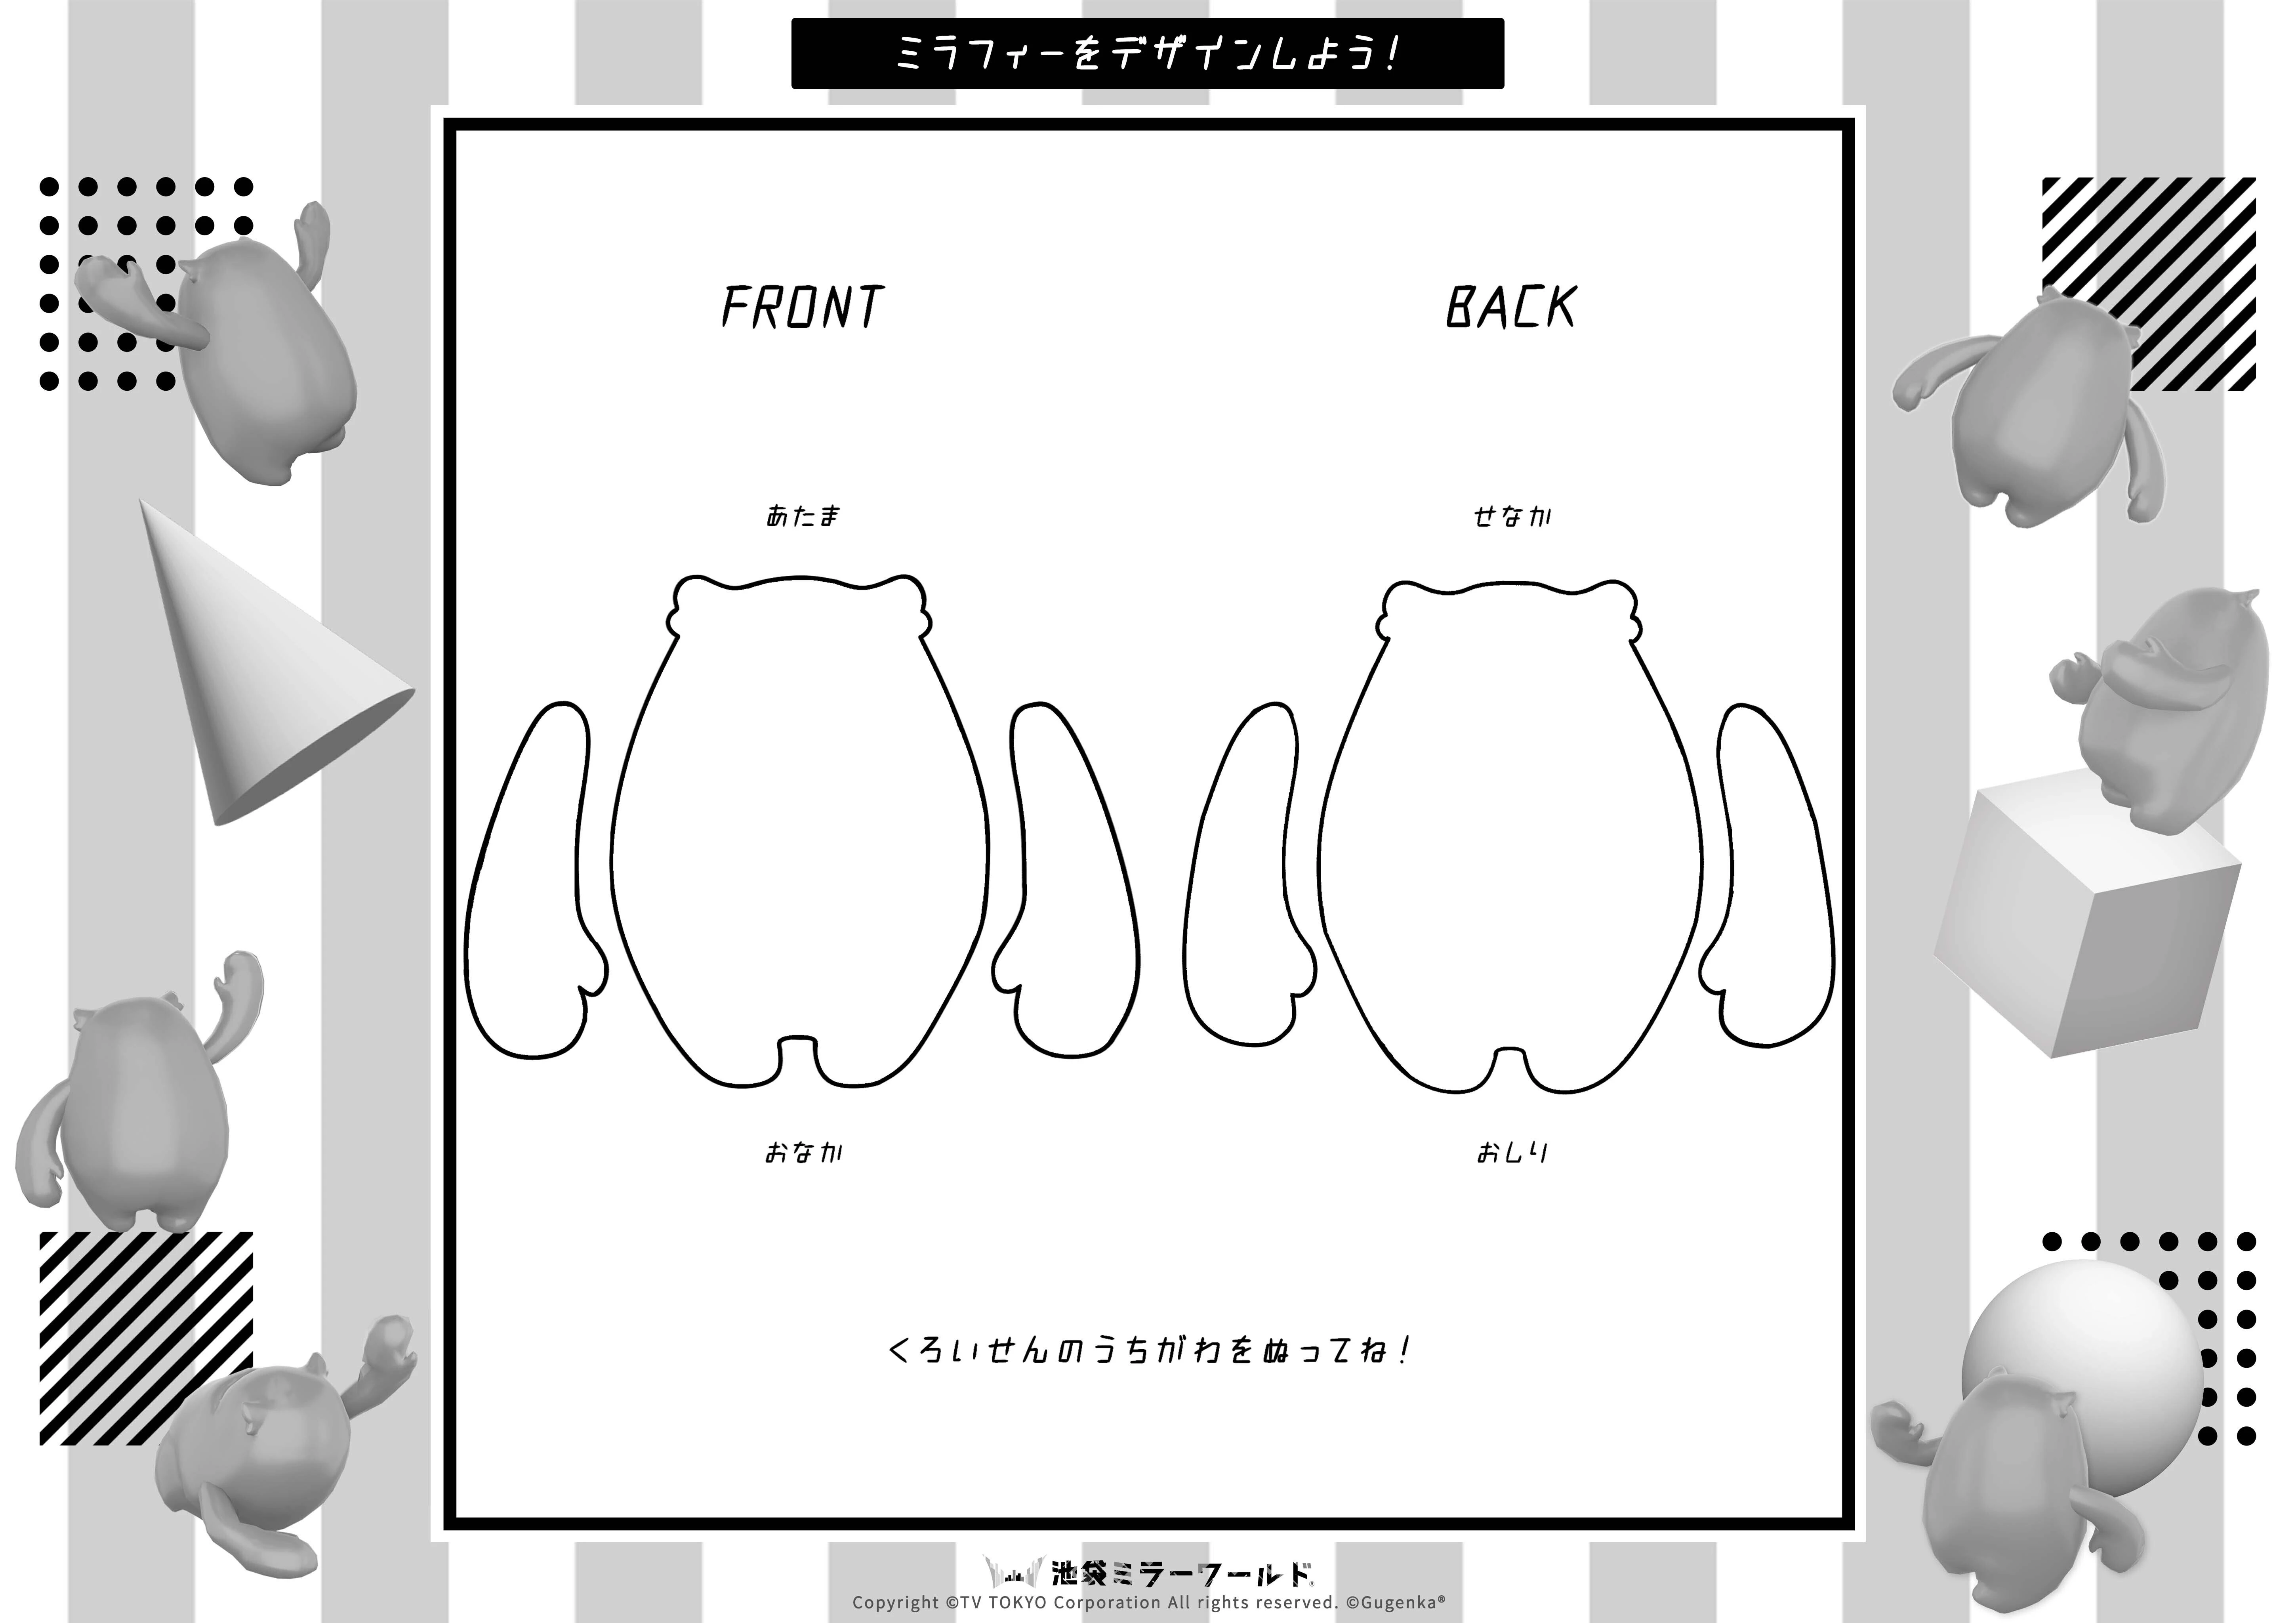
ミラフィーの塗り絵機能を楽しもう!
専用シートをデザインしてオリジナルミラフィーを作ろう!
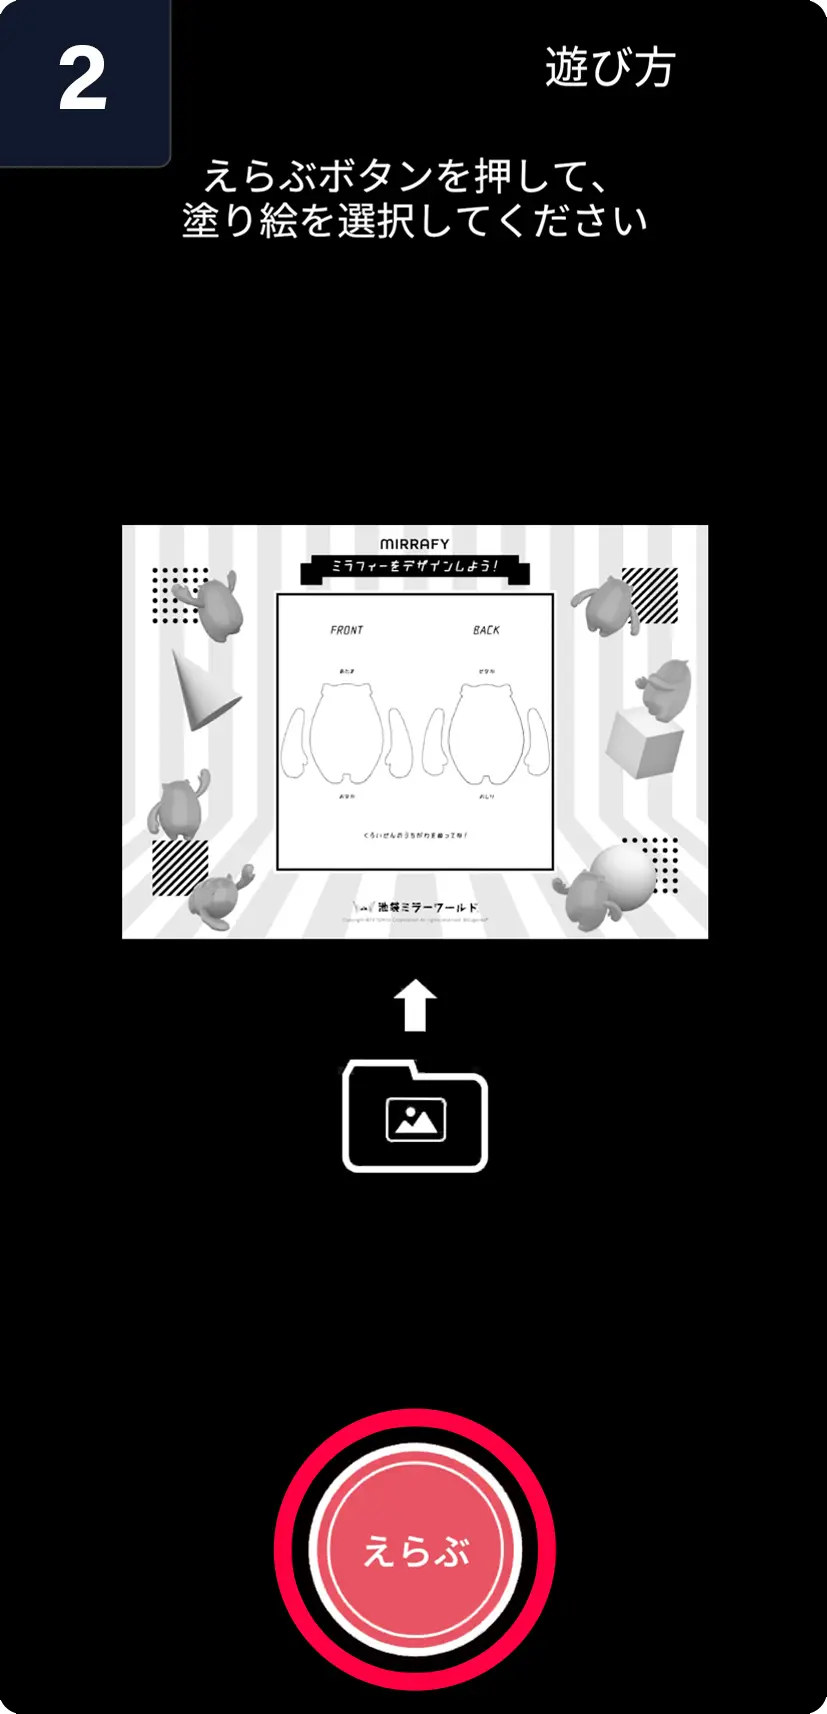
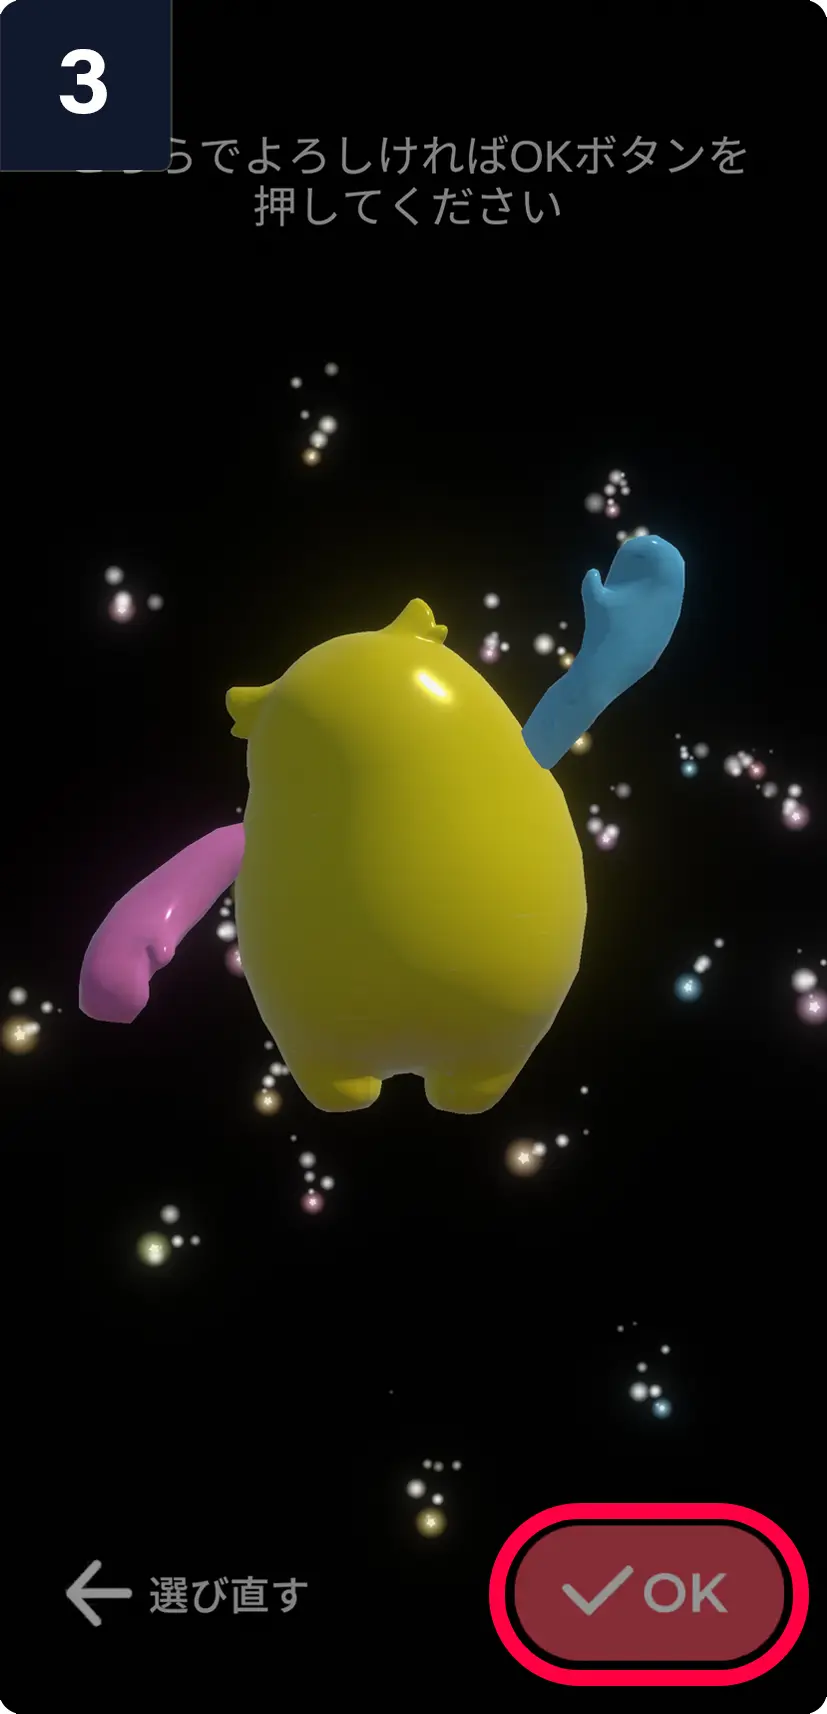
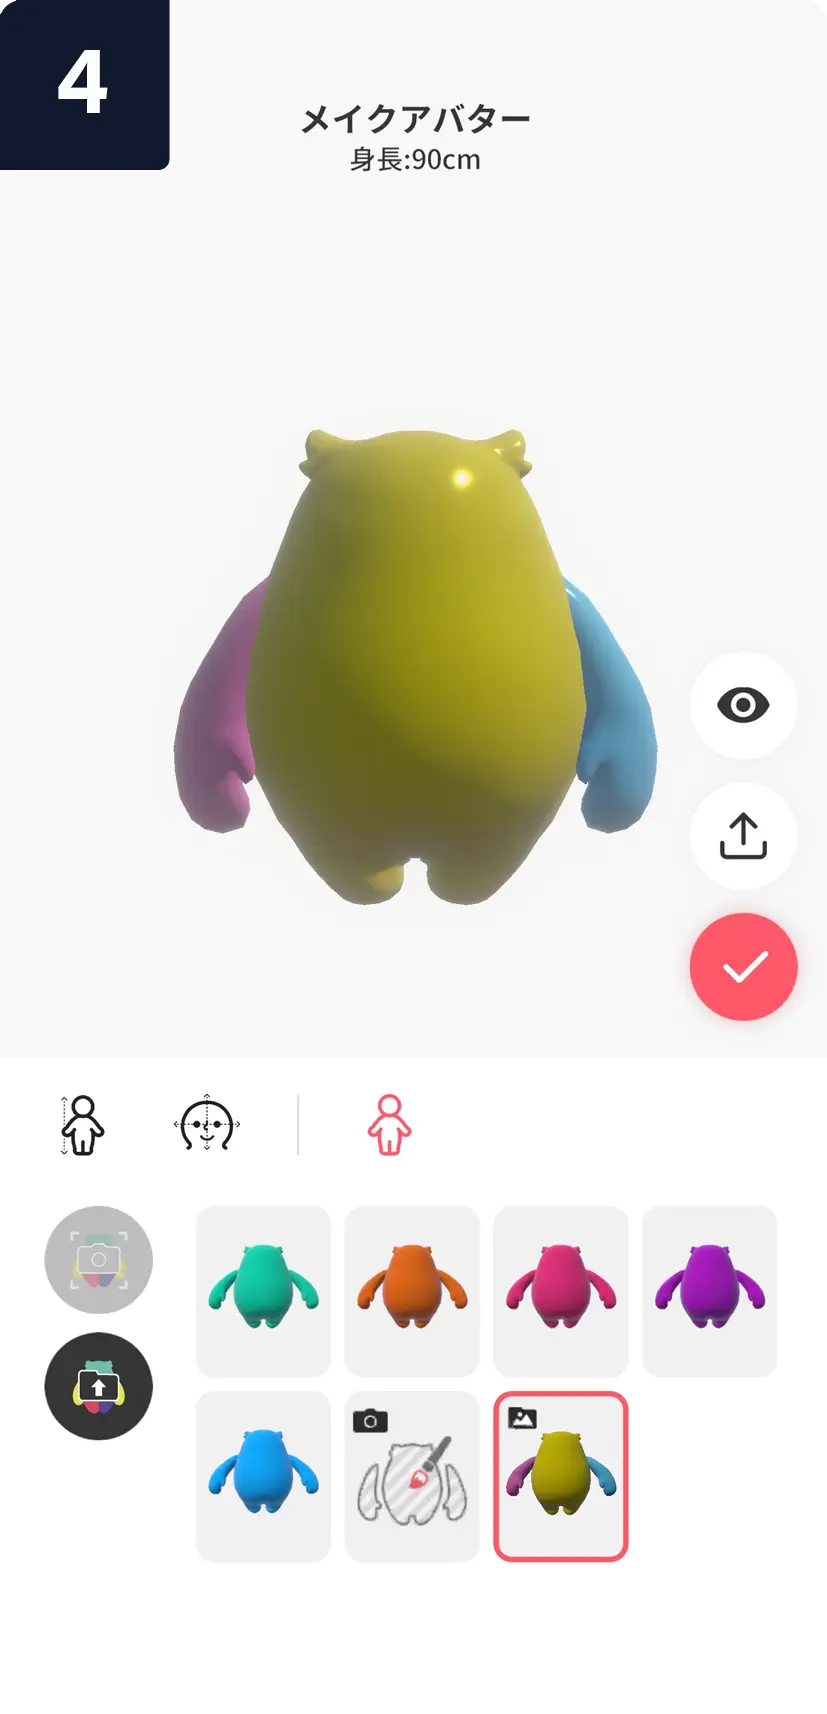
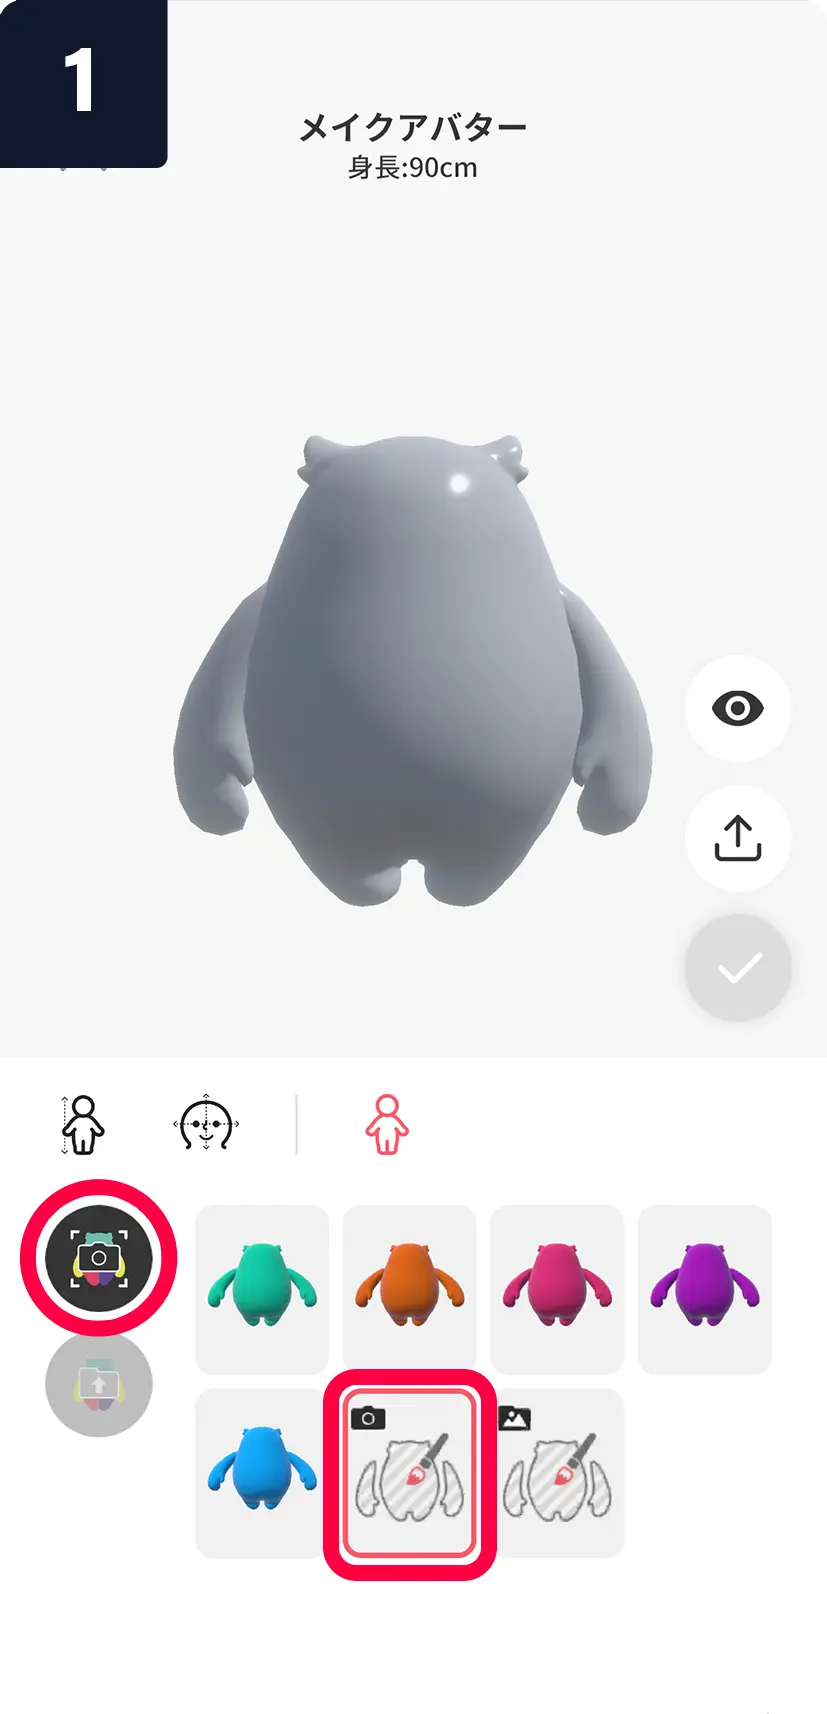
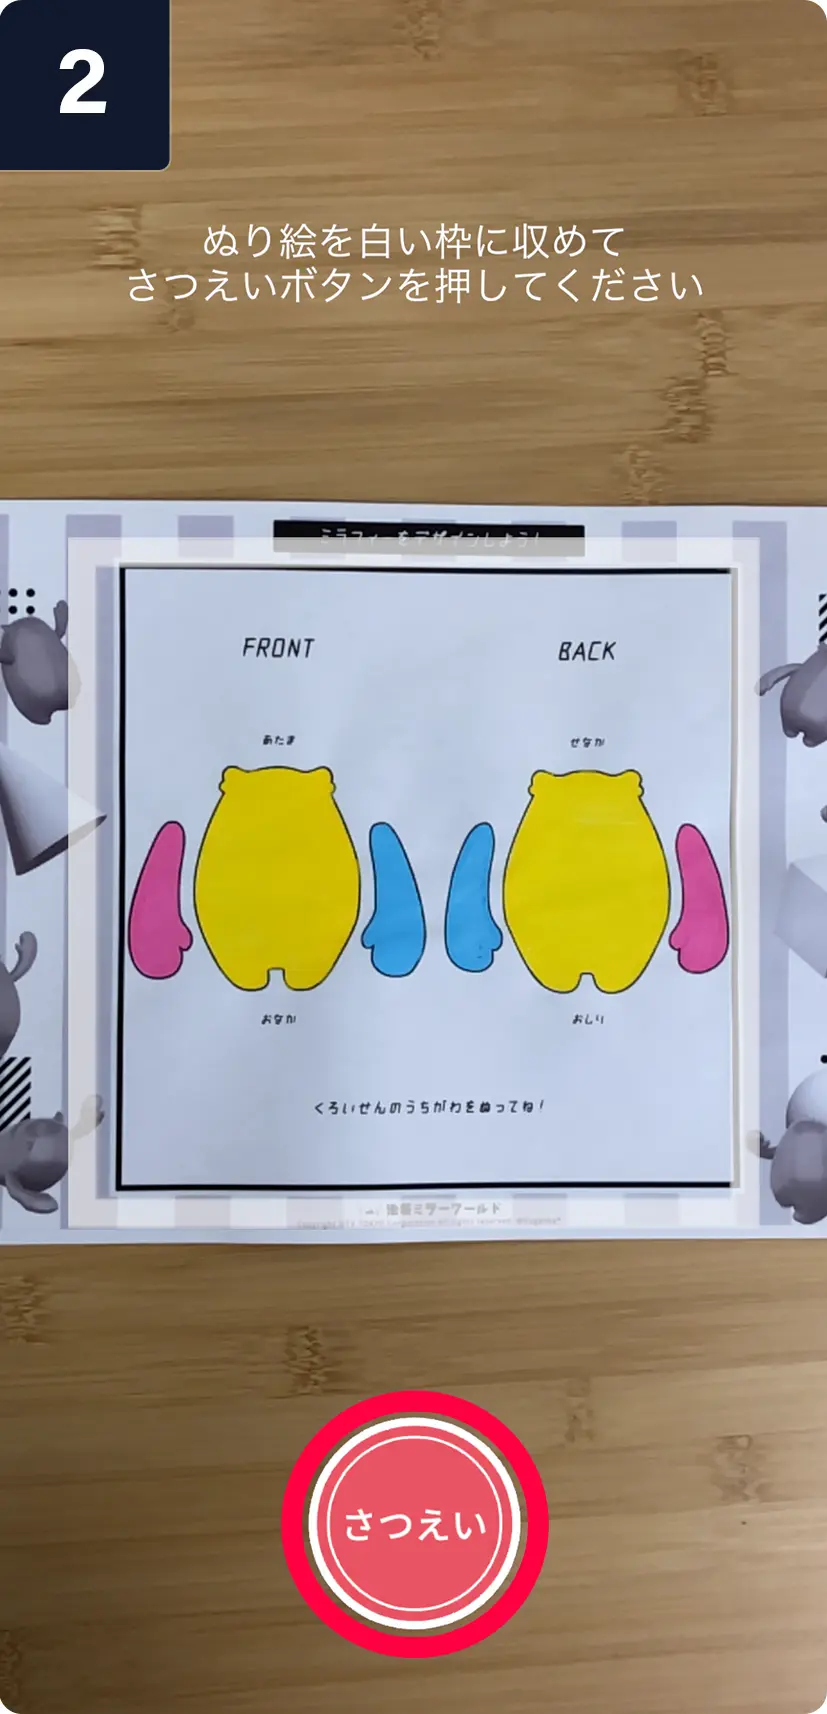
ミラフィーの塗り絵機能の使い方
メイクアバターで読み取ることでオリジナルミラフィーを作成することができます。
塗り絵用紙をフォトライブラリから選ぶ方法